(because it sure isn’t obvious from the name)

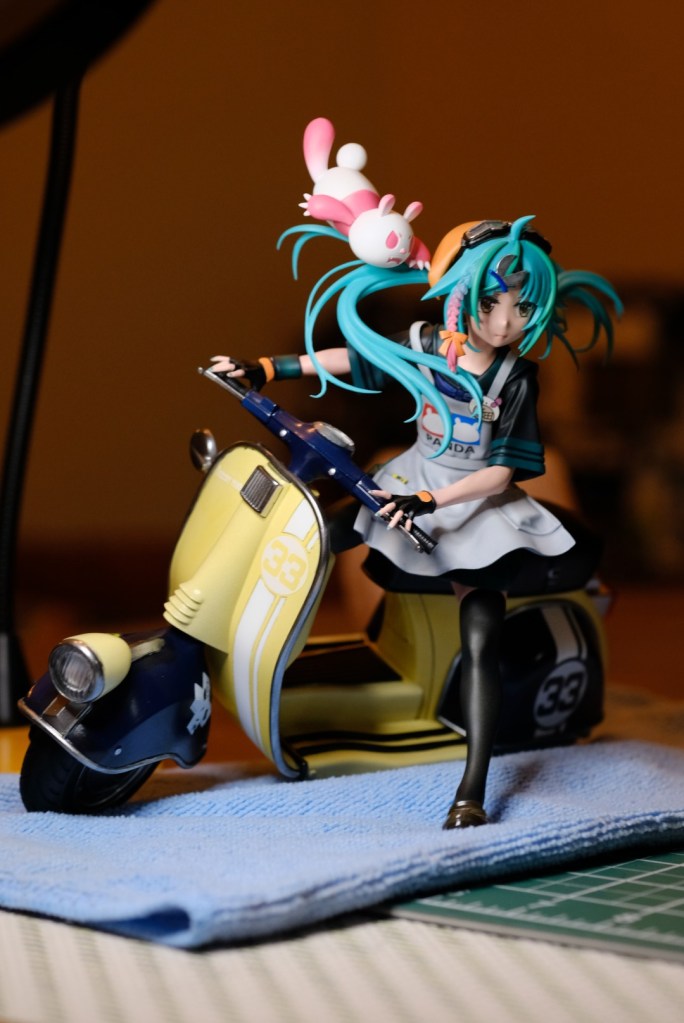
A garage kit (ガレージキット in Japanese; I swear this will matter later) is a model kit made by an enthusiast in the comfort of their own home. Yes! It’s possible to make model kits without a factory and thousands of dollars worth of injection molds, and it’s not even that difficult. The designs can be based on anything: characters, monsters, robots, spaceships, furniture… if you can sculpt it, you can turn it into a garage kit. The final product usually resembles a collectible statue. Unlike those, however, yours can be one of a kind, with a unique paint job and a healthy injection of your own personality. Most of the ones I’ll post on this site are from Japanese or Chinese sculptors and are done in an anime style, but that just comes down to personal preference. The hobby certainly isn’t limited to Asian designs (after all, it has an English-language name!), and you can find plenty of garage kits based on western sci-fi, fantasy, superheroes, and more.

ok, but how do I even get into garage kits?
Garage kits are a little more involved than your average model kit and have a steeper learning curve, but you get the hang of it eventually. Here’s an overview of the steps (click for more details):
Acquisition (not always as simple as it sounds!)
You can get Japanese garage kits both online and at in-person events, but availability is limited, especially of kits based on licensed properties. Often those licenses only cover sales for a single day, at a single event! Many creators sell their kits on BOOTH, and it’s a good place to look for fresh releases. For older kits, you can search Yahoo Auctions Japan. Use the search term “ガレージキット” for general results, or the name of a specific kit if you know it. Either of these options will require you to use a proxy or a forwarder to ship outside Japan, such as Buyee. There are plenty of guides out there to help you get started with one of these services.
The other option is to get kits in-person at an event. The biggest of these is Wonder Festival, held twice a year in Chiba, Japan. Also in Japan are Treasure Festa and Tonari no Mokei Festival, among others. For Americans, a U.S. offshoot of Wonder Festival is planned to take place MomoCon in Atlanta starting in 2026.
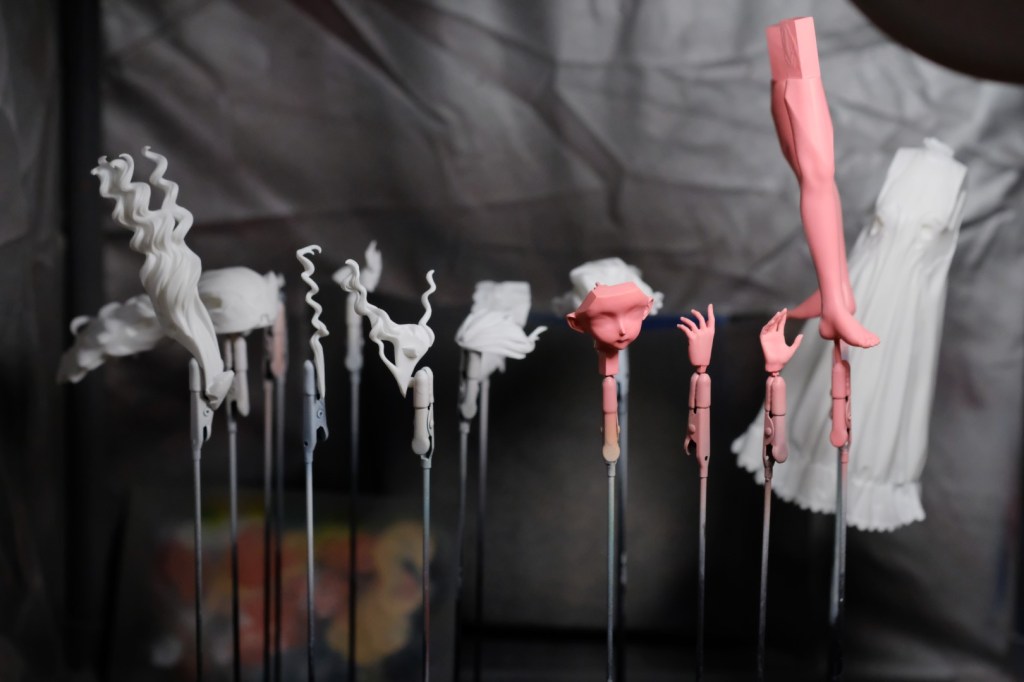
Sanding
Garage kits fresh from the mold often have mold lines, flashing, and other inconsistencies that will need to be filed or sanded off before painting can begin. Sanding the surfaces can also help with paint adhesion.
Pinning
It’s not recommended to simply glue the parts of a garage kit together. It isn’t strong enough for most connections, and you run the risk of pieces breaking off and ruining the many hours of work you put into your kit! Instead, adjoining parts need to be pinned together by drilling a hole in each and running a brass or aluminum pin through those holes, securing the connection.
Puttying
Parts will sometimes come out of the mold with small bubbles, and even a clean casting can be marred by gaps between different parts or by careless drilling of pin holes. In such cases, it’s putty to the rescue! Epoxy putty or air-drying putty can be used to patch these areas and create a clean, seamless look. Air-drying putty is easier to use since it doesn’t have to be mixed, but epoxy putty is stronger and better at filling large gaps.
Cleaning
Before you apply any primer, all of the parts of your garage kit must be cleaned thoroughly. This will remove any mold release agent, oils, sanding dust, and any other substances that may prevent the primer from adhering. Parts should be soaked in a high-strength degreaser, then rinsed off and allowed to dry. Toothbrushes are a great tool for scrubbing any areas that need a little extra elbow grease.
Priming
Once everything is dry, it’s time to prime! A lacquer-based hobby primer like Tamiya Fine Surface Primer or Mr. Surfacer is recommended, as hardware store primers go on too thick and can cover up small details. I don’t recommend acrylic primers, as they tend to have poorer adhesion and are more difficult to sand if you find that you need to make further corrections after priming.
Painting (usually the longest part of the process)
This is where the bulk of your time will be spent, and where most of the magic happens. It’s easiest to do this with an airbrush, as this will allow you to create even color gradients and avoid any obvious brushstrokes. Most airbrush paints are either lacquers or acrylics. If you have an airbrush booth with good ventilation, lacquer paints such as Mr. Color are recommended. They’re more durable than acrylics and are easier to clean out of an airbrush, but come with a tradeoff in that unlike acrylic paints, they release toxic fumes. In either case, a respirator should be worn while you’re spraying. You don’t want to breathe aerosolized paint!
Of course, there are other painting options beyond these. Enamels are necessary for certain painting techniques, and you can even work with traditional oil paints! You can also paint with brushes instead of an airbrush; just be wary of the brushstrokes creating unwanted textures, and don’t apply the paint so thick that it covers up fine details in the sculpt.
Creating a Base (if one wasn’t included)
Most garage kits will need to be mounted to a base in order to stand up and be stable, and if they didn’t include one, it’s up to you to make one. I usually use a piece of wood, but you can use whatever you want as long as it’s stable and the kit can be securely attached to it.
Final Assembly
This is the moment of truth! The kit just needs to be assembled. Hopefully you remember where everything goes… You can use CA glue (i.e. cyanoacrylate glue, i.e. superglue) to secure the pins in place. After that, it’s time to admire your work! Take pictures, show it to friends, let it collect dust on a shelf… the choice is yours!
That’s the gist of it, but there are many more nuances that I haven’t captured here. I plan on posting more detailed deep dives into some of these topics at some point, as well as specialized techniques that didn’t get mentioned here.
wow, that sounds like a lot of work, but what if I want to do even more work and create my own garage kit?
There are a couple of methods to create your own garage kit: casting replicas of a clay-sculpted prototype, or sculpting the kit digitally and then 3D-printing it.
The traditional method starts off with a statue sculpted in clay. It can be sculpted in parts, or created as a single piece and then cut into parts for casting. If you pour two-part silicone around those parts and let it cure, guess what? You have a silicone mold! Take the prototype out and pour epoxy resin into your mold. Bam, now you’ve made a model kit! Repeat to your heart’s content, or until the mold gives out. Ok, there’s obviously more to it than that, but the main takeaway should be that it’s really not as complex as it seems. I’ll post more details about the process at some point.
The other option, like I mentioned, is to create a digital sculpt and then 3D-print it. I’ll admit that I don’t have much experience with this, so I don’t have much to say here. Some creators treat their 3D prints as prototypes and, using the techniques above, take the extra step to cast the actual production kits in epoxy resin. Epoxy resin is somewhat easier to sand and prep than 3D printer resin, and can be more durable as well.
I gotta be honest, I think you glossed over a few things there
Yeah, I definitely did. But now you understand at least a little bit about garage kits, and you have a jumping-off point to dive deeper into any of the topics mentioned above. I plan to continue posting tutorials here, and I’ll elaborate further on a lot of things mentioned only in passing. Until then…


Leave a comment