(if the eyes are the windows to the soul then consider me blind)
In a previous post I showed my first attempts at using oil paints, where I painted this character’s hair and clothes. I was having too much fun to stop there, though, and now I’m back for another round! This time it’s the eyes which, unless you use decals, are always one of the hardest parts of a garage kit to get right. They are, as they say, the windows to the soul, and they bring a character to life more than anything else. While this kit did come with decals, I chose to go with my own design.
Let’s get to it! I already painted the face with airbrushed acrylics and laid down a white base for the eyes. I know the shapes don’t quite match each other, I just freehanded them. I’ll correct them a little bit later. In my defense, real people aren’t perfectly symmetrical either. The imperfections add soul, or so I keep telling myself…
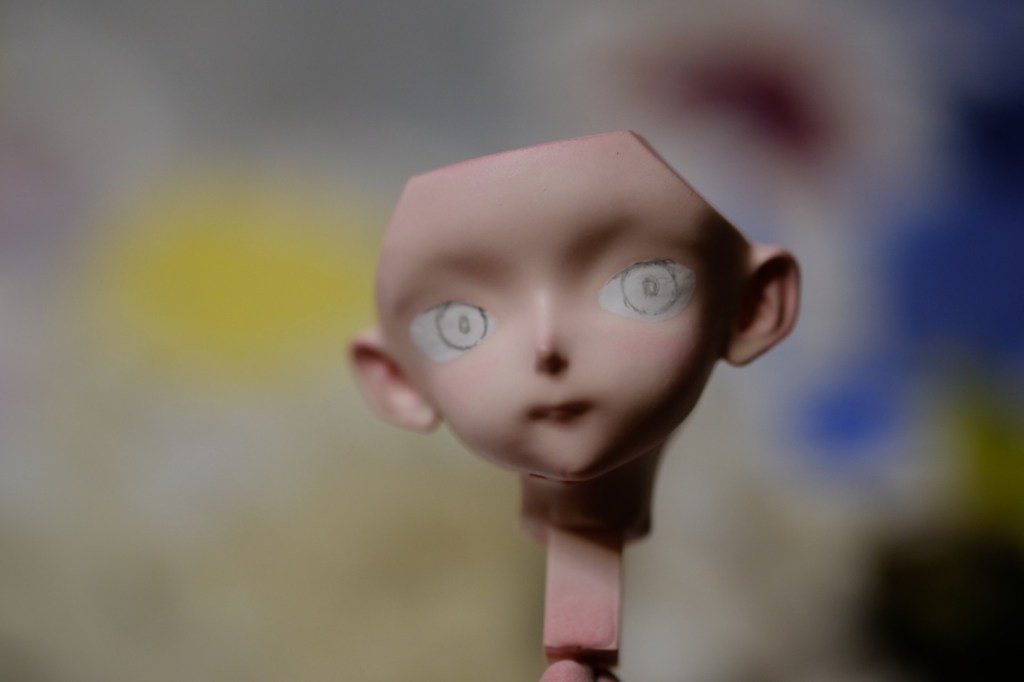
I penciled in some circles to represent the irises and pupils. This was mostly just to get a sense of positioning and size; the final paint job didn’t follow the pencil lines precisely. If you don’t plan out the positioning, though, it’s easy to end up with a character whose eyes are looking in two different directions. My preferred method of avoiding this is to pencil in one eye, tilt the head until that eye seems to be looking straight at me, then, holding that position, pencil in the other eye so they both meet my gaze.
Next I erased the pencil lines until they were very faint and added some color. Avert your eyes if you don’t like horror-movie gazes:

😨 Yikes, she looks like she’s seen some shit! Don’t worry, it won’t last. Trust in the final result…
After this I did a little blending and added pupils. Once again I’m reminded how nice and smooth it is to blend oils! Note that the pupil of the right eye (the character’s right, that is) is a little off-center. For once, the inconsistency is intentional: when you stand to the character’s left, both pupils will look centered and it will seem like she’s looking right at you.
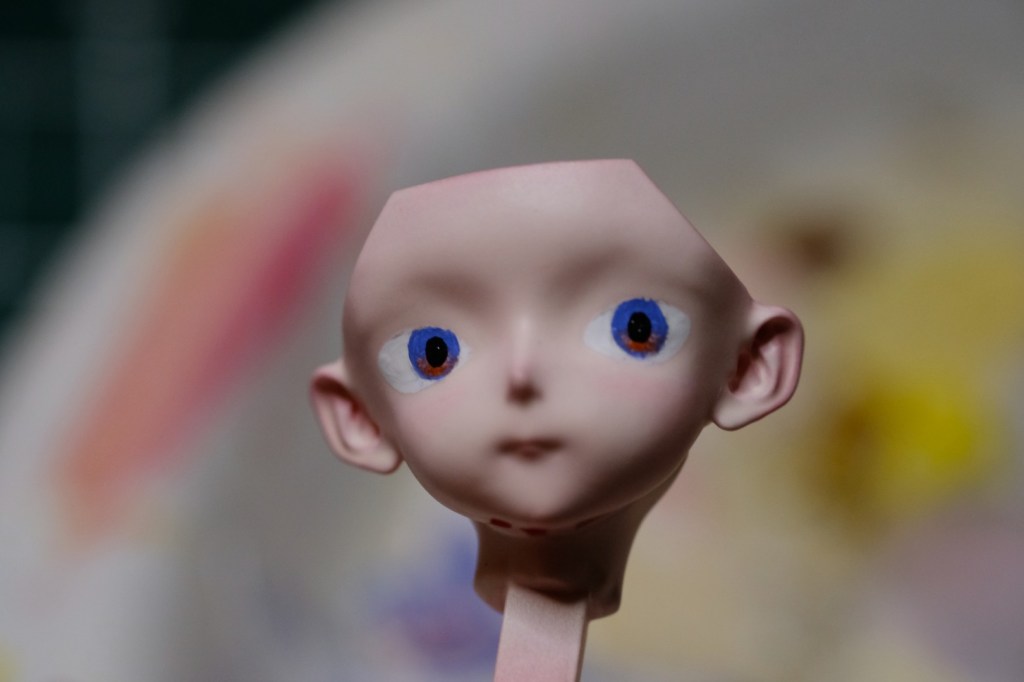
Now the expression feels judgmental and a little disgusted. She’s making me a little uncomfortable.
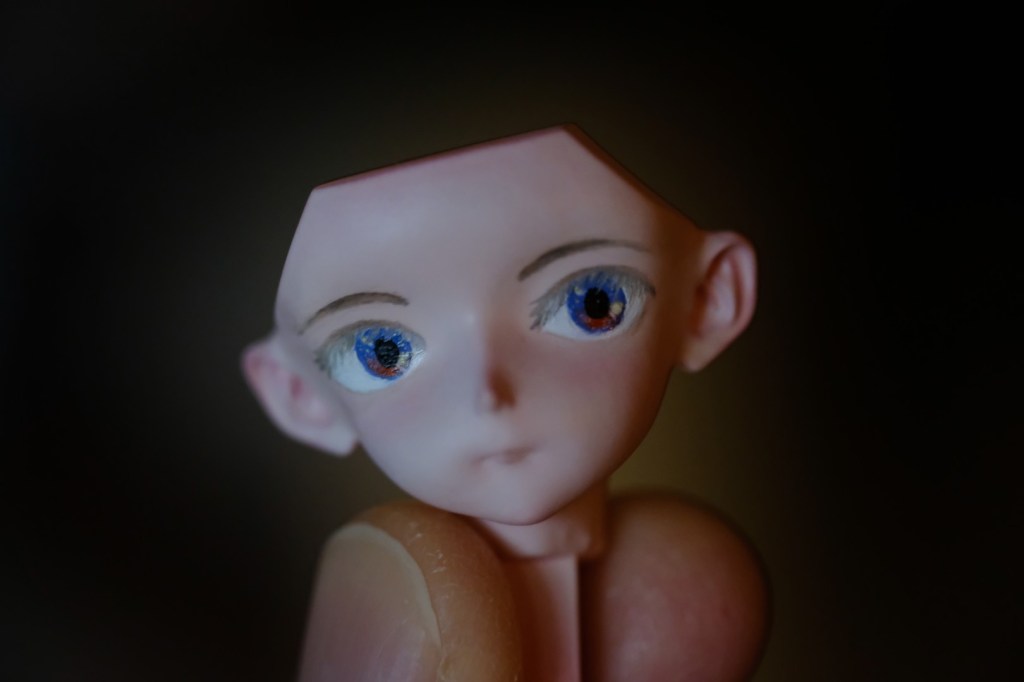
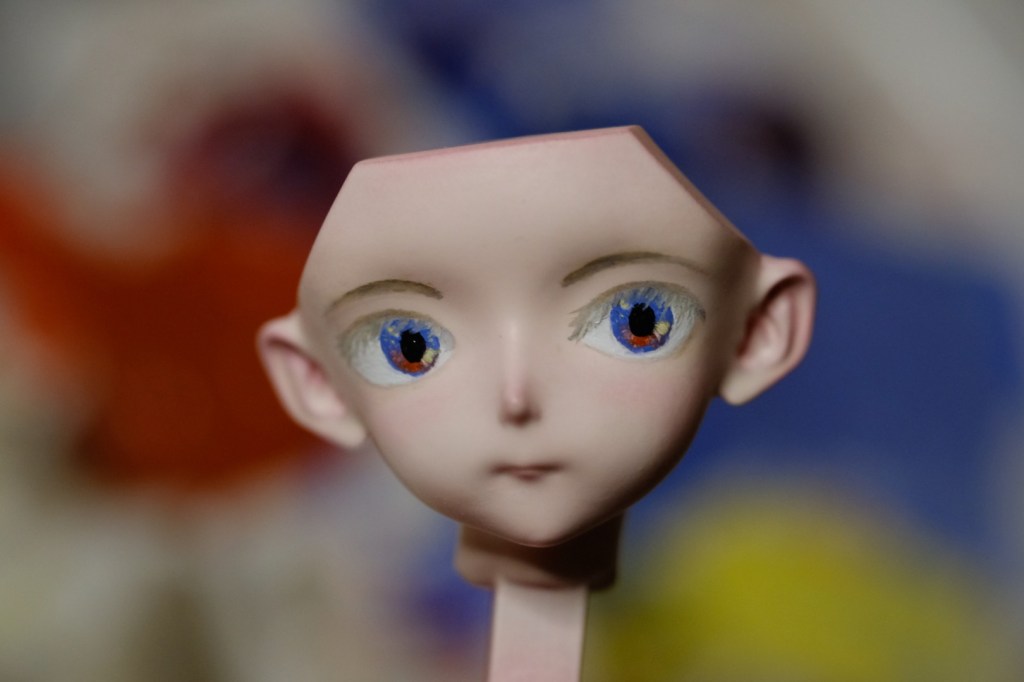
I scraped off a little paint to create reflections. It’s amazing how much life comes into the eyes at this step! Suddenly she doesn’t have quite such a thousand-yard stare anymore:

I wanted the colors to suggest the last moments of sunset, when the horizon is tinged with redness and the rest of the sky has been overtaken by the deep blue of night. To that end, I decided to add some moonlight yellow to the reflections and apply a few dots of it in the blue to suggest stars. After that, I added eyelashes and some light shadow and made a few corrections to the eye shapes.
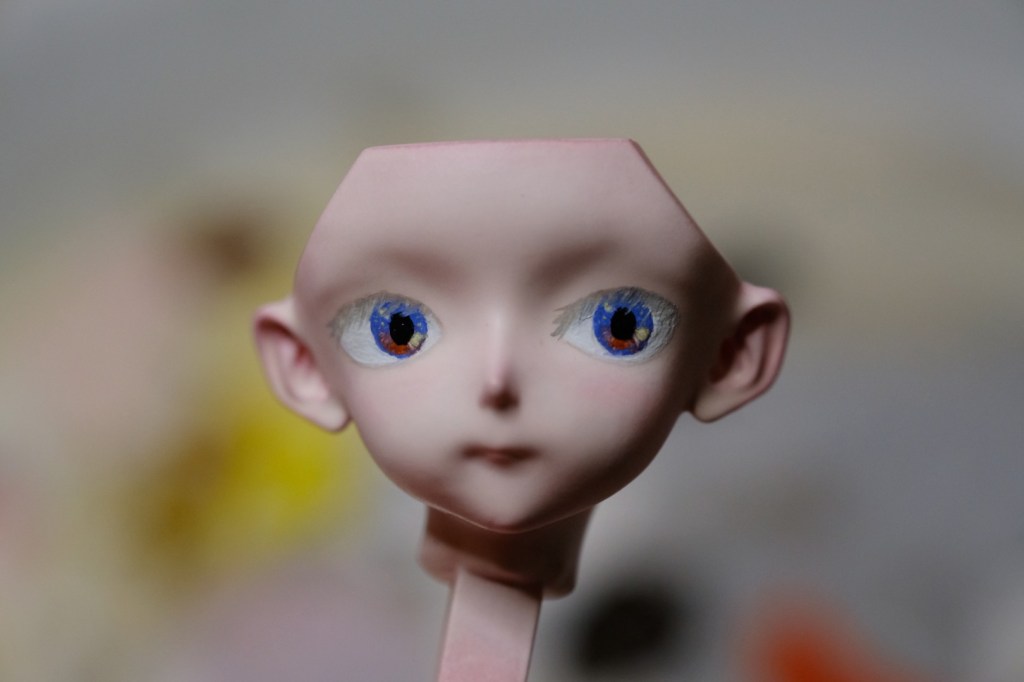
Next was the eyebrows, again starting with pencil lines:

I painted them to match the color of the hair that I painted previously:
There are definitely some things I’d change for next time. I added shading to the tops of the eyes to represent the shadows of the eyelashes, but they ended up being almost completely covered up by said eyelashes. I’ll have to bring the shadows down farther down next time. Also, the white ended up being a little too bright and should have been toned down. The acrylic white I usually use is more transparent than this oil white, so I’m used having a little bit of the skin tone show through to lend a more natural color to the eyes. Pure white eyes can look like they’re glowing, which is not the effect I’m going for here.
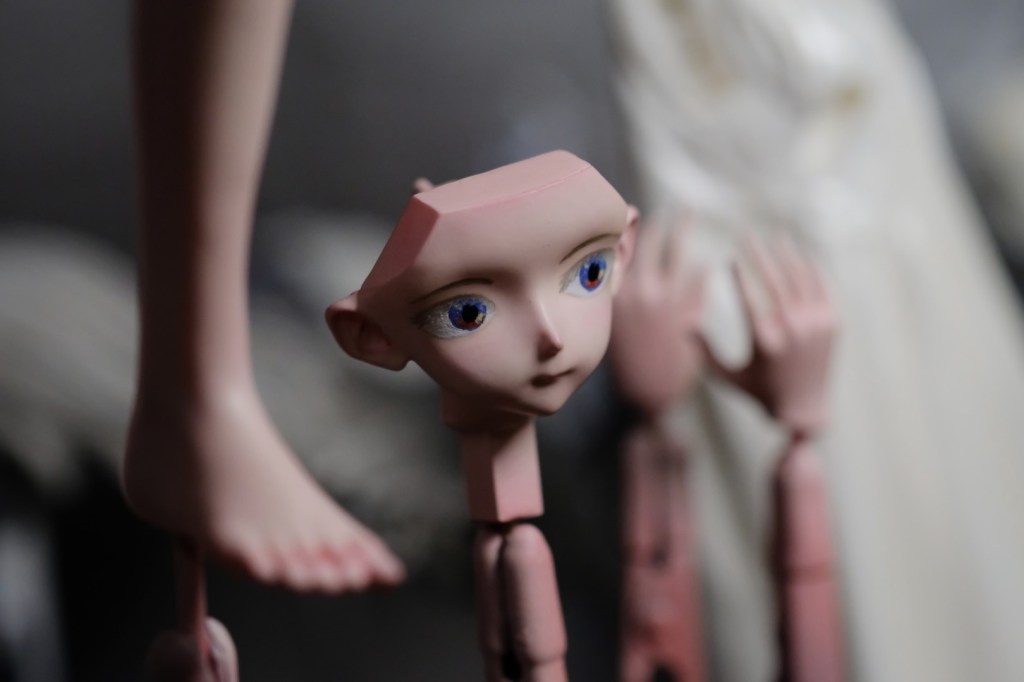
And that’s it! At last it’s time to move on to the final assembly. Once everything dries, at least. That’s the one drawback with oil paints… so much waiting… 🥱

Leave a comment