(throw me a bone here and excuse the puns)

Armatures are supposed to be the skeleton of a sculpt, providing structure and rigidity to the clay. With that in mind, I have a bone to pick with Yume-chan’s. Specifically, I didn’t make her armature robust enough, which has led to some cracking on the legs that I’ve had to fix several times. I’ve also had some issues with parts slipping up and down the armature wire. I’ve been experimenting on the side with some alternative armature designs, and I think I’ve settled on one that I’d like to use for my next garage kit. Even though I haven’t finished Yume-chan. Someone yell at me to focus…
This time I twisted the aluminum wire (just bend a length of wire in half, clamp one end in a vise, and tighten the other end into a drill chuck; boom, quick twisted wire!) to provide additional strength. As a bonus, the ribbing created by the twists should give the armature some extra teeth to secure the clay more effectively. I left the wires in the arms extra long to provide support for the hands and potential future accessories. It’ll be easier to cut the wires down to size later than to cut them now only to realize afterwards that I made them too short. Another lesson learned the hard way…

Since I was already in experimentation mode, I also decided to try a different style of stand. I didn’t really have any problems with the existing stand, but as long as I was changing things I figured I might as well go all the way. It’s just a couple of holes drilled into a piece of wood with the armature’s legs inserted into them. This is more simple than the stand I’ve been using, and it’s actually less sturdy. The benefit (hopefully) is that it will be less intrusive, making it easier to access the sculpt from all sides. I’m going to be honest, this is probably a mistake… but you never know unless you try! Have a backbone, take some risks!

After that I applied clay (very roughly) where the muscles and some of the more visible bones would be. I don’t claim to know much of anything about anatomy, but this seemed to be about right. Hopefully this will yield more realistic results than the simpler forms that I used when I started Yume-chan.
I always love posing my models, whether it’s my own sculpt, a Gundam kit, or any other posable figure. I can never just leave one in the generic, neutral, fossilized-in-line-at-the-DMV sort of pose; they need to have energy and impact, they need to have motion and emotion, and the way to do that is with a pose. I didn’t take pictures of all the poses I tried, but this is the one I ended on:
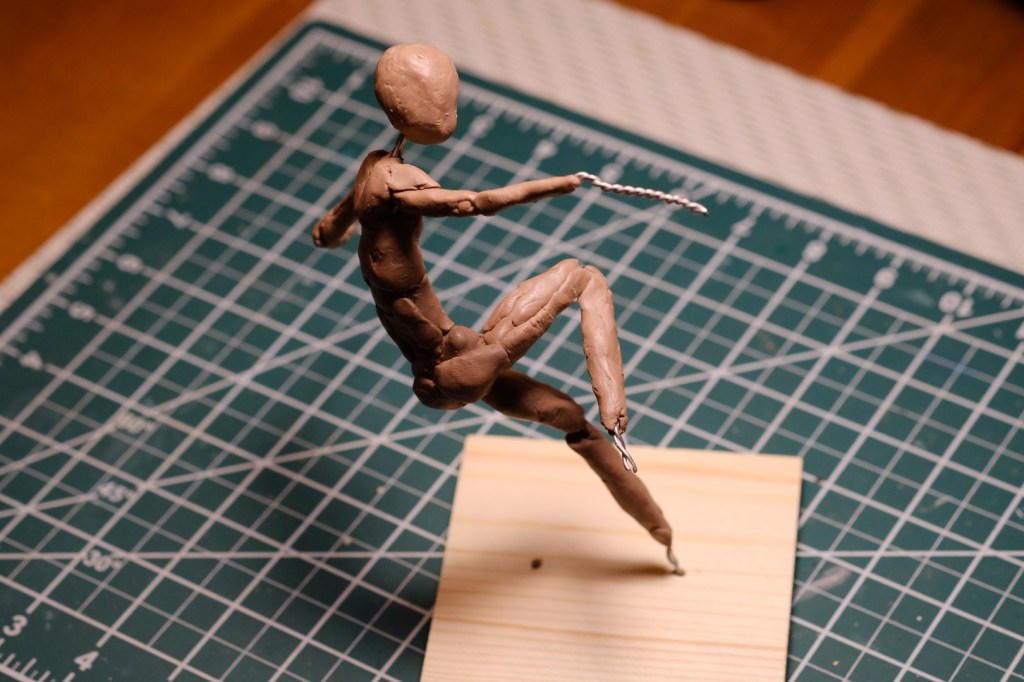

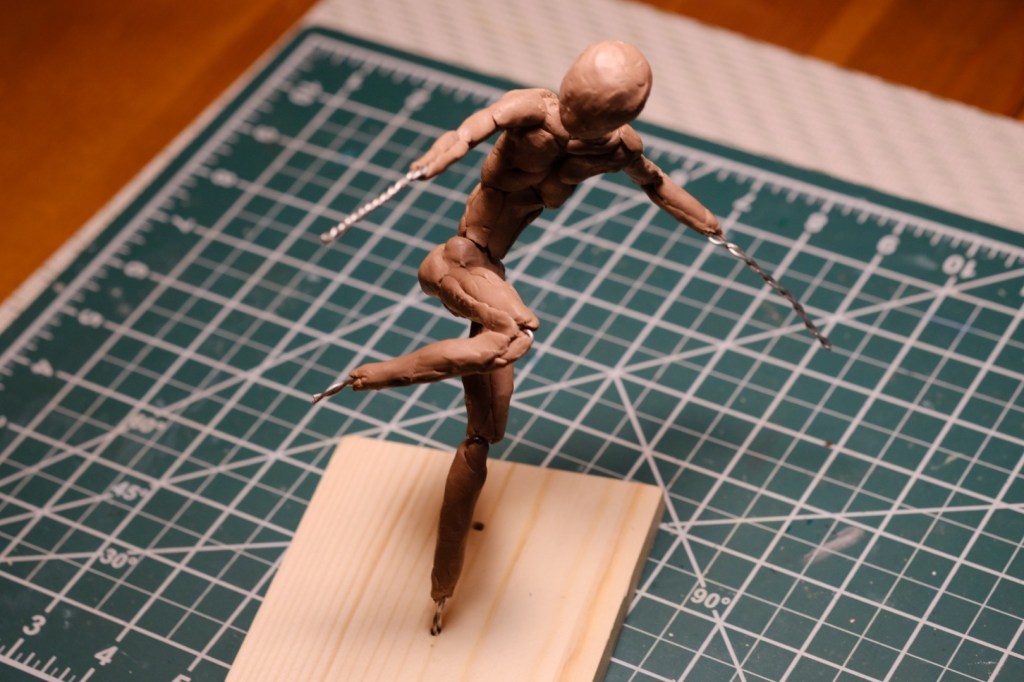
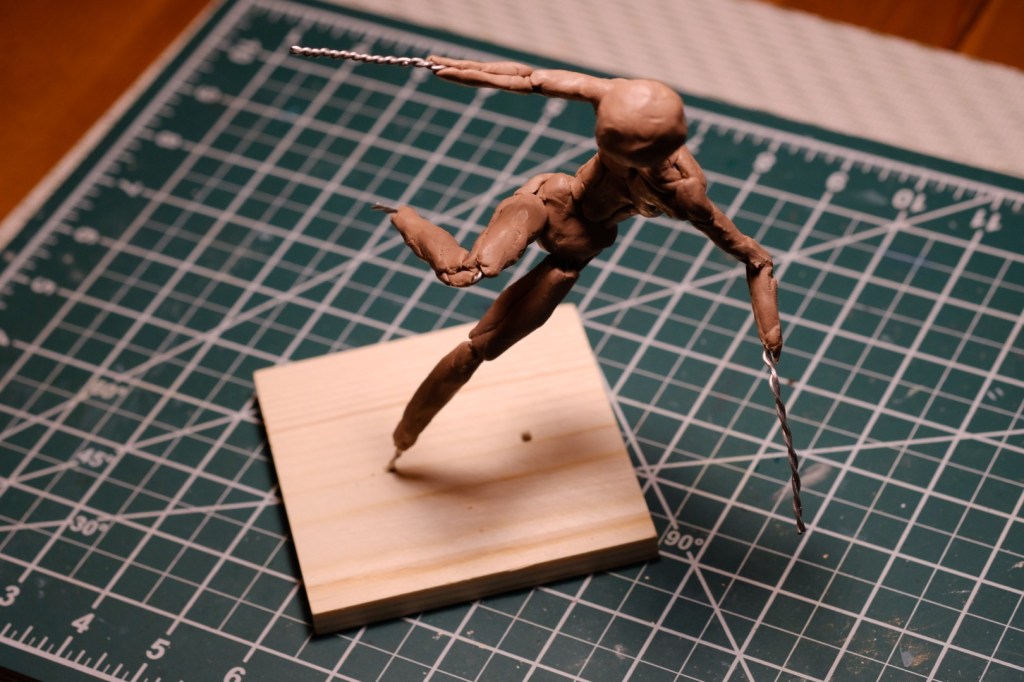
I guess it doesn’t look like much now, but my idea is that the character will be diving backwards, away from some sort of danger, while firing a gun at said danger. Very much an action movie pose! I wanted to do something with a completely different vibe from Yume-chan. I think this is a good start, but I’m not totally attached to this pose if a better idea comes along.
Anyways, I know this is a digression from my other projects, but I saw this style of armature and I wanted to test it out. It’ll probably be a little while before I start a second garage kit, but when I do at least I’ll have something to work off of. Next week, back to our regularly scheduled programming!

Leave a comment