(it’s a bit of a grind…)
Before you even start to think about painting a garage kit, you must first get rid of the seam lines, pour tabs, and other irregularities that inevitably crop up in the casting process. Thankfully these are pretty straightforward (if a bit tedious) to remove. Let’s get to it!
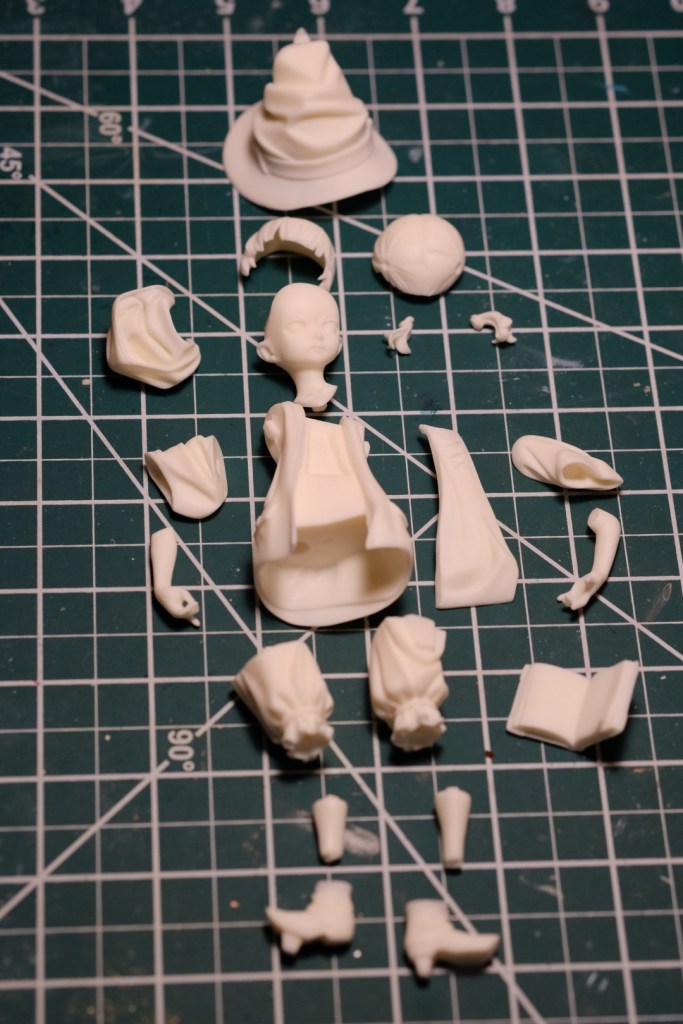
The kit I am working on here is called “The Daily Life of a Witch,” sculpted by North.9 (Booth page: North.9).

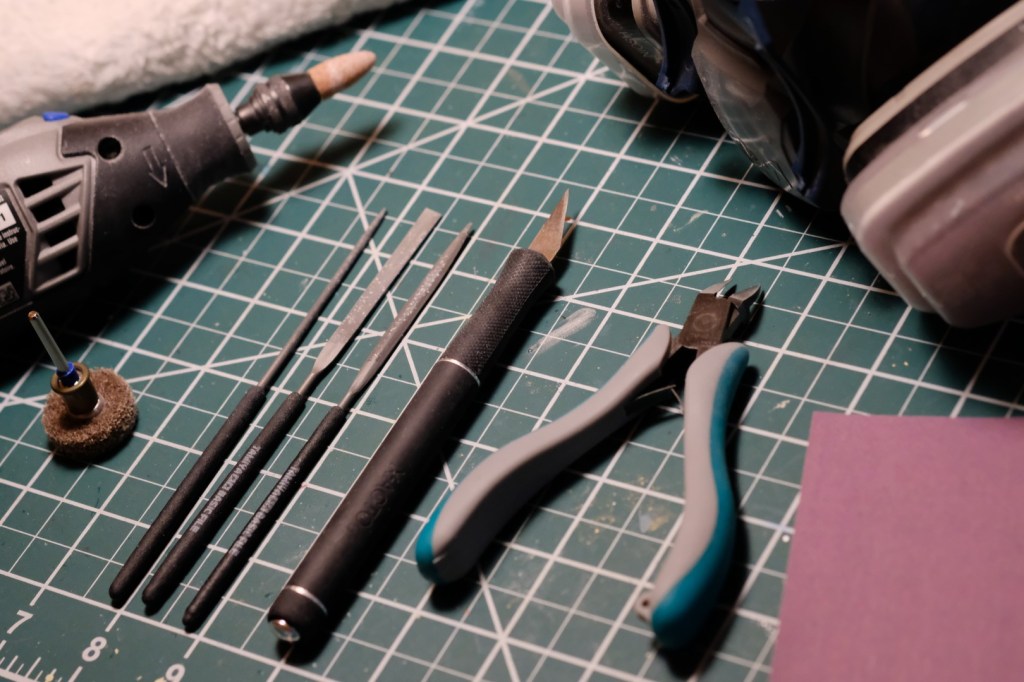
Here’s a list of the tools I use (your needs may vary):
- Respirator/Dust mask (N95 or P100)
- Sandpaper (400 grit + 600 grit)
- Needle files
- Nippers
- Hobby knife
- Safety glasses (if you’re using power tools)
- (Optional) Dremel tool
- Grinding stone attachment
- Abrasive buff attachment
- (Optional) Damp towel
- (Optional) Dust collector
There are two common types of irregularities that you will find on nearly every cast resin kit and that you will need to remove via sanding: mold lines, left behind by the seams between two halves of a mold, and pour tabs, where the resin was poured into the mold. For 3D-printed kits, you will need to remove the nubs left over from the supports and sand down any visible layer lines.
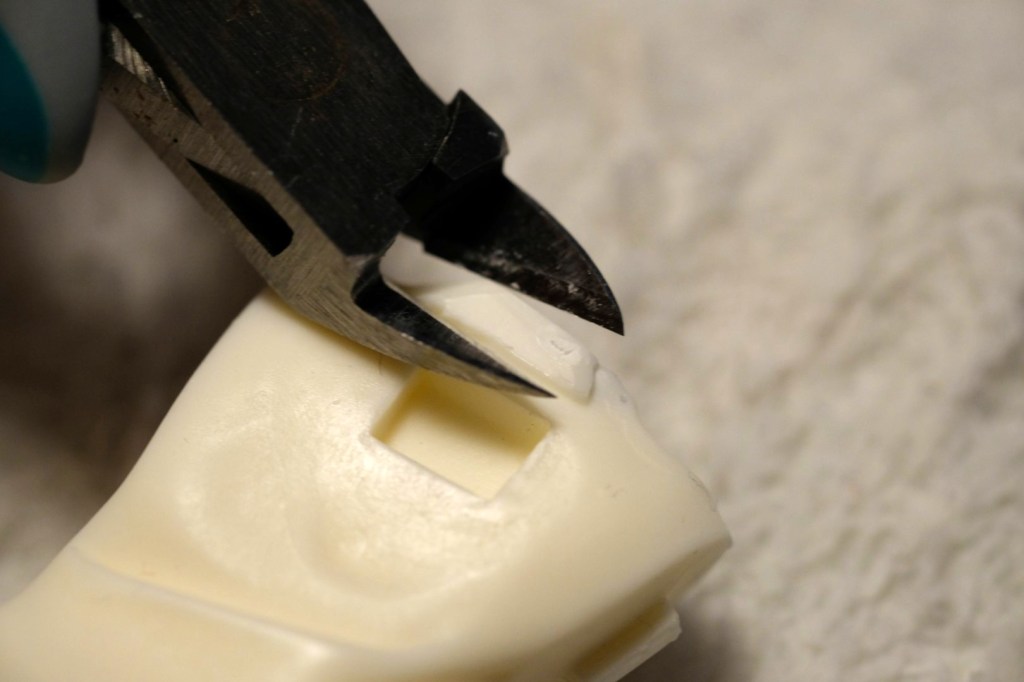
Start by removing any pour tabs or sprues. Trim these off with a pair of nippers, leaving a few millimeters sticking out of the surface of the part. Do NOT try to cut them flush! If you do, there is a good chance that you’ll take off more resin than you expect and leave a divot in the surface.
If you’re working with 3D-printed parts, you have supports to contend with rather than pour tabs. These can just be snapped off by hand most of the time without any tools, leaving small nubs behind. However, for small delicate parts, I would still recommend trimming them off with a pair of nippers to avoid breakage.
After this, it’s time to put on your mask! And I mean a real NIOSH respirator, not the crappy surgical masks you might have left over from COVID. Resin dust is toxic and should not be inhaled. Get one that’s rated at least N95 and preferably P100, and make sure it’s strapped on very tight before you start sanding. If you can smell the resin dust, it’s not tight enough!
To help control the dust, I recommend placing a damp towel over your work surface. This will trap a lot of the falling particles and make cleanup a lot easier. It also helps to use a dust collector or work in an airbrush booth, if you have one, since this will help extract and trap airborne particles. I use a soldering fume extractor since I already had one, but a dedicated solution may be more effective.
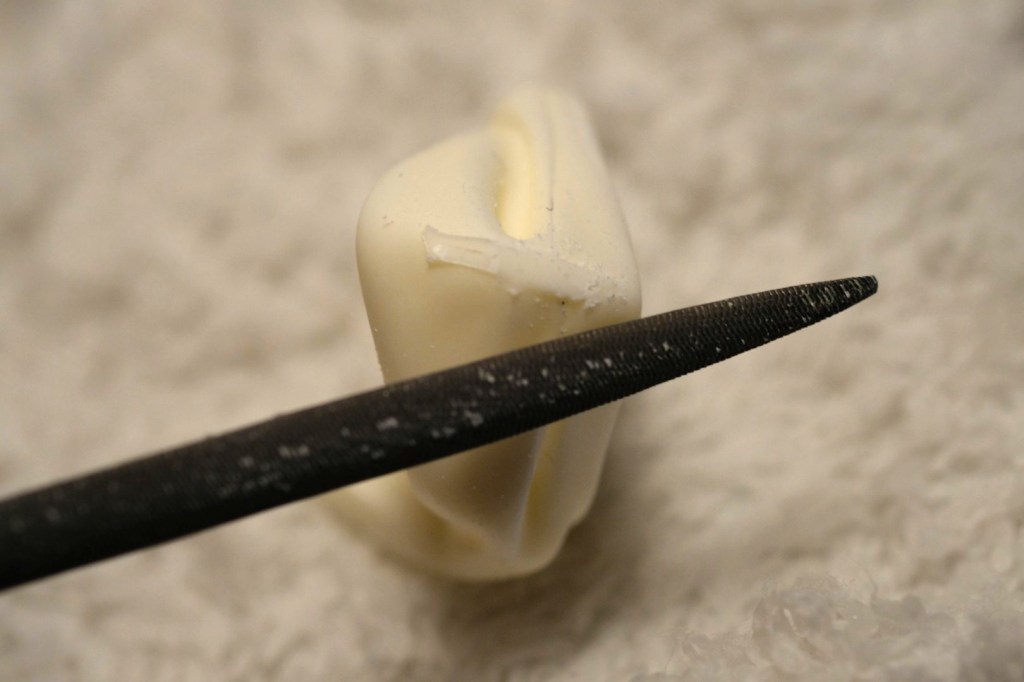
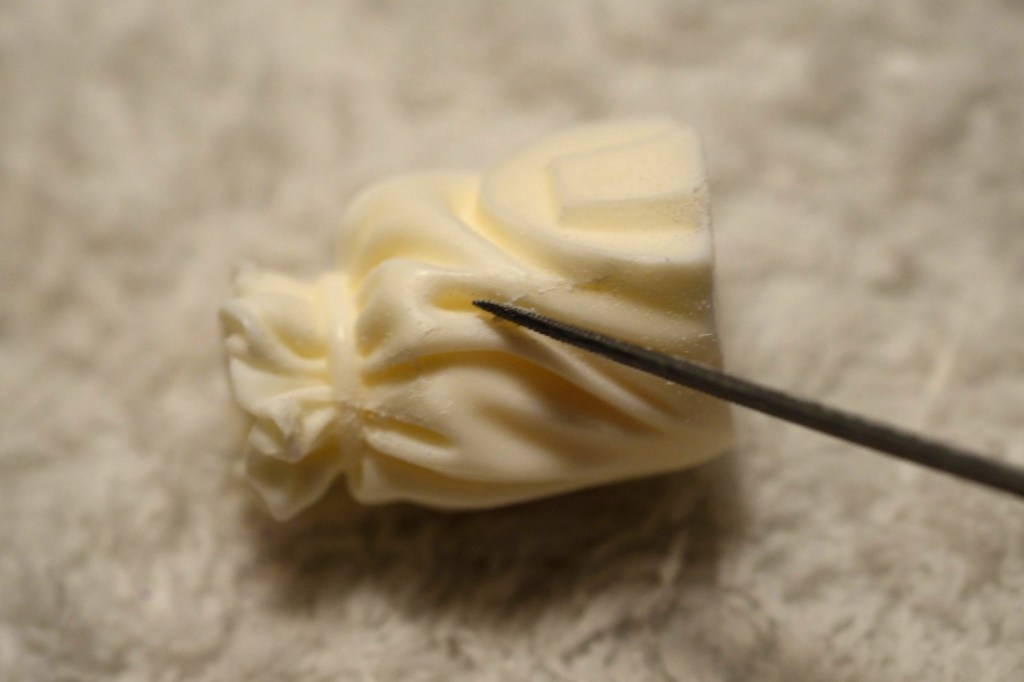
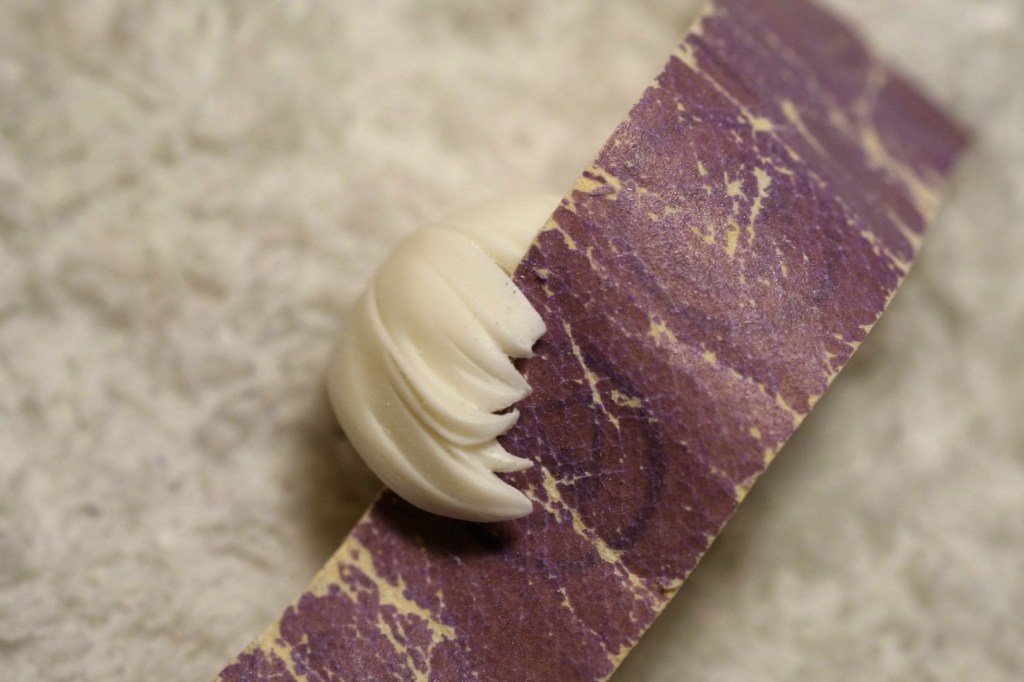
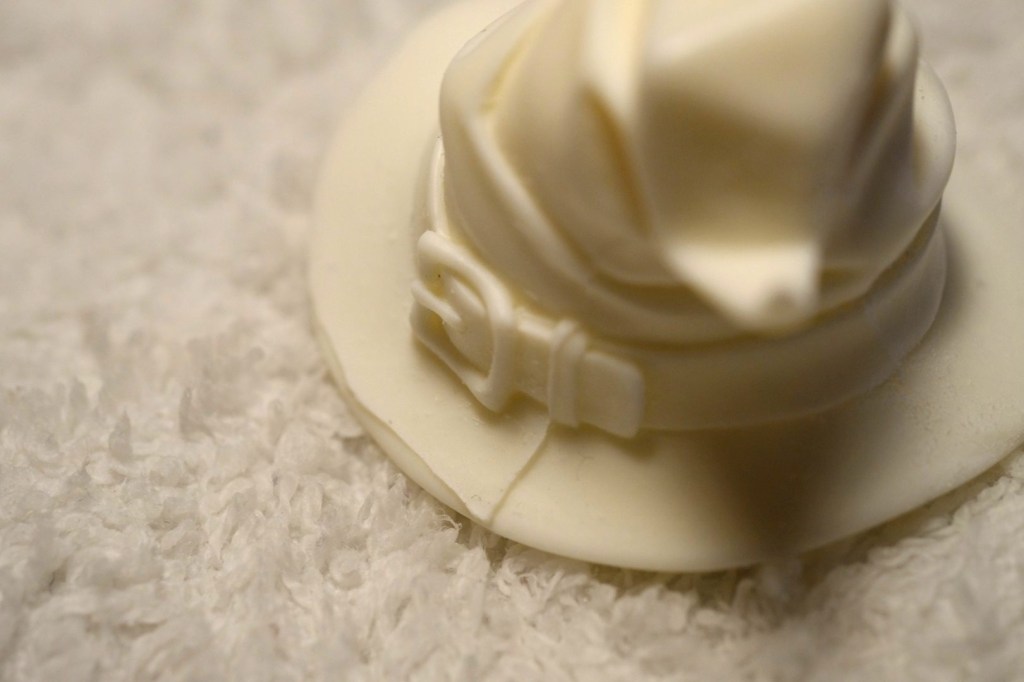
Now it’s time to move onto the files. File down the pour tabs until you have a flush surface, and do the same with the mold lines and, on 3D prints, the support nubs. You do not need to use much pressure here; take it slowly and err on the side of caution. Note that there may be a “step” along some seams if the two halves of the mold were not perfectly aligned, where one side sticks out further than the other (see the witch hat further below for an example). Due to the flexible nature of silicone molds, you may even have inconsistent alignment along the same seam! This will take more work to level out and sand back into shape. Just be patient. If the misalignment is particularly severe, you can use putty to build the low side back up and correct the shape; however, I have only had to do this on a few occasions, and sanding is usually sufficient. I will cover puttying in a different tutorial.
In lieu of files, you can also use coarse grits of sandpaper (<320 grit) to level the mold lines. Use light pressure once you get close to the surface so you don’t accidentally gouge deep scratches where you don’t want them.

If your GK has a particularly clean casting, then the mold lines may have very little material to remove. In these cases, you can simply scrape the back of a hobby knife over the mold line and watch it curl away.
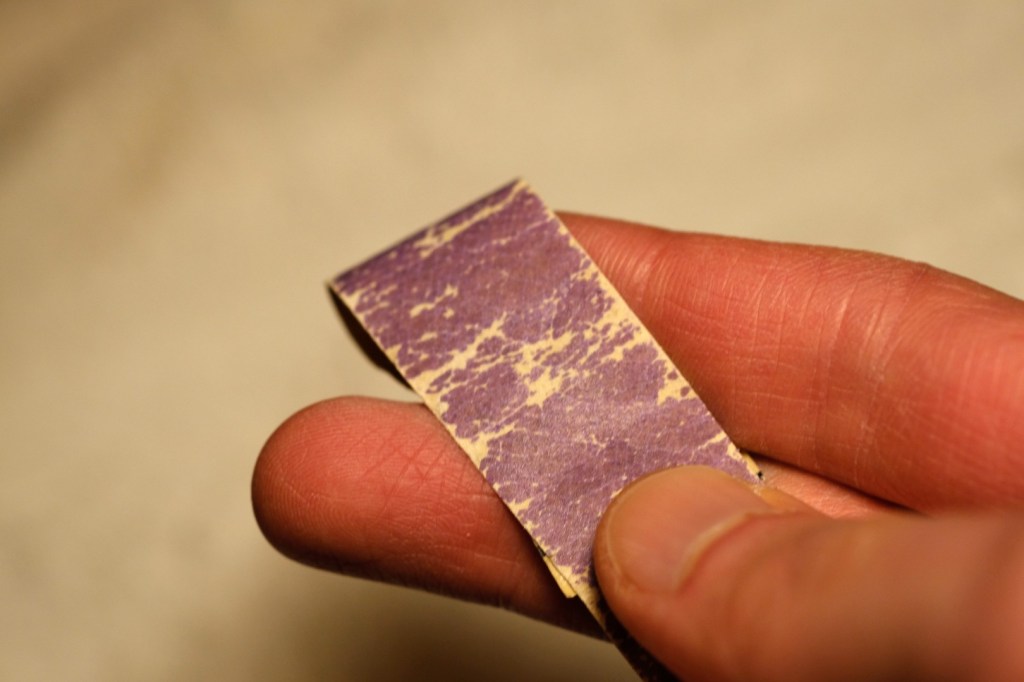
After filing, I finish the part with sandpaper. For 3D prints, this is also the time to smooth out any visible layer lines. I find that 400 grit is usually sufficient to remove the file marks and even out the surface. Sometimes I move on to 600 grit to smooth it out further, but much of the time I stop at 400 as the scratches from this grit are usually fine enough to be covered up by the primer. I like to cut about a 3/4-inch-wide strip of sandpaper and wrap it around my finger, then sand using my fingertip. You can also use a sanding sponge to do this work. Sand in circles, not straight lines, to minimize visibility of scratches.
For narrow gaps, simply run your strip of sandpaper through them several times, holding each end.
It’s a good idea at this point to go ahead and test-fit the parts with each other. You may find that some parts don’t quite fit right and need a little extra sanding to correct the shapes so they join up perfectly.
Although it isn’t necessary, a final light sanding pass over the entire surface of the part can help with primer adhesion and lower the chances of any paint flaking. I usually sand it just enough to take the shine off.
If you have a Dremel or similar tool, then you can breeze through much of this work. Note that power tools will kick up much more dust than hand tools. In addition to the respirator, you should wear safety glasses. You have been following the safety precautions, right?
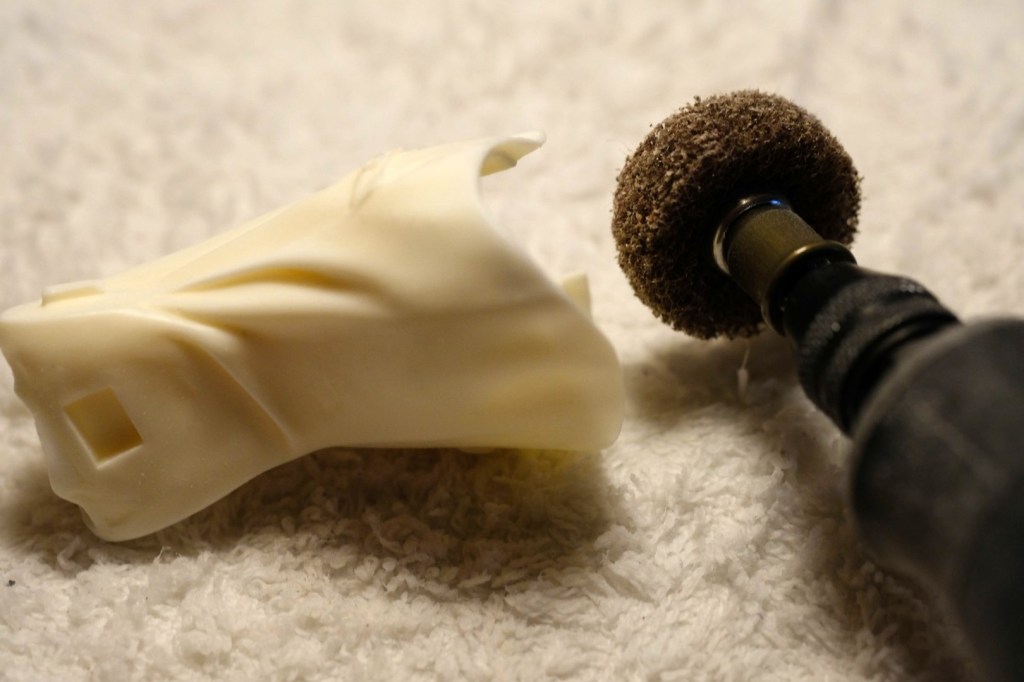
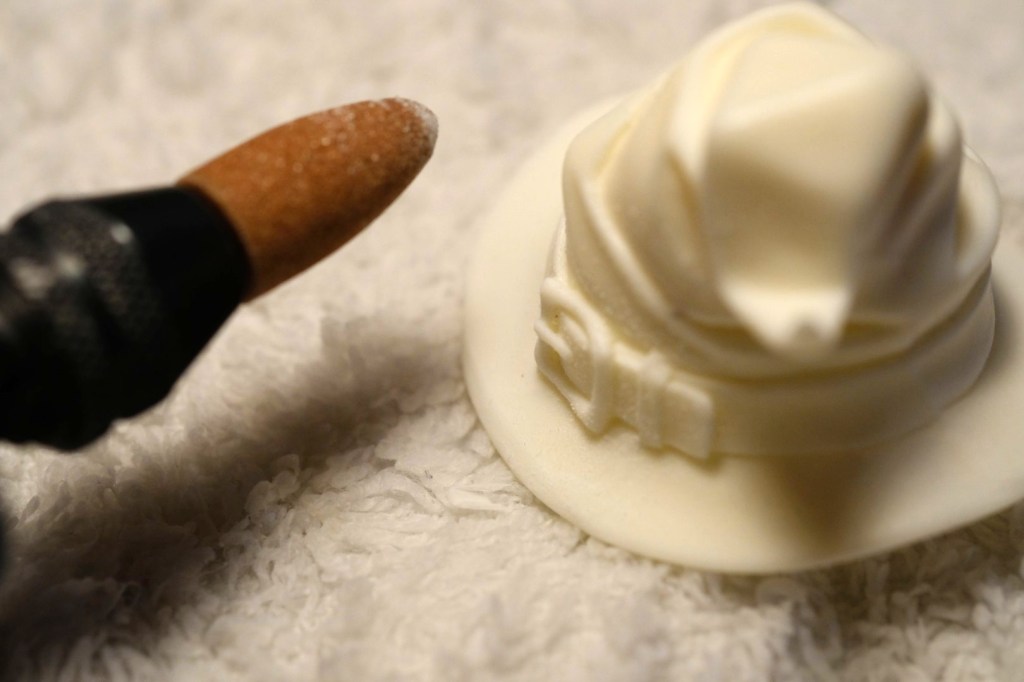
Go slow with your power tools! It’s easy to eat through too much resin and find that you’ve put a divot in the part. Use ZERO pressure and let the tool do the work! I mostly use the 952 aluminum oxide grinding stone and 511E/EZ511HP abrasive buff attachments, but you can experiment with different sanding and grinding attachments to see what works best for you. The grinding stone provides a high degree of precision, and is what I use most of the time. The buffs have the benefit of conforming to curved surfaces to some extent, but they are not as precise as the stone. I like to use them for smoothing large areas and for rounding off corners. At higher RPMs the tool will cut faster, of course, but it will also yield a smoother finish and is less prone to jumping around. I usually leave mine on 15k, but it’s worth experimenting a little. After I’m done with the Dremel, I usually come in with the sandpaper and give the surface a quick finishing pass by hand.
You can also buy reciprocating sanding pens such as the Argofile Artima 5 or 7. However, these can be hard to find, and I have not personally used one. I have heard good things about them though.
That’s it for this tutorial! In the next one I’ll move on to puttying and pinning. Thanks for reading! 🤗

Leave a comment