(i am not a grounded individual)
I’ve roughed out almost the entirety of the Yume-chan garage kit, and at this point the only remaining piece is the base. A lot of GKs don’t include any base at all, the expectation being that you’ll provide your own mount for the figure. However, I wanted to approach the base + figure with a holistic view and take the opportunity to add a little extra context to the scene.
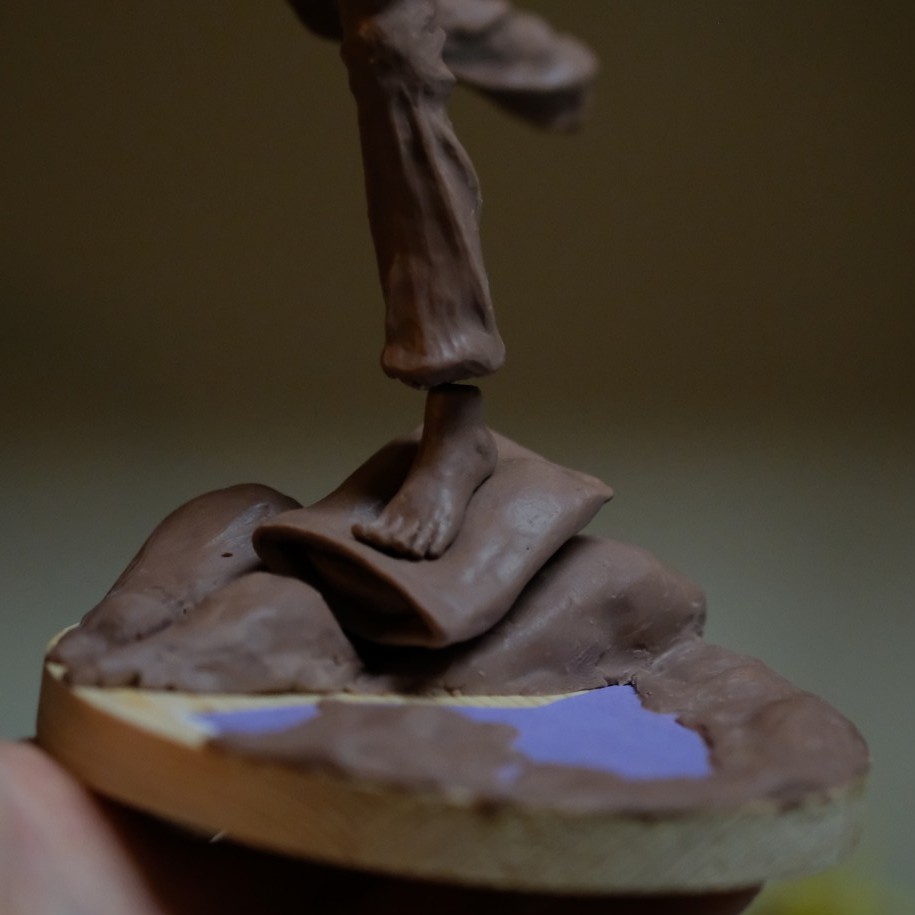
My concept is this: Yume-chan is standing on a pillow, which appears to her dreaming eyes as a cloud; she’s gliding over a bay and glancing down at the scenery, and you better hope she doesn’t have a fear of heights because this is about to turn into a nightmare if so!
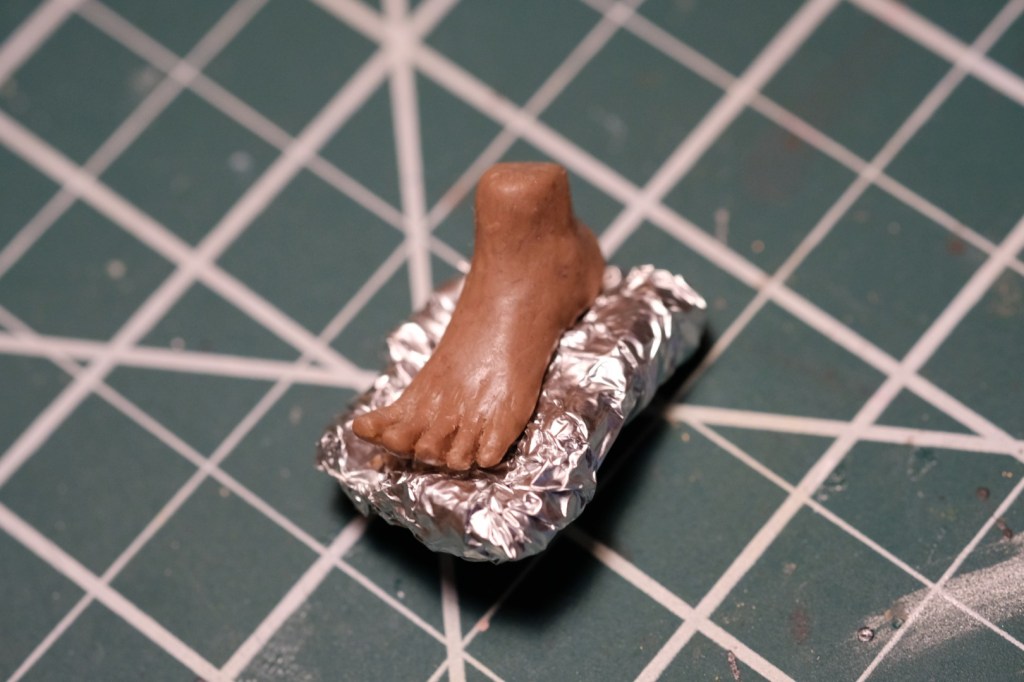
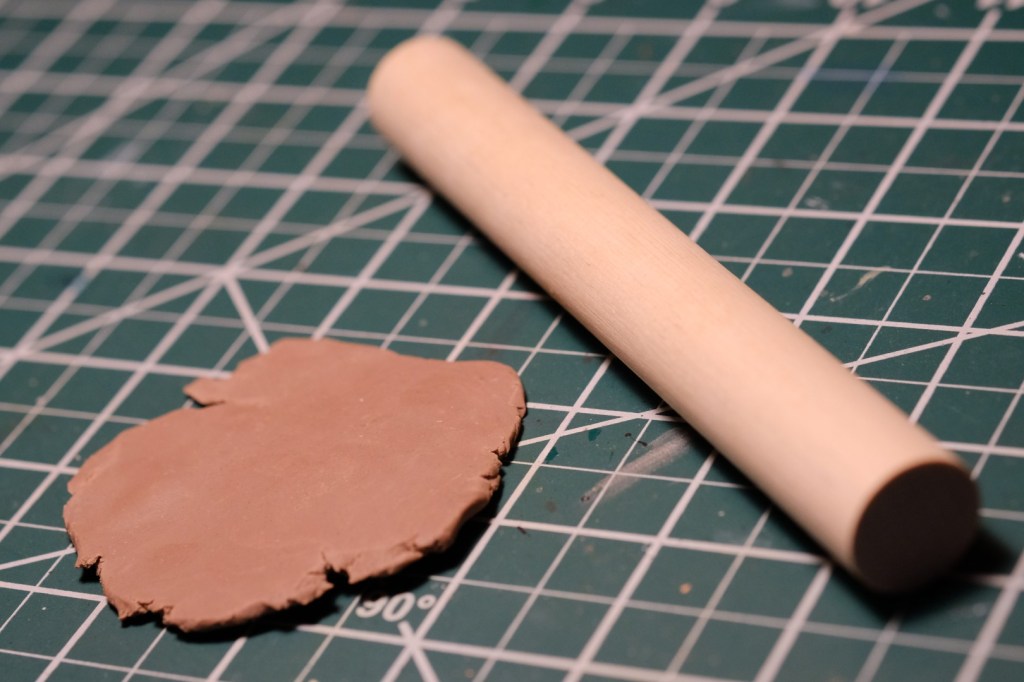
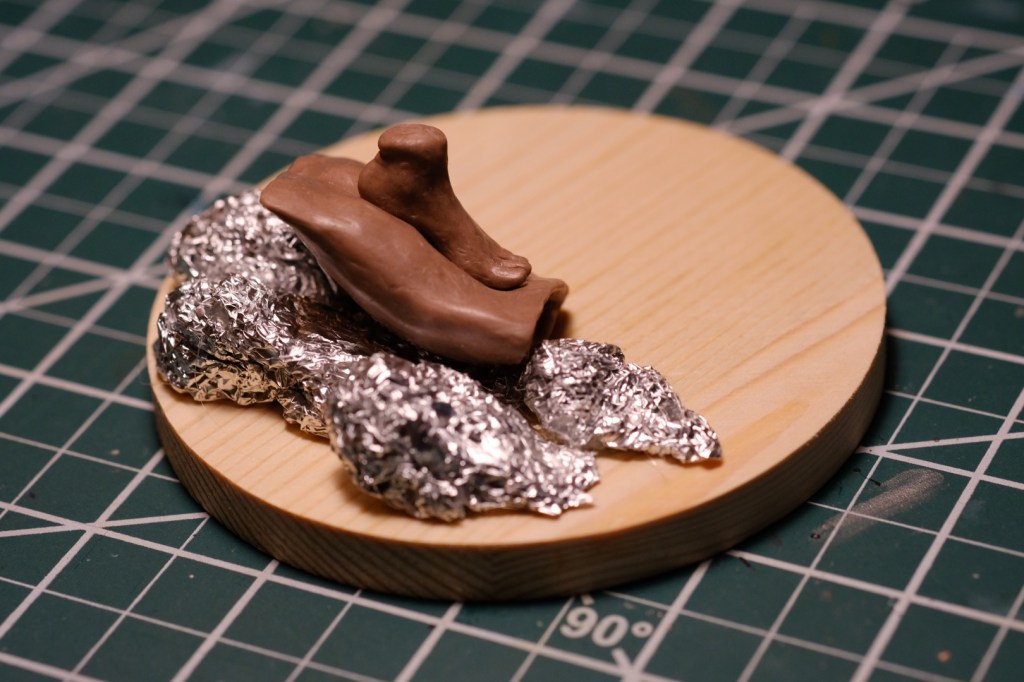
I started off by crafting the pillow. This was a pretty simple sculpt. The core is just a piece of aluminum foil crumpled up into the approximate form that I wanted. Crumpled foil is great for this because it provides a sturdy structure while still being malleable enough to reshape if needed. I then rolled out a couple of clay sheets, cut them to size, and wrapped them around the foil to create a pillowcase, leaving an opening at one end. I created an indent conforming to the shape of the foot to create the impression of some weight. I kept the indent shallow, though, because I didn’t want it to look like Yume-chan’s full mass was on the pillow; I wanted to preserve the sense of flight and floating.
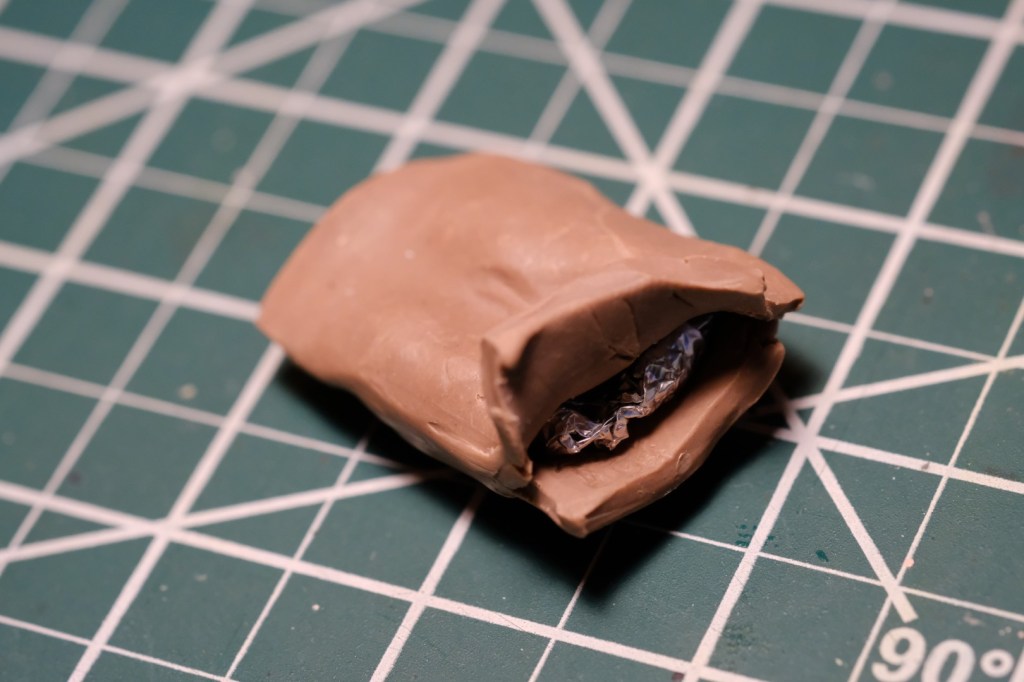
I covered up the sliver of exposed foil with another small sheet of clay so that it looked like a pillow inside the pillowcase. In hindsight it would have been easier to do this first, before the workspace was confined to that tiny little opening. Alas, I did not think it through… story of my life. 😐
To make the “fabric” look thinner, I pinched the edges of the pillowcase to a taper. If the edges are thin, then the entire sheet of clay looks thinner than it really is.

Next I moved on to the scenery, which I built atop a puck of wood. This is actually just an unfinished wood coaster that you can find at craft stores. While I’ve never made a coaster with one, they’re the perfect size for a figure base. As an aside, I often use these as the base for GKs that don’t come with one. Sometimes I paint them, sometimes I just seal them. If you don’t go too far with the finish, the slight sloppiness lends a soulfully janky vibe to your finished kit. You just can’t get that with commercial statues!
I roughed out the cloud shapes with, once again, aluminum foil. In my opinion, foil should be up there with duct tape and WD40 as one of those items that you can use to make or fix just about anything. I tried to shape and position the clouds in a way that would prop up the pillow (and thus the rest of the figure) at the correct angle, leaning over the scenery as if Yume-chan is banking over the bay. Once I was happy with the appearance, I glued the foil down to the base.
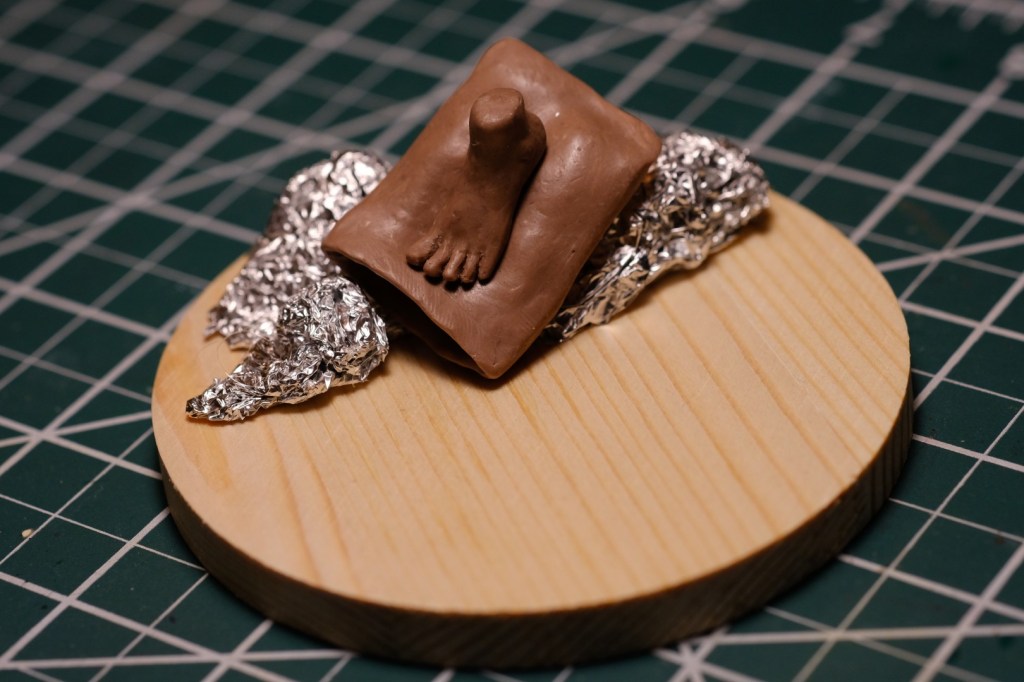
Just as with the pillow, I then covered the foil in clay sheets. I kept the cloud shapes simple for now, really nothing more than an “artist’s interpretation” of clouds. I may add some more texture to them, but I don’t plan to go too far with the details; I don’t want the clouds to get so busy that they distract from the figure itself. Besides, you can still tell what they are… right?
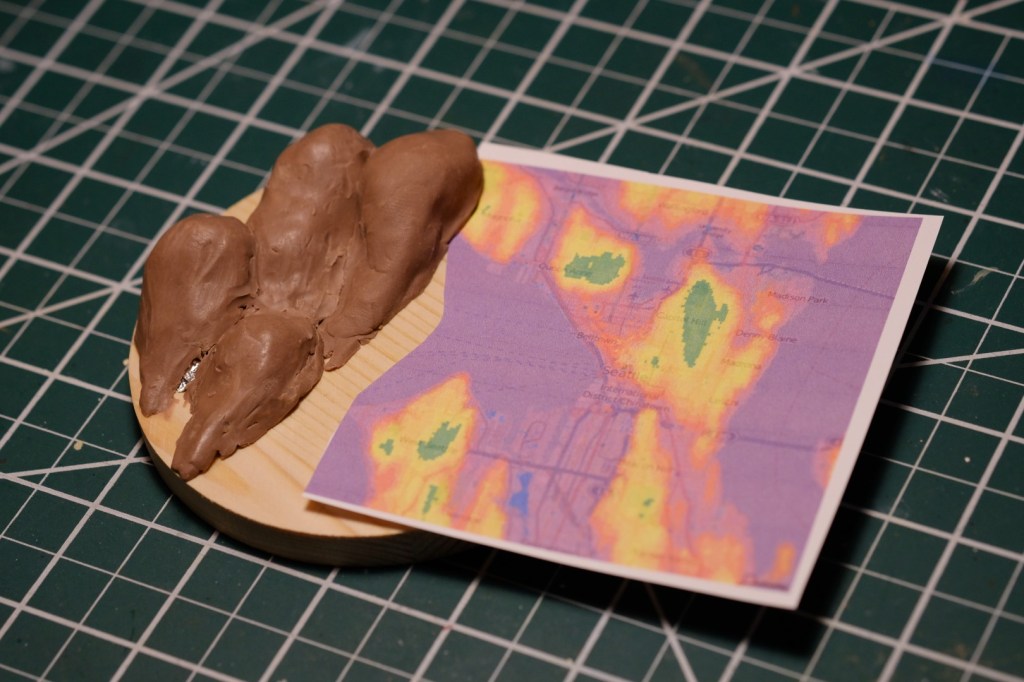
Next stop, Elliott Bay! I chose the real-life topography of Seattle and the surrounding bodies of water as the scenery that Yume-chan is flying over. If you know the area, you know that it’s quite appropriate for there to be clouds here. Not that clouds are rare in other places, but in Seattle they are particularly un-rare.
I printed out an elevation map of the Seattle area and cut out the section surrounding Elliott Bay. This was glued down to the the base and the excess trimmed off.
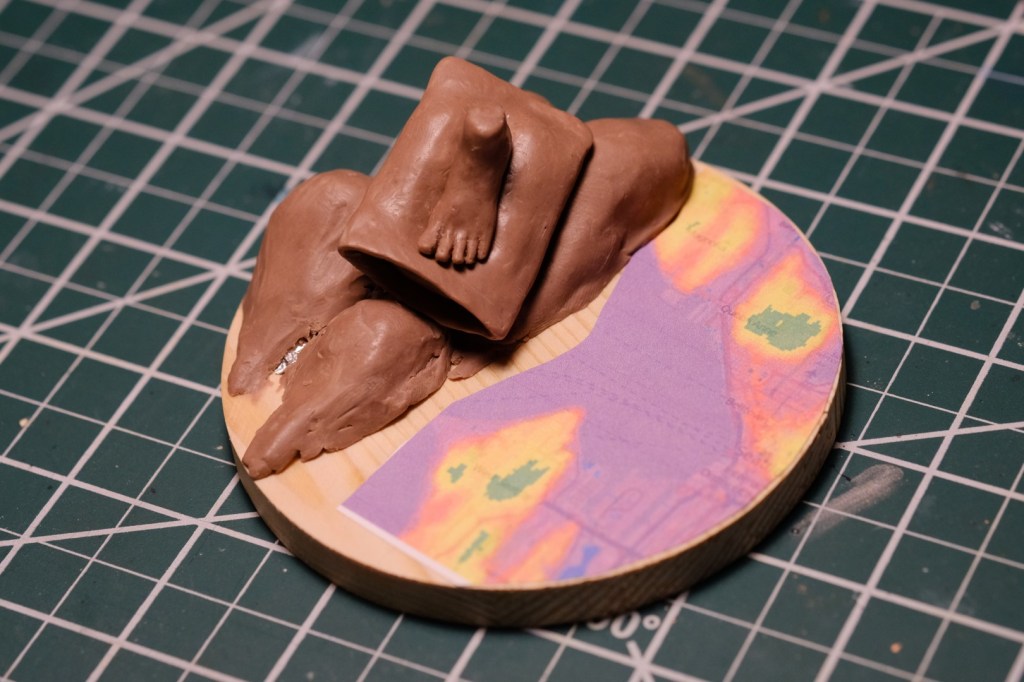
I did the shorelines first, placing down thin strips of clay, forming them to the shape of the coast, and then refining and sharpening the edges with a small ball tool. I left out most of the fine details, particularly things like piers. It’s not perfectly accurate, but it should be immediately recognizable to anyone familiar with the area. If you’re not familiar with it, everything surrounding the bay is part of Seattle. Downtown is located at the innermost part of the bay. The Space Needle is located at the northern end of downtown. Now you know!
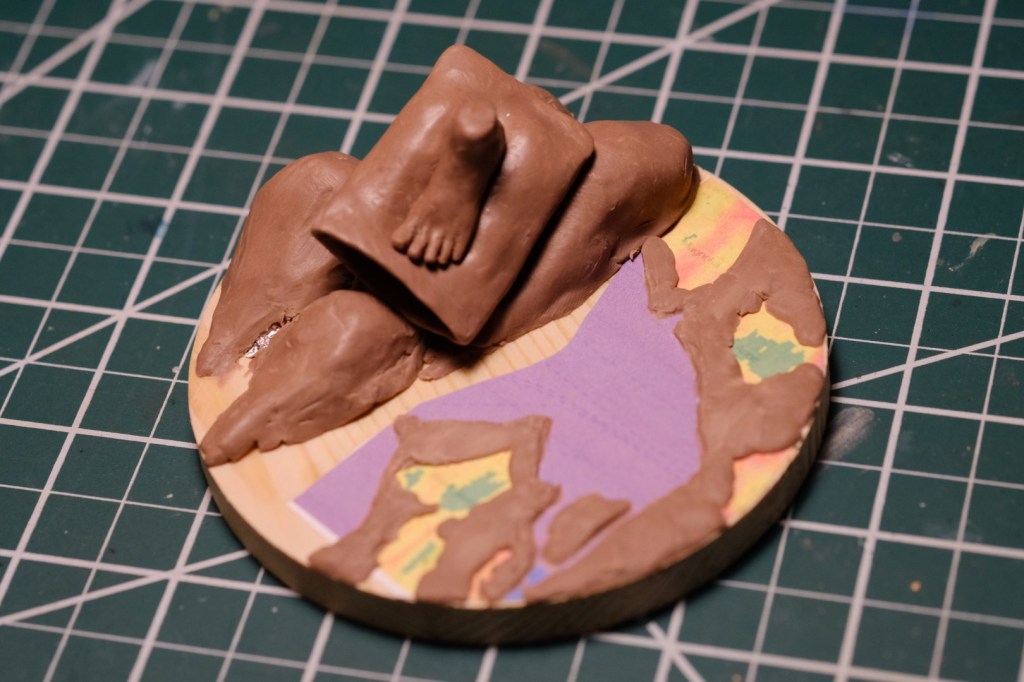
When doing the shore, I tried to leave the hills (colored yellow and green on the elevation map) uncovered so that I could reference the relative heights when sculpting them. The finished hills are, admittedly, still not very accurate, but at least they’re in roughly the right places and they look convincing enough.
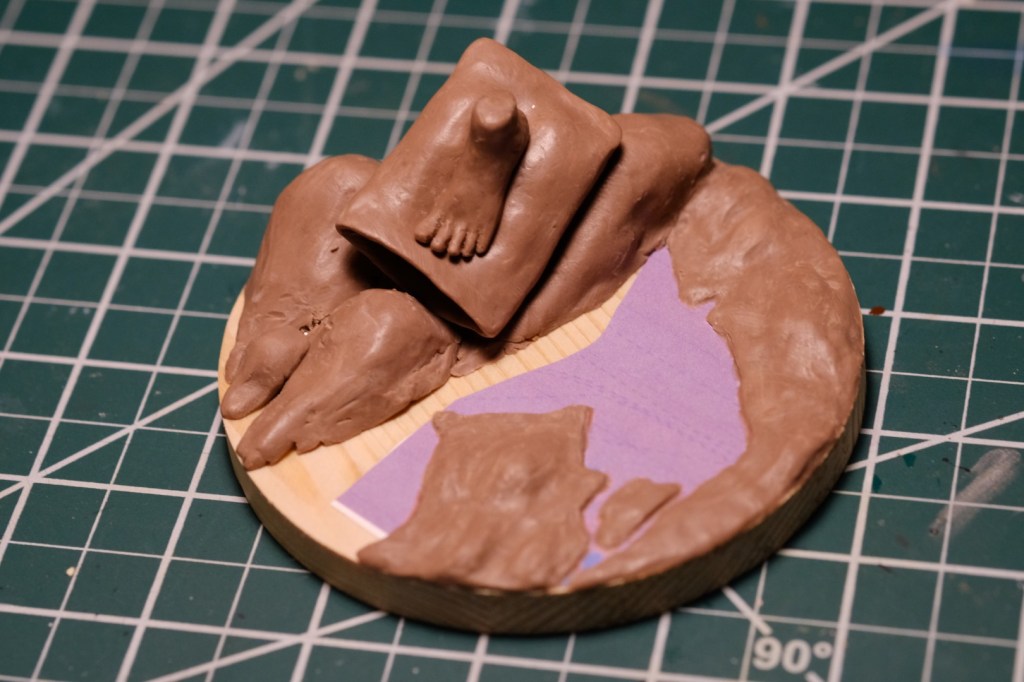
You may have noticed that I left the actual city of Seattle unsculpted. I have a couple reasons for this: firstly, I don’t think I’d be able to render the buildings convincingly at this scale, and secondly, just as with the clouds, I don’t want to distract too much from Yume-chan. I want the base to complete the scene without being the focus of it. I think for the painted prototype I’ll just cover the land in greenery. Hey, it’s a dream, it doesn’t have to match the real world completely! Who knows what happened to the city.
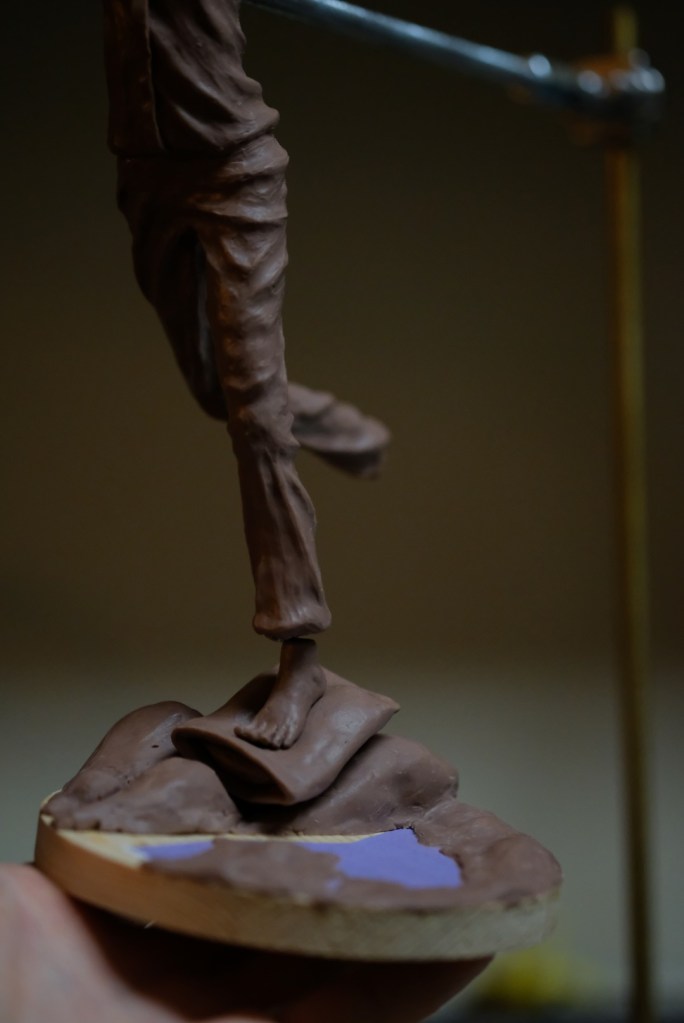
It still needs some refinement, but I’m quite pleased with how the base turned out! Even more than that, I’m pleased that the last piece of the kit now exists in some form. All that’s left is to refine the sculpt and add detail, and then I can move on to the mold!


Leave a comment