(poor pours bore porous forms)
Yume-chan is ready for resin casting, but I am not. That is to say, my garage kit’s prototype sculpt is complete (!) but I have very limited experience with casting said sculpt into resin. That’s what I’ll be looking at today. First, though, let’s see the last few things I did for Yume-chan.
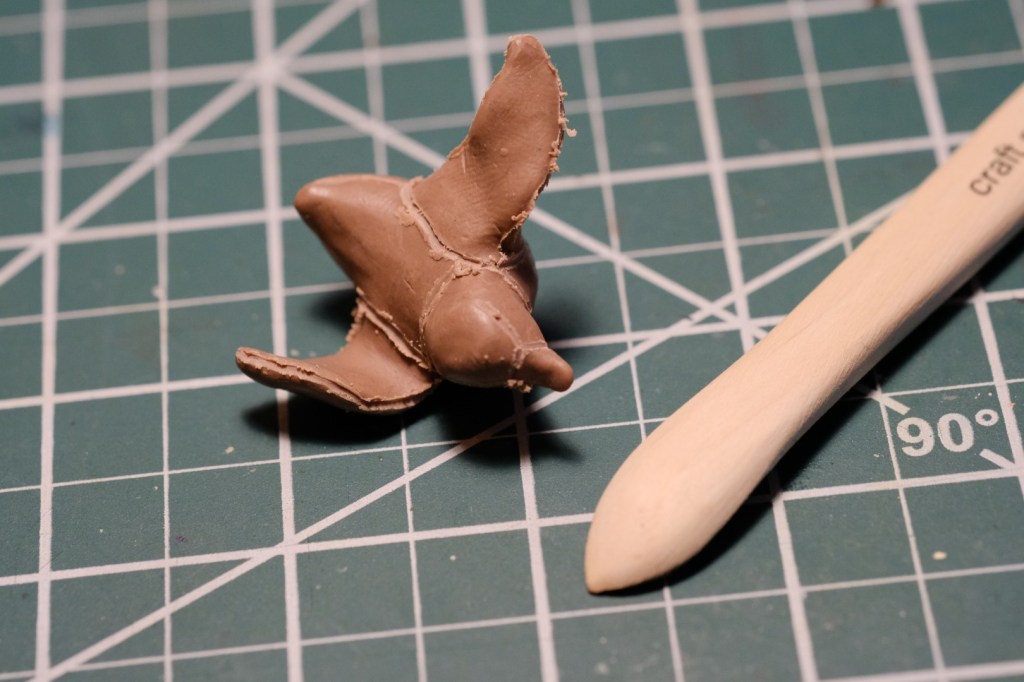
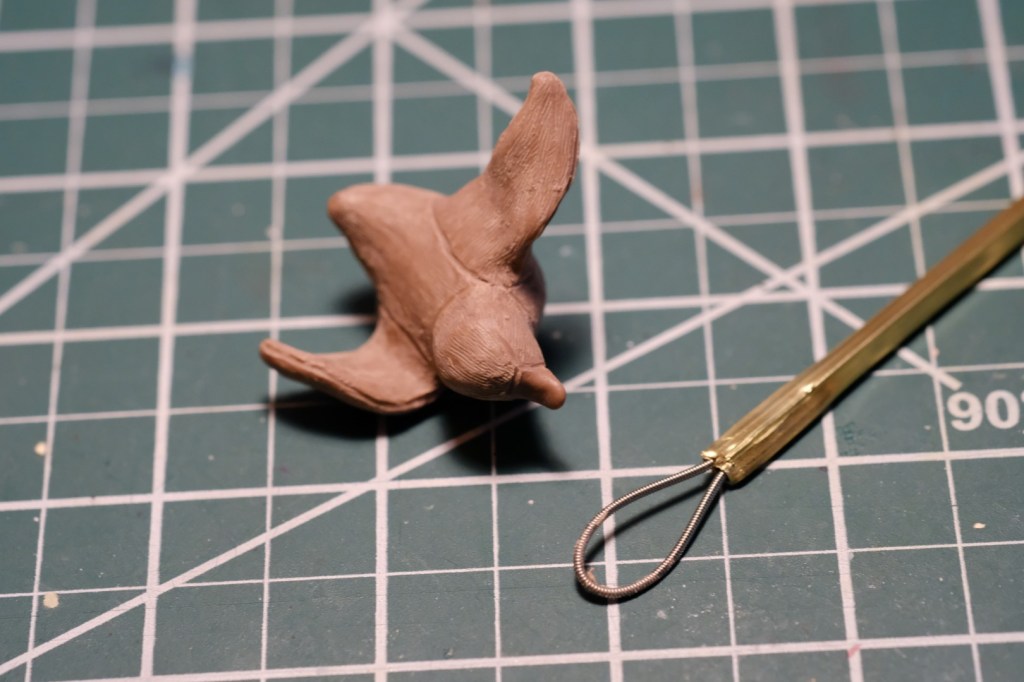
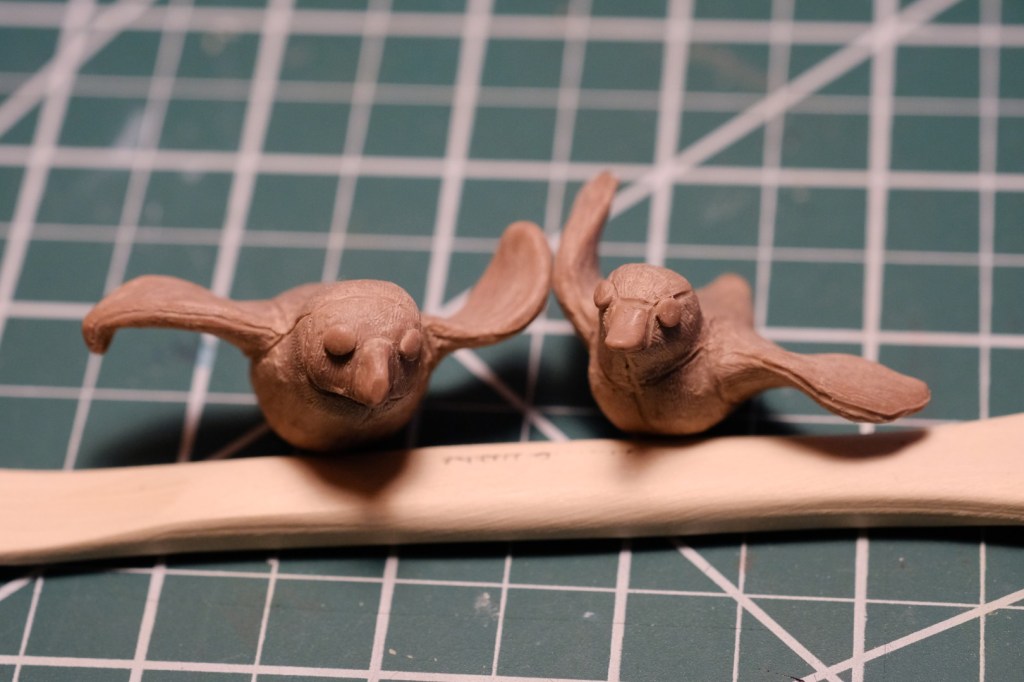
Remember the stuffed animals she was holding? I added seams to them to make them look like they were actually sewn together and, y’know, stuffed. I textured them up with a rake to make them look fuzzier and added little button eyes. I can almost picture them sitting in a bin at a zoo gift shop now!
I also smoothed out the remaining tool marks and other rough parts of the sculpt with an alcohol torch. Basically, this involves melting the surface of the clay just enough to let the surface tension pull away all those little ridges and grooves. It’s a hell of a lot less effort than trying to burnish the entire thing manually, and the flame emitted by the torch is controlled and precise enough that you can still achieve some level of detail work. The only downside is that it works too fast sometimes, and it’s easy to melt away details and over-soften sharp edges. Which, well, I might have done in a few places… 😬
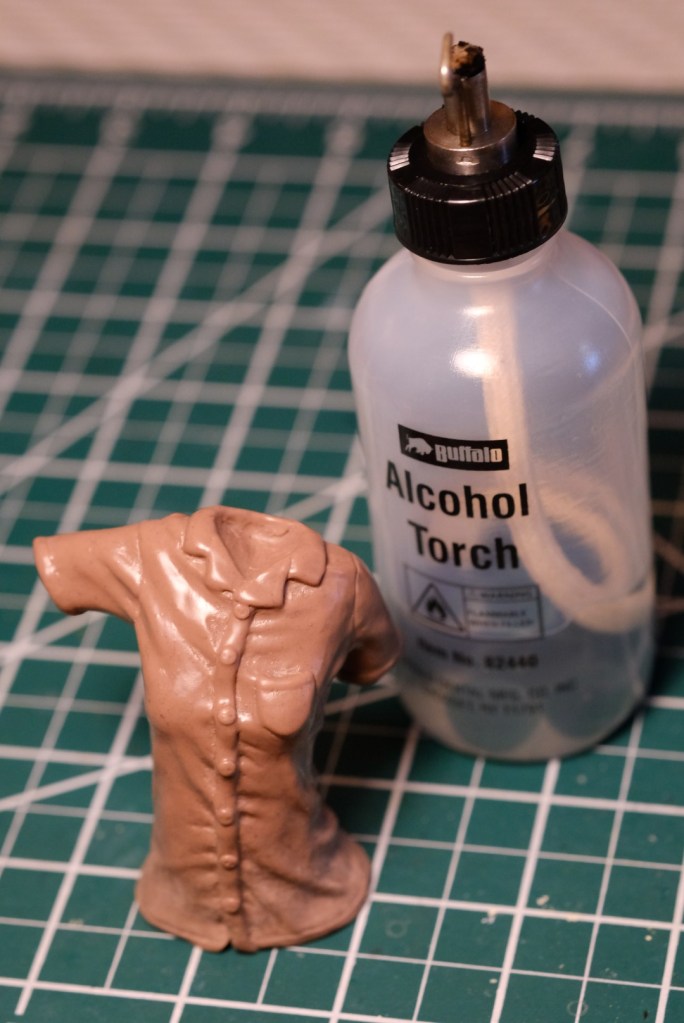
Yeah, I went a bit too far with the torch. The buttons, in particular, lost a lot of their definition. Oh well, lesson learned. I corrected them afterwards, and I’m still pleased enough with how everything turned out.
I decided that I would wait to add sprues to Yume-chan until I got the hang of mold making. Speaking of which…
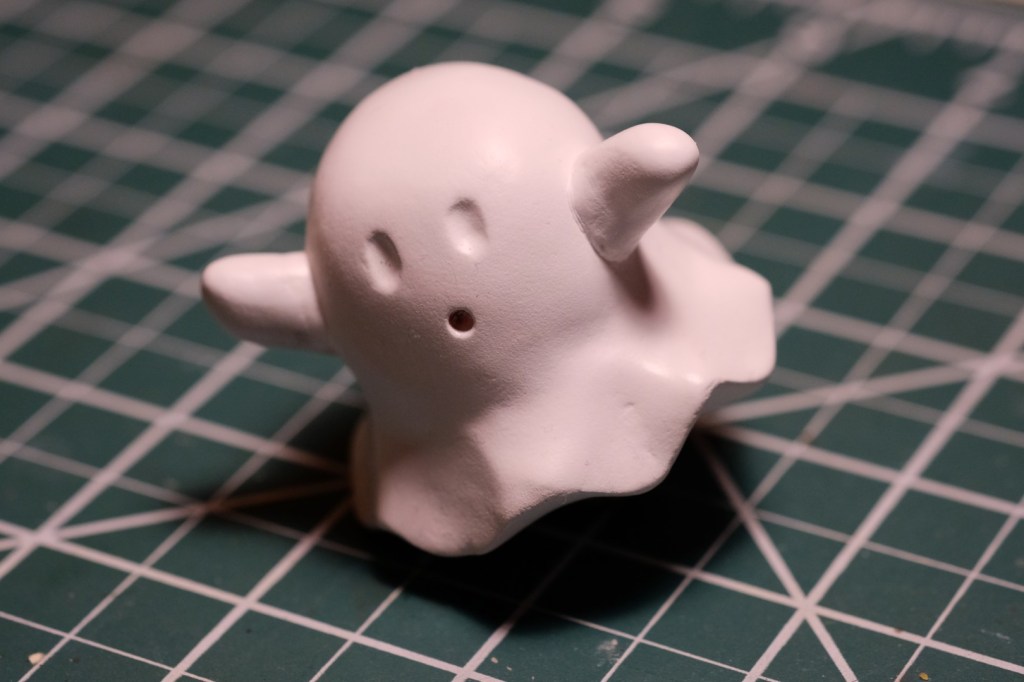
It’s mold-making time! Rather than risk ruining a sculpt that I put a lot of time into, I made a little ghost to use as a guinea pig. I will try to limit his suffering.
I opted to do a cut mold rather than a two-part mold. What’s the difference? A two-parter is what most people probably think of when they picture a mold: two separate halves that join together, with the object you’re casting sandwiched between them. When creating such a mold, you make the two halves one at a time. To produce a cut mold, on the other hand, you pour the mold medium (in this case, silicone) all at once and let it solidify around your prototype. After that, you cut through one side of the silicone until you reach the embedded object, leaving the other side intact. Then you simply unfold the mold. A benefit here is that, unlike with a two-part mold, the seamline only runs down one side of the cast object. The drawback is that, as you have to cut down to the object from the outside, it’s harder to control exactly where the seam lands. Obviously this second technique only works with soft molds, like the silicone ones I’m using here. You’d have a hard time folding open a chunk of metal!
I think it’s easier to understand with pictures:
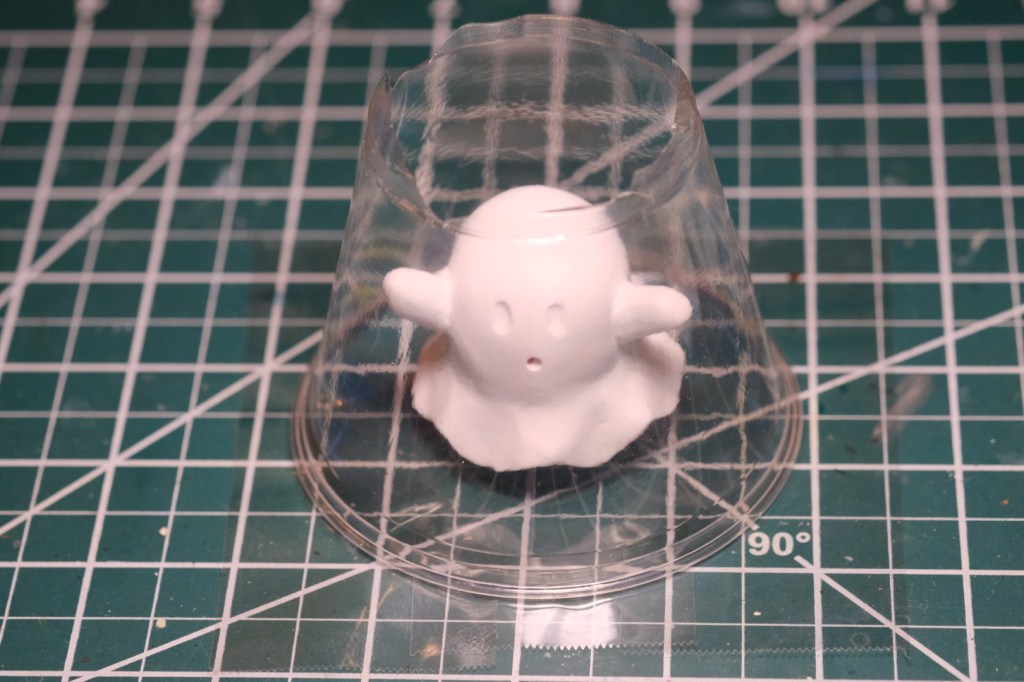
You form the mold using your prototype and some sort of container. You don’t want the container to be so small and tightly-fitted to your item that the mold walls end up thin and overly flexible, but you also don’t want it to be so large that you end up wasting tons of silicone filling in all that empty space. This stuff’s expensive! In my case, a disposable cup seemed to fall right into that Goldilocks zone.
I attached a spare piece of brass tubing to the bottom of the ghost to create an inlet for the resin. I wanted the seam to run down the ghost’s backside, so I marked that position on the exterior of the cup. This way, even after the silicone was poured, I’d still be able to tell which side to cut. You don’t want the seamline running right across the front, after all! Unless you want your sculpt to get a cool but unwanted face scar.
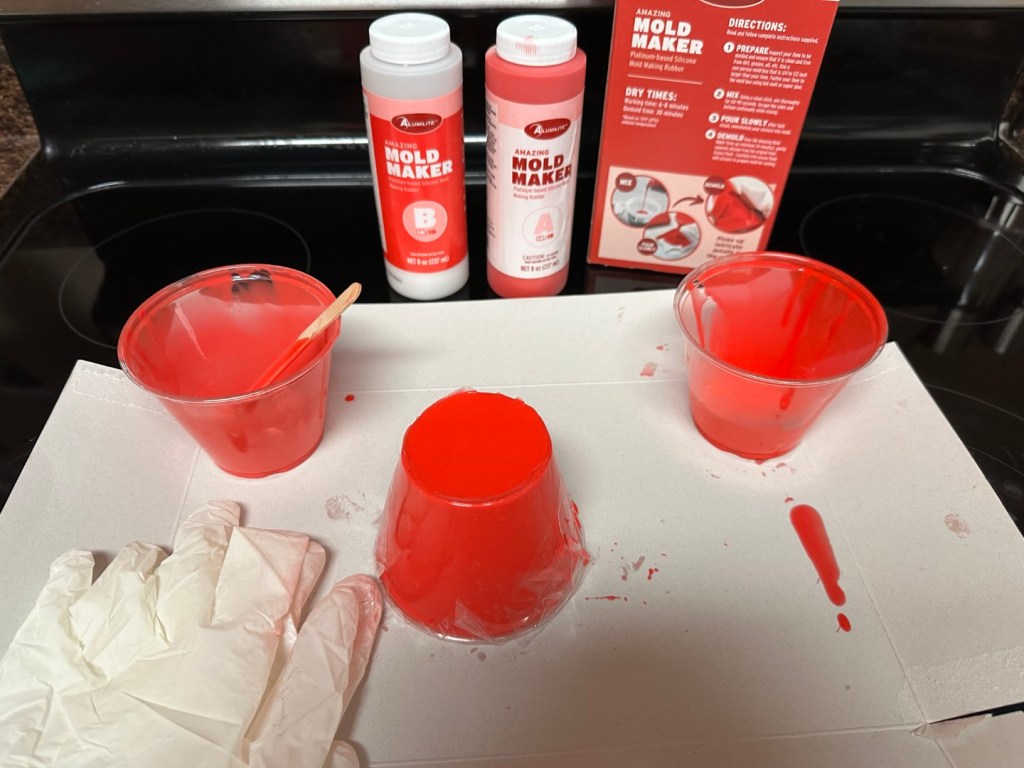
This particular two-part silicone needed to be mixed in equal parts by volume, although there are other varieties that use different measurements. So read the instructions if you plan to do this! I poured the mixture into the prepared container and waited about half an hour for it to set.
And yes, I was doing this on my stove. Don’t judge.
Using an Xacto knife with a fresh blade, I sliced open the mold along the backside that I marked earlier. I cut in zig-zag motions to create uneven edges, which help lock the two sides of the mold together and keep them aligned. In hindsight, though, I went a little too crazy with my zigging and zagging, which ended up making the seamline awfully conspicuous. I used raging waves of zig-zags where I’d have been better off using a gentle ripple motion. Now I know. Think calm seas, not stormy ones. This is why it’s good to test on a guinea pig. (Sorry, ghost!) 👻
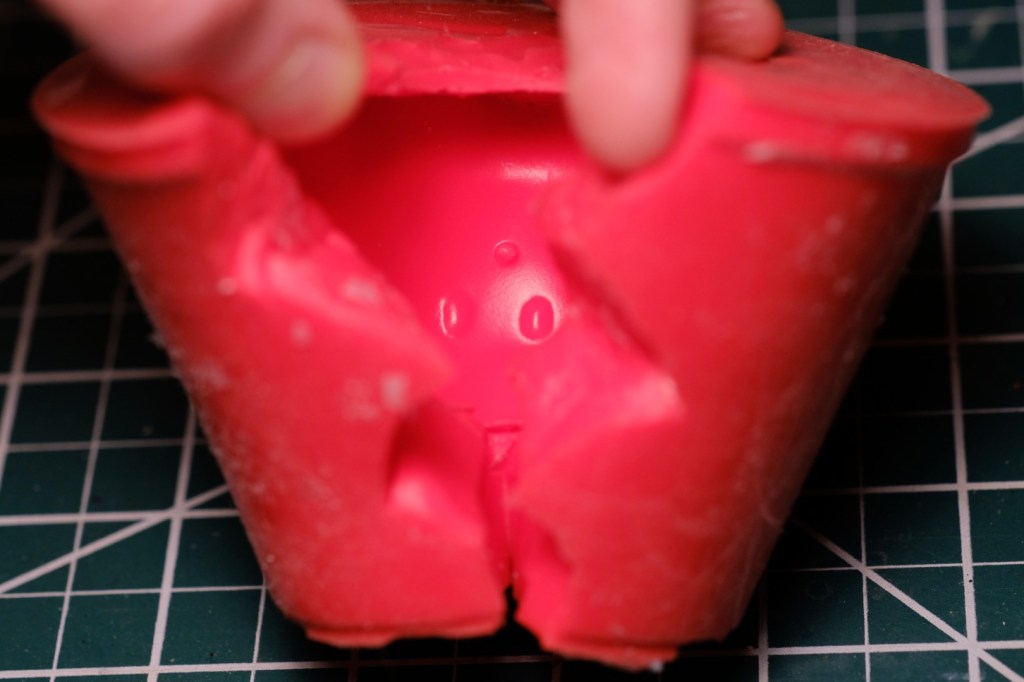
The final mold ended up with a heap of problems. Bubbles galore, and one very thin spot along the top of the head. But the important thing was that it was still a functional mold!
Mistakes noted, I moved on to casting. I secured the mold with rubber bands, trying to strike a balance between making them tight enough to prevent flexing and not so tight that they caused flexing of their own. Like with the silicone, I mixed the resin in two equal parts by volume. It warms up as you mix it, and stays that way long enough to heat up the entire mold after you pour it in. Call me Dr. Frankenstein, because I couldn’t help but feel like my creation was coming to life. Sometimes I wish I was a mad scientist.
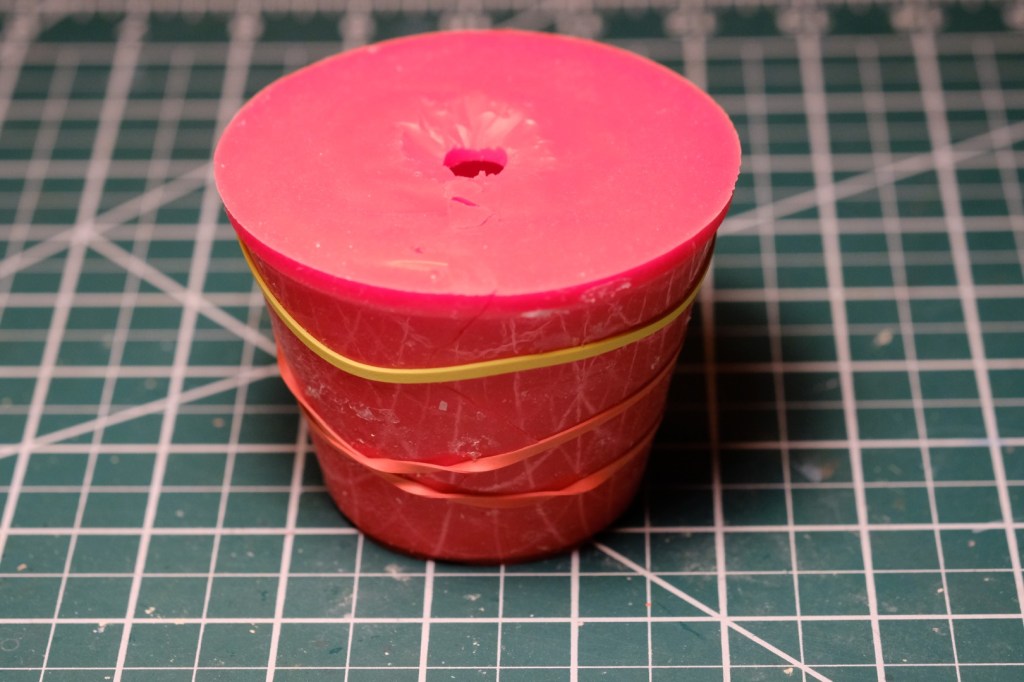
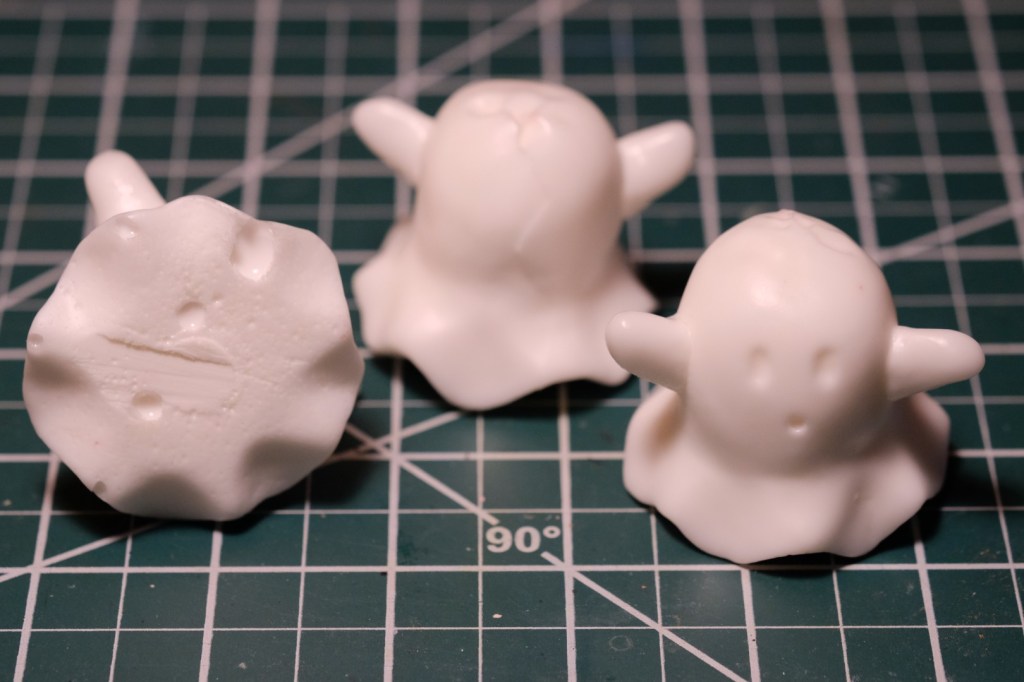
Ten minutes later, I removed the rubber bands and opened up the mold. Lo and behold, the ghost had been cloned!

I did it a couple more times after that. Despite the many flaws (janky seamline, bubbles galore on the bottom, ripples on the top where the mold was thin), it was quite exciting to see the little ghost multiply before my eyes.
Letting your pours cure inside a pressure pot is supposed to help with bubbles, so I’ve bought one and plan to do my next practice mold in it. There are a few other changes, too, that I’ll try before I tackle Yume-chan. I’m not looking to get the techniques perfect (or else I’d never be satisfied), but I would like to get them right. In other words, I’ll be doing a lot more of this over the weekend. Time to binge-watch Robert Tolone’s YouTube channel…


Leave a comment