(don’t cast aspersions on my casting skills)
Continuing with my little practice-project ghost prince, I think I’m finally nailing down the techniques to get a good resin cast. Last week I poured the mold; this week I’m pouring stuff into the mold. All this pouring is making me want some tea…
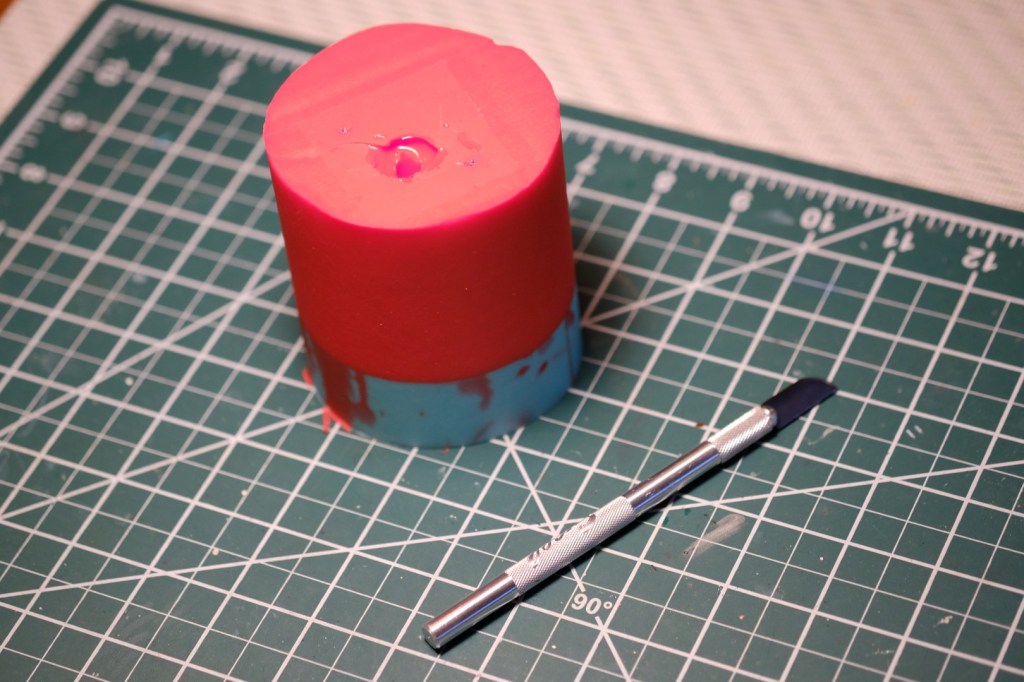
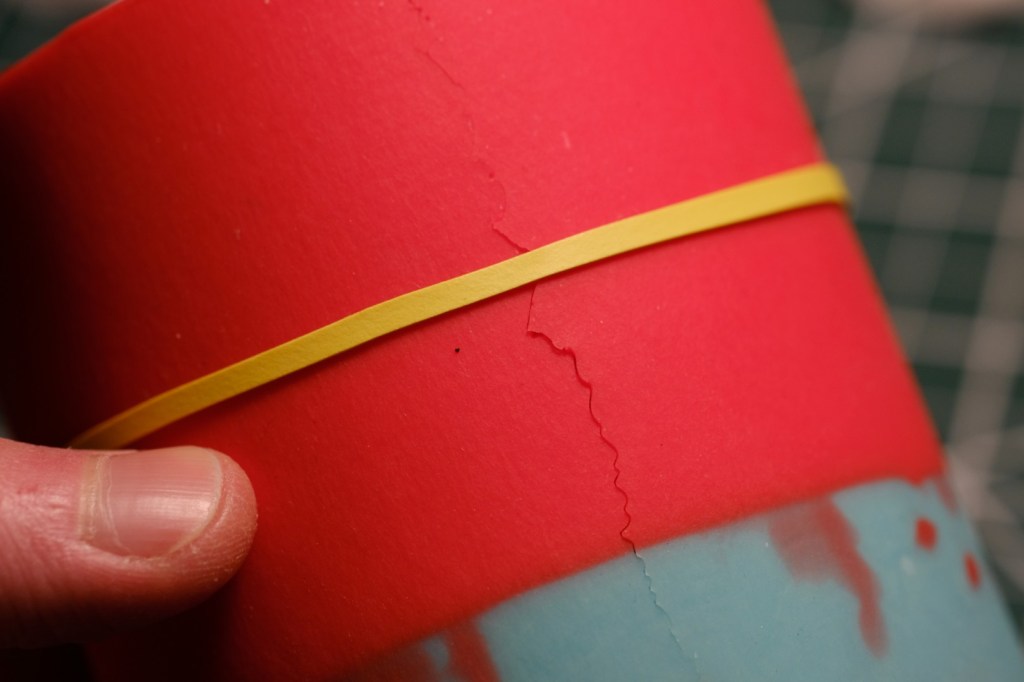
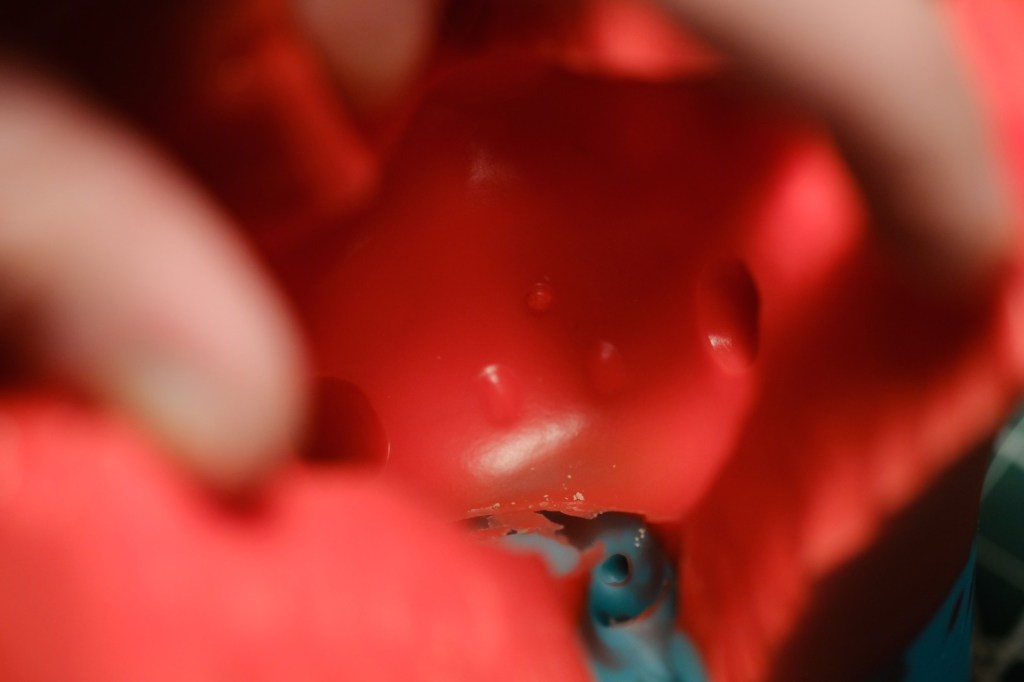
Before I started mixing resin, though, I needed to cut open the mold and release the prototype ghost sculpt. I wanted the main seam to run down the ghost’s back, so that’s where I started, the positions of the sprues indicating the position of the ghost under all that silicone. With sort of wiggling motion, I cut in with a hobby knife, creating a wave pattern in the silicone as I went. If you read my previous posts, then you’ll know that this pattern helps align the two sides of the cut. The better the alignment, the less noticeable the seamline! Here’s a visual example of how this works on the mold:

I made a few more cuts radiating from the main sprue, making sure to hit the smaller air-release sprues so that they wouldn’t get trapped in the mold.
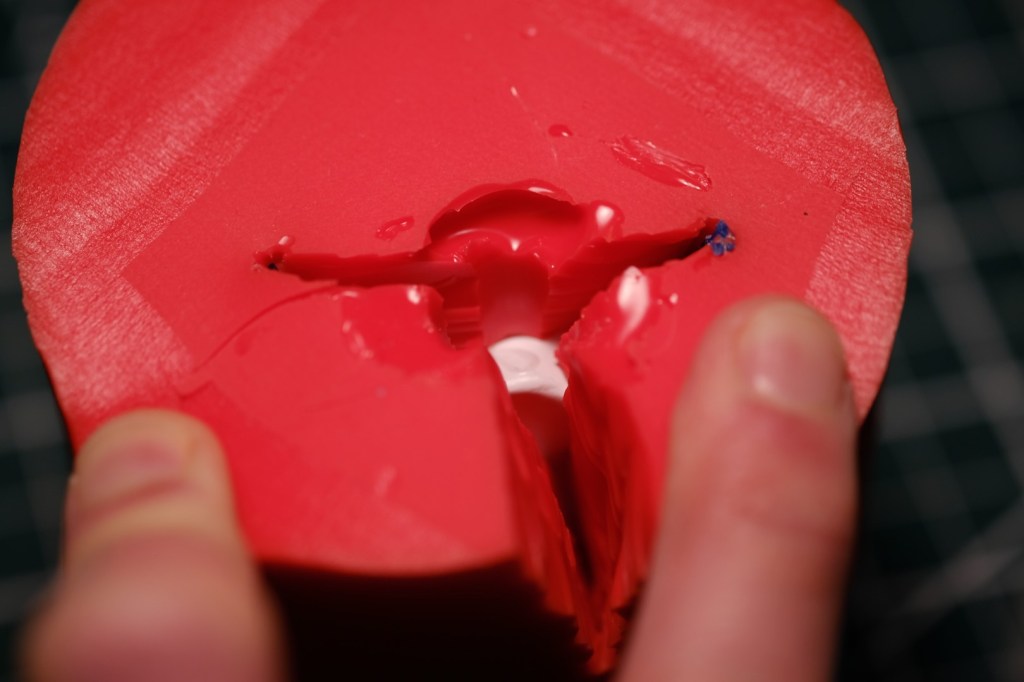
The cutting mostly went smoothly, with the two annoying exceptions being the two small channels connecting the points of the crown to the ghost’s body. They were located pretty deep down inside the mold cavity, leaving me with poor visibility and very little room to maneuver the knife. I struggled to keep my knife aligned the way I wanted, and I had a couple false starts where I began cutting and then realized I was straying off in the wrong direction. Thankfully, as I later found, it didn’t seem to affect the integrity of the mold too much. Don’t you love it when your mistakes turn out not to really matter? If only they were all that way!
Silicone can be hard to cut cleanly, so here are a couple tips for anyone who wants to try it. Use a fresh-out-of-the-box blade on your hobby knife to make sure it’s as sharp as possible. The sharper the blade, the cleaner the cut, and clean cuts make for clean castings. The other tip I have is to stretch the silicone in the place you’re about to cut. Under normal circumstances, a blade might just squish into the silicone instead of slicing into it. Put that silicone under tension, though, and your blade will cleave right through it!
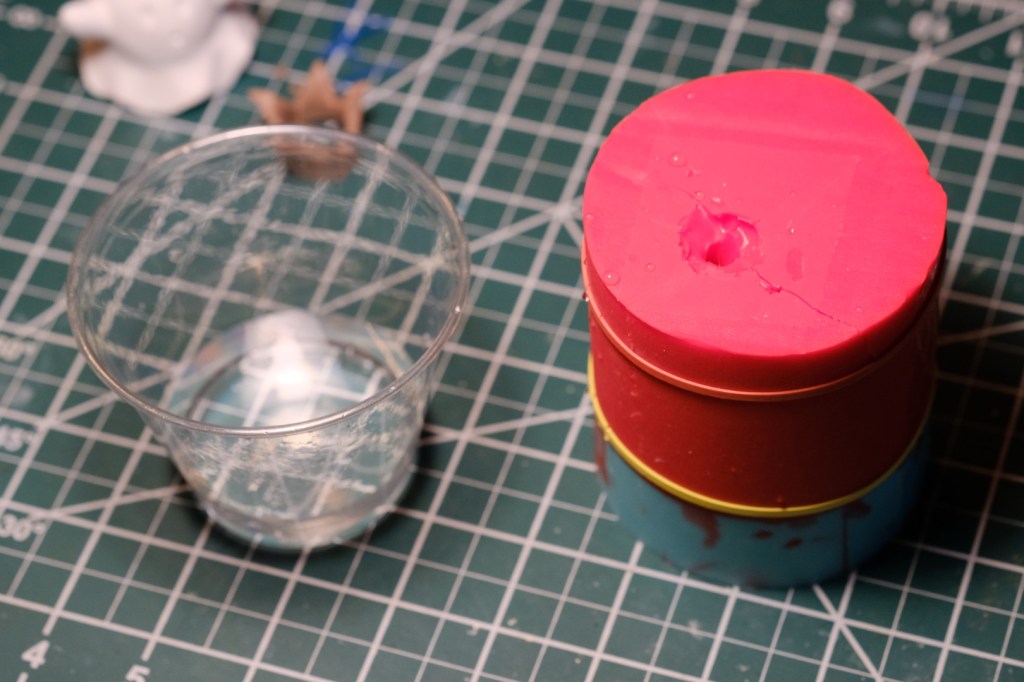
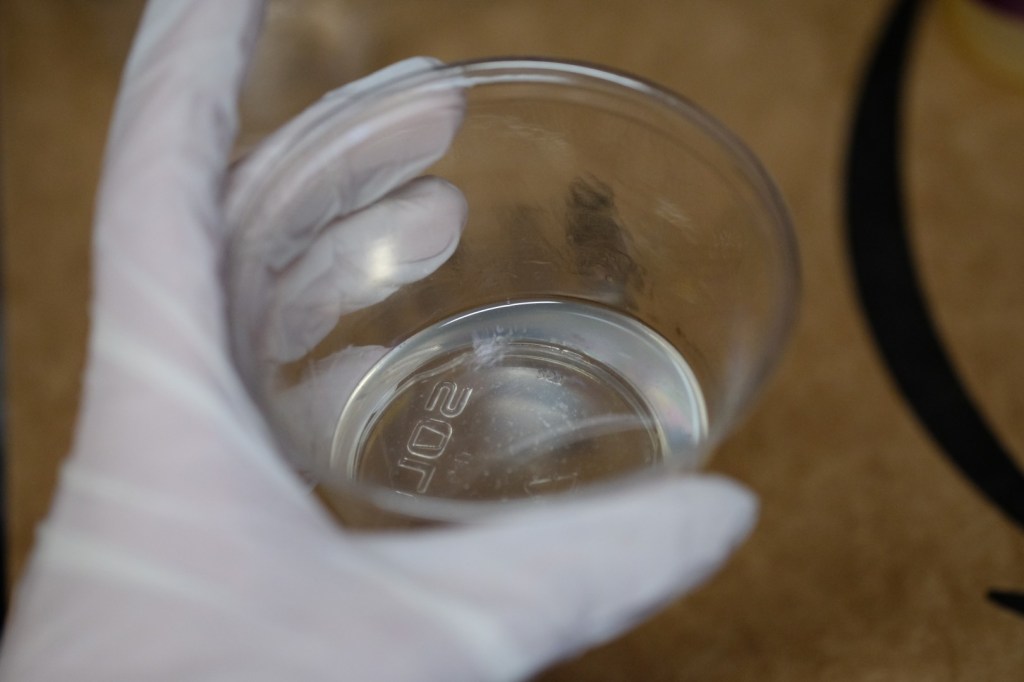
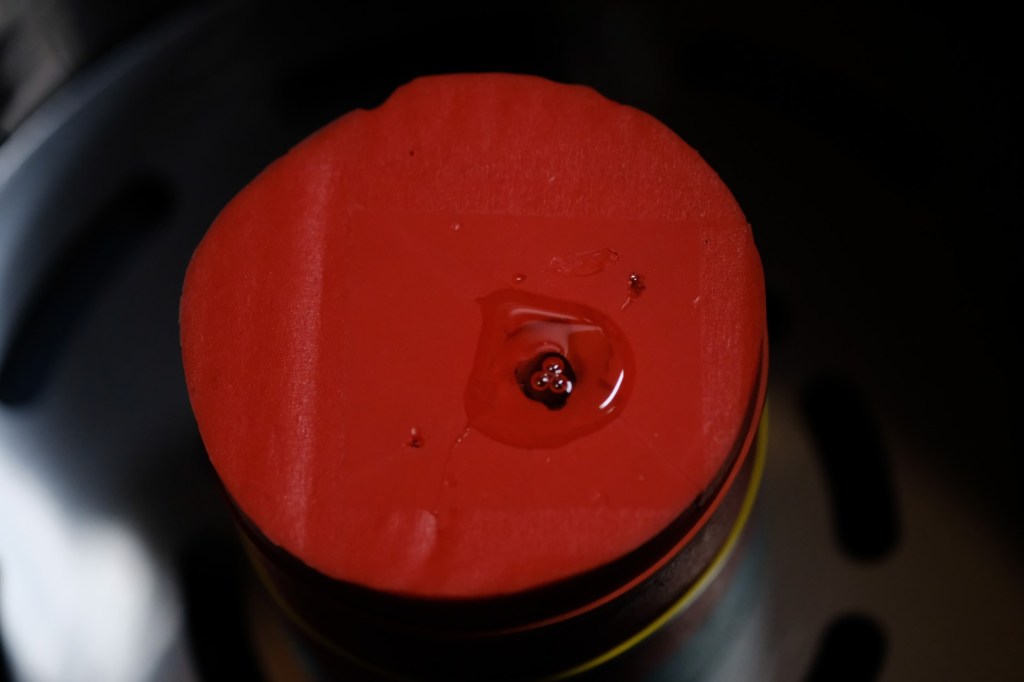
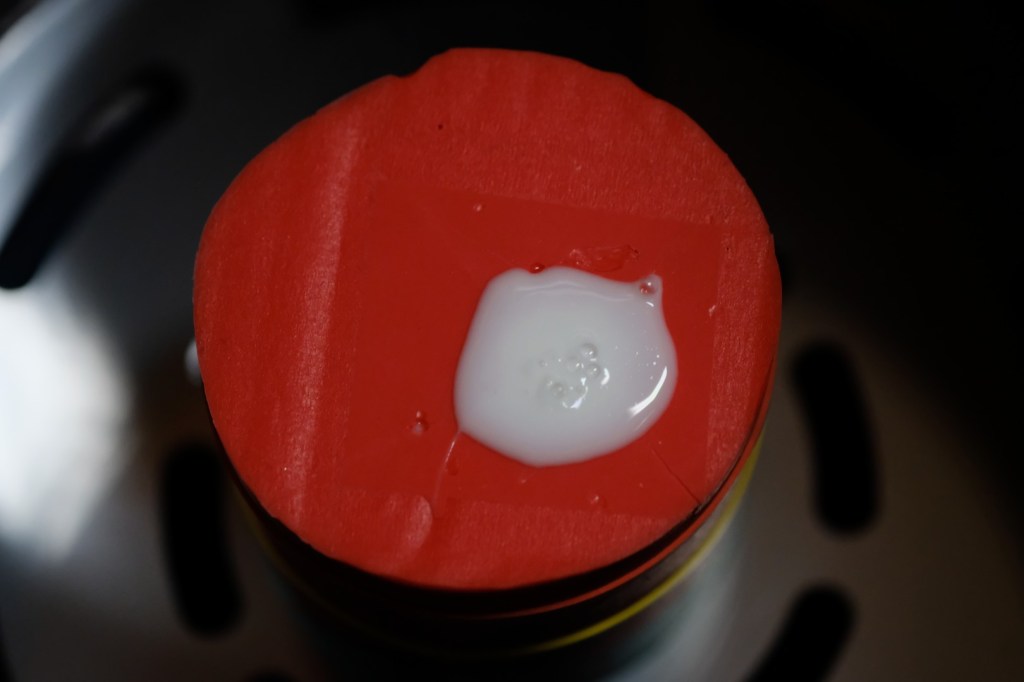
Ok, now we can start mixing resin! This is an equal-parts-by-volume resin, which should make it easy to measure and mix. To avoid wasting resin, I measured the volume of the mold by closing it up with rubber bands, filling it with water, and then pouring that water into a cup. That gave me the exact volume of the mold cavity. I marked that amount on the cup for reference and dried the mold with a hair dryer. Remember this for later…
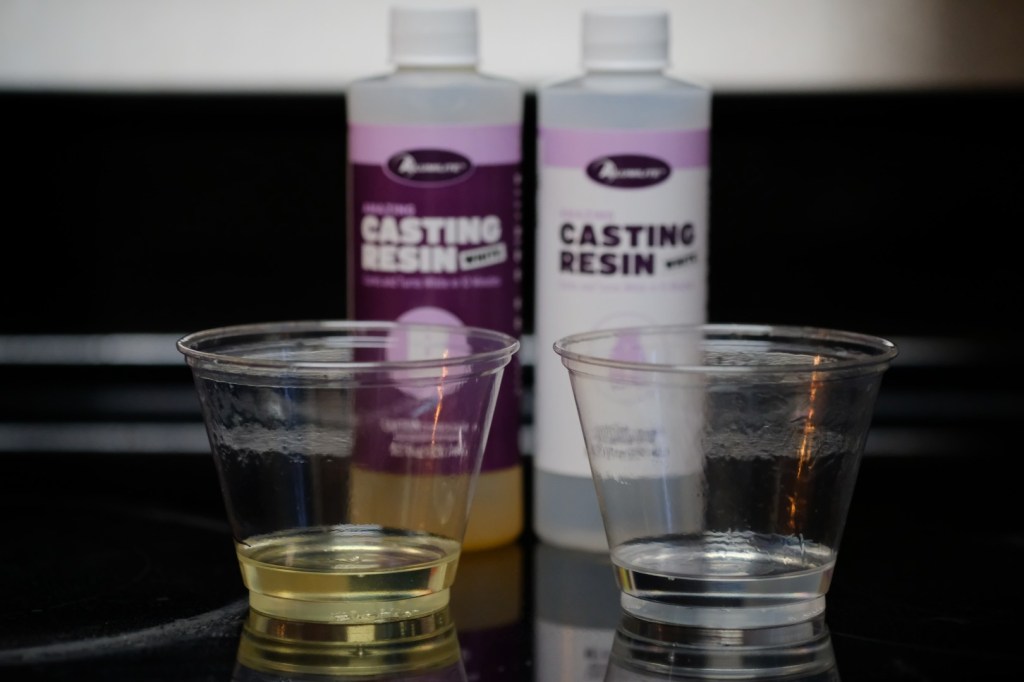
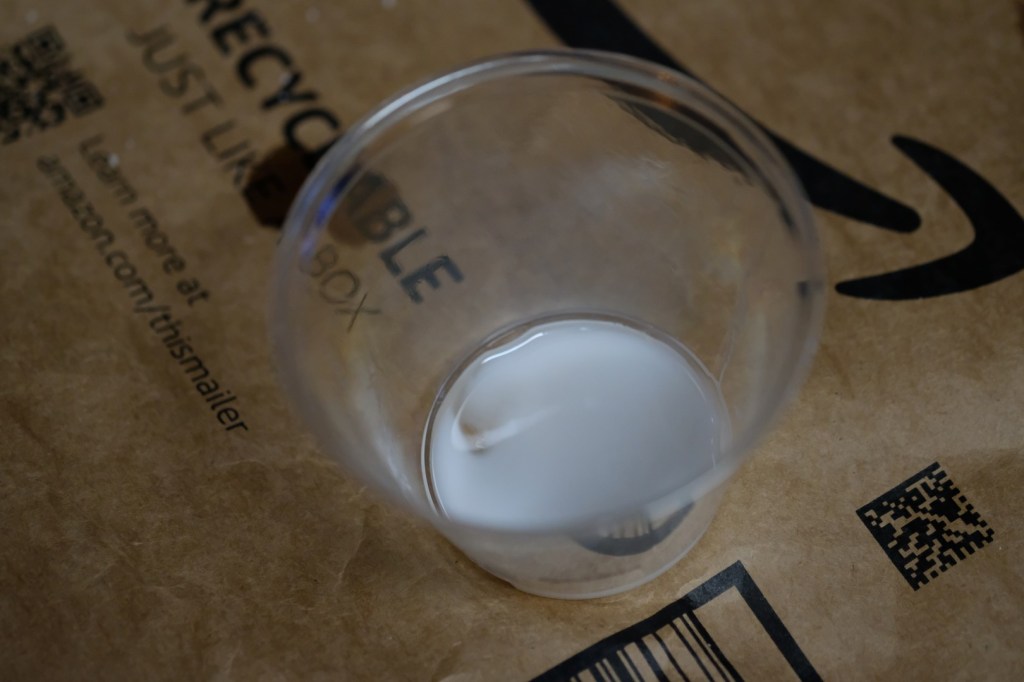
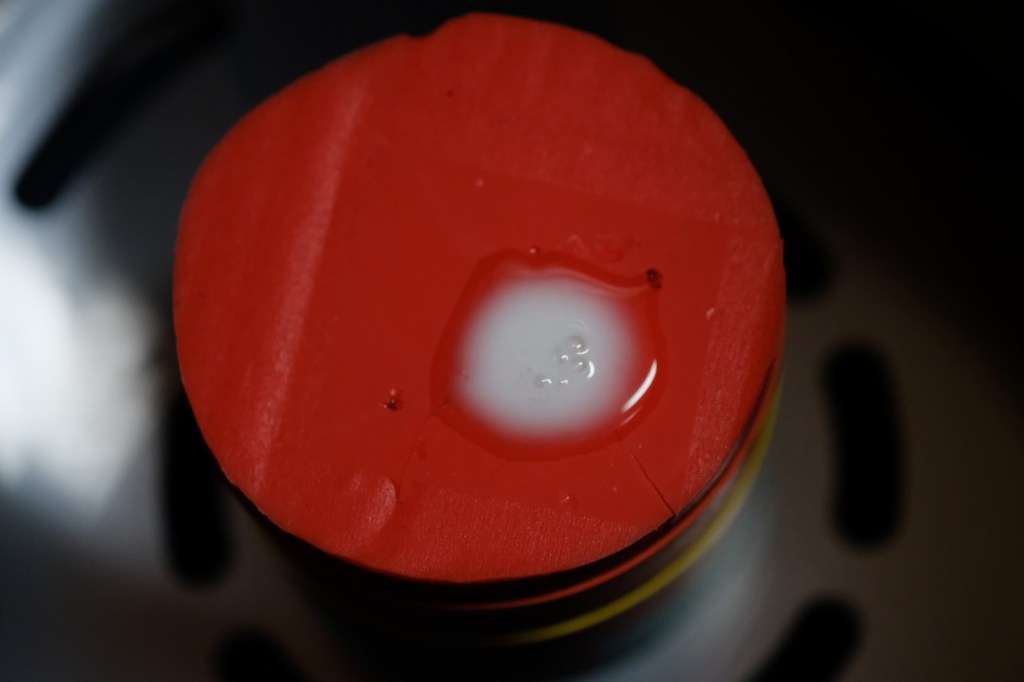
Mixing is simple enough: measure out the two parts, pour one into the other, and stir until the swirls disappear and the resin becomes clear. Once this happens, you only have a couple of minutes before the resin starts to set, so it’s important to work fast! I poured the resin into the mold straight away, then locked it into the pressure pot and turned on the air. I let it sit at 50 psi until cured.
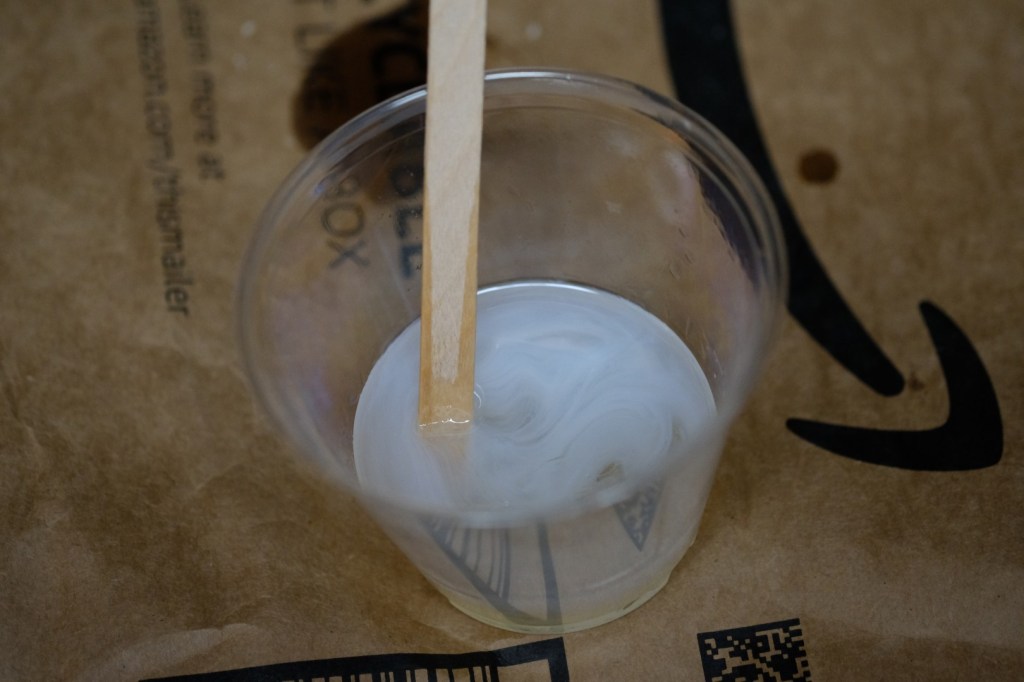

The cure time was listed in the instructions as 10 minutes. I didn’t want any risk of opening the mold and finding a tacky mess, though, so just to be on the safe side, I used the little bit of resin remaining in the mixing cup as a reference, periodically poking it with the stir stick until it felt hard and solid. It’s interesting to note that the larger the resin piece, the faster it cures. I don’t know about you, but that seemed super counterintuitive to me at first. The reason for the phenomenon is that heat accelerates the curing process, and the process itself generates heat. You can even feel the resin warm up as you mix it! The more resin you have in one place, the more heat it generates, which leaves to the aforementioned results. Science or something!

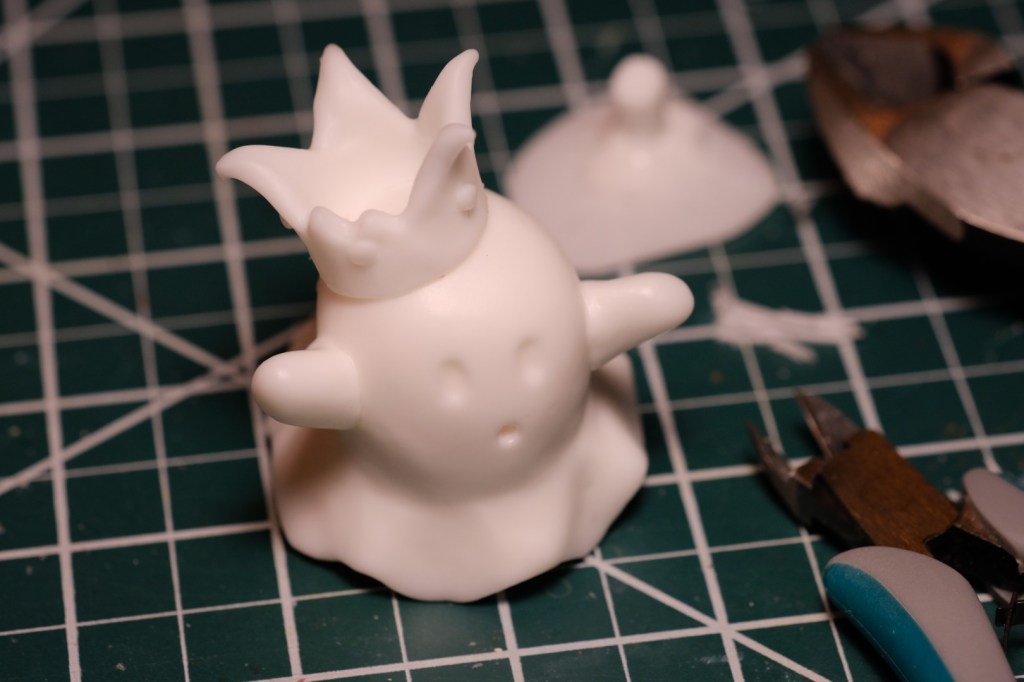
Alright, let’s release the ghost from its silicone prison.
We’ll go ahead and cut off the sprues, too…
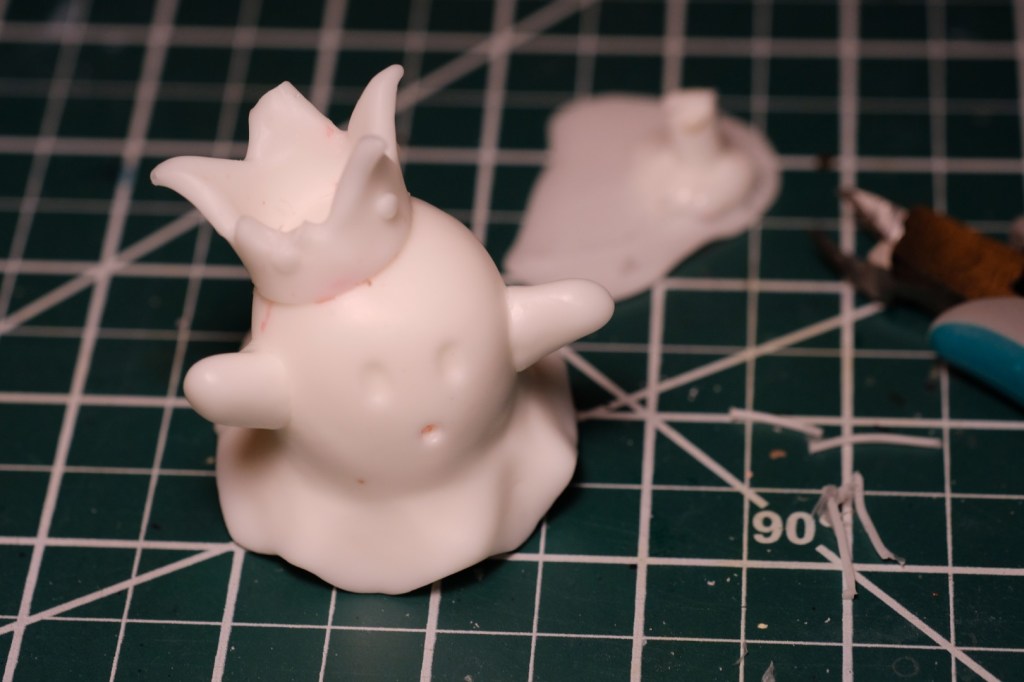
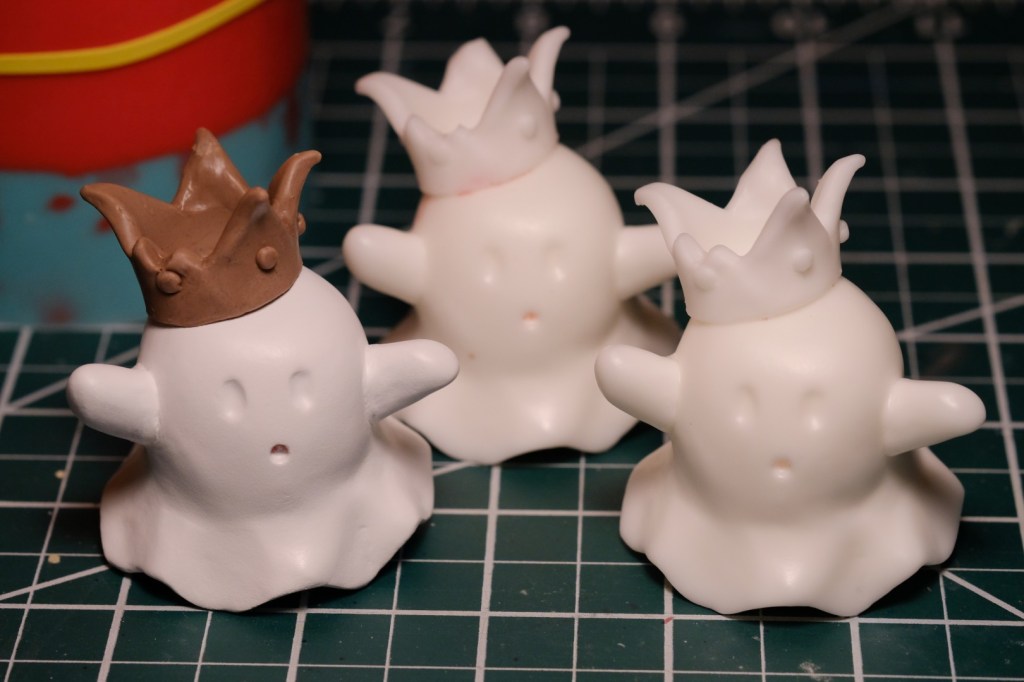
Hey, that turned out pretty good! Almost no bubbles, and the seamlines are practically nonexistent. I must say, this went a lot better than expected. I mean it! I was genuinely surprised when I demolded the ghost and came face to face with a clean, smooth surface instead of a bubble-ridden resin sponge. The only major flaws were that a couple of the points of the crown didn’t fill in all the way. I designed it to look broken, but not THAT broken. Looking for the culprit, I examined the mold and… hey! There was still water in the crown! So much for my attention to detail…
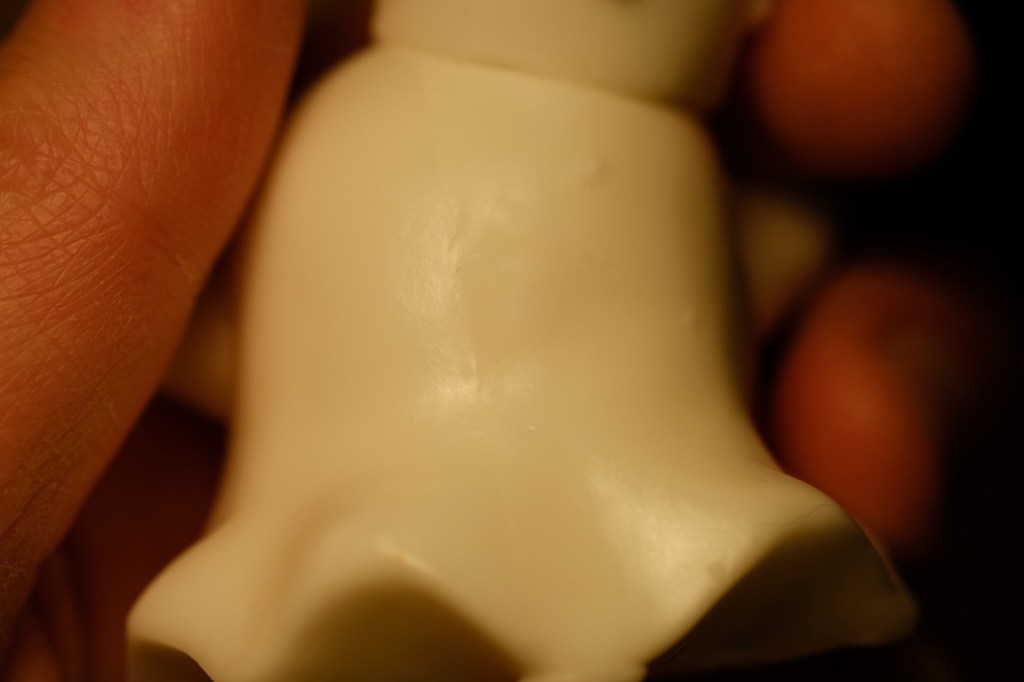
I tried again after drying the mold (but, like, ACTUALLY dry this time) and I could not be happier with the results. See for yourself:
Look at these clean seamlines, if you even can! I could barely capture them in pictures. In fact, the resin was so white and featureless that I struggled to get the camera to autofocus on it. You can only really tell when the light catches the edge:
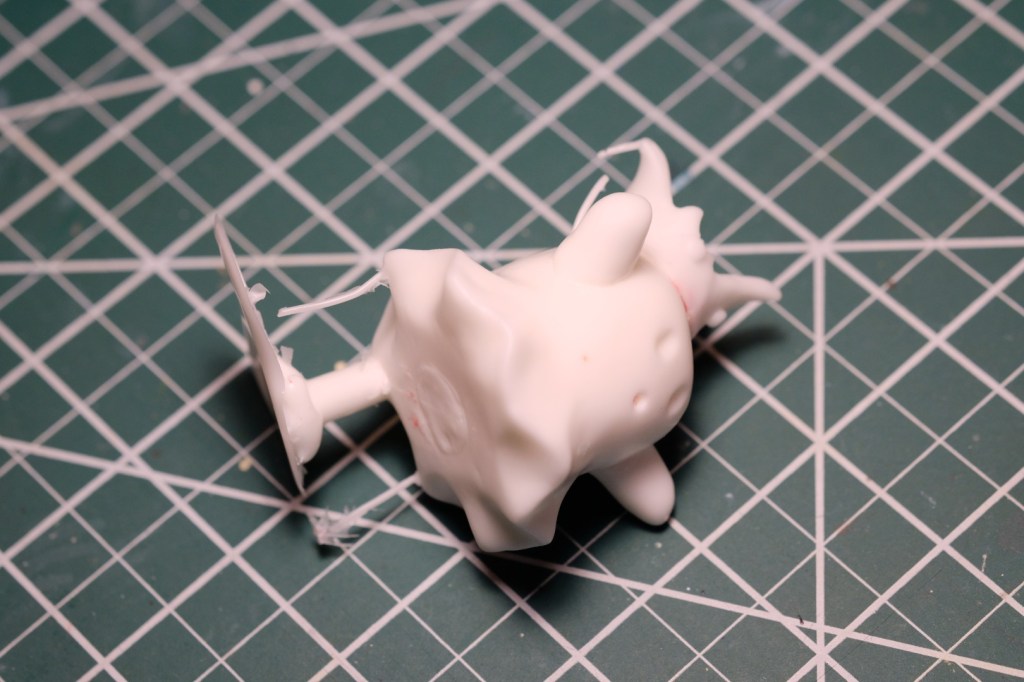
Just as an experiment, I wanted to try one casting without pressure. Uhh… not so good. Even before I demolded the ghost, I could tell it was going to be a disaster. Look at those bubbles coming up! 😬
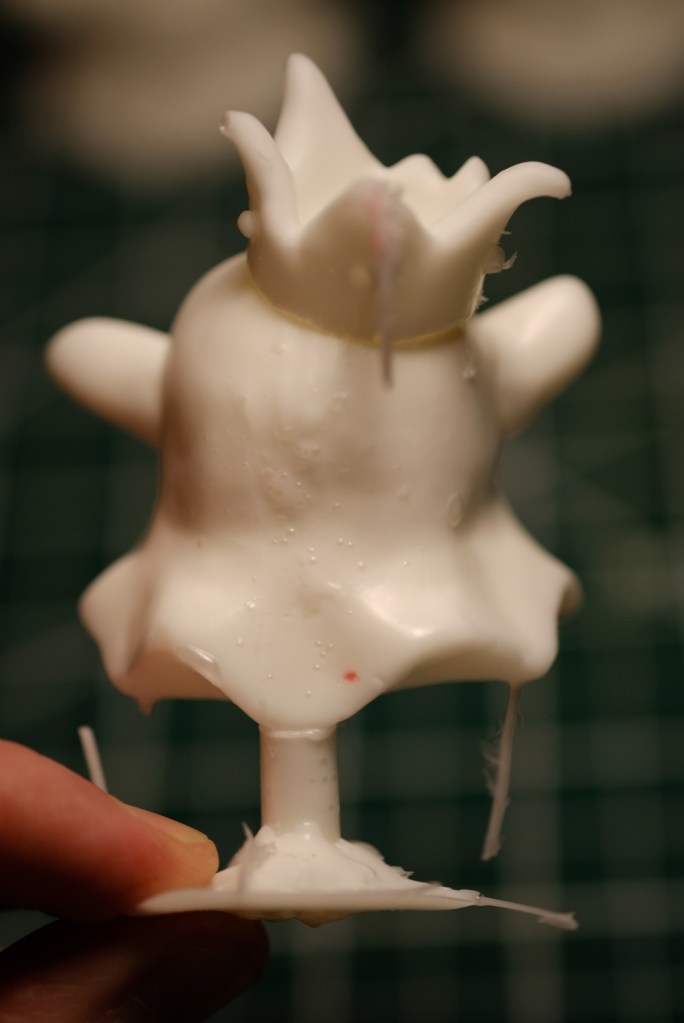
See the results and weep! 🥲 I knew that the pressure pot made a difference, but I didn’t realize quite how significant it would be. Sorry, little ghost! It looks like I gave you the plague or something. But, well, you are a ghost already…
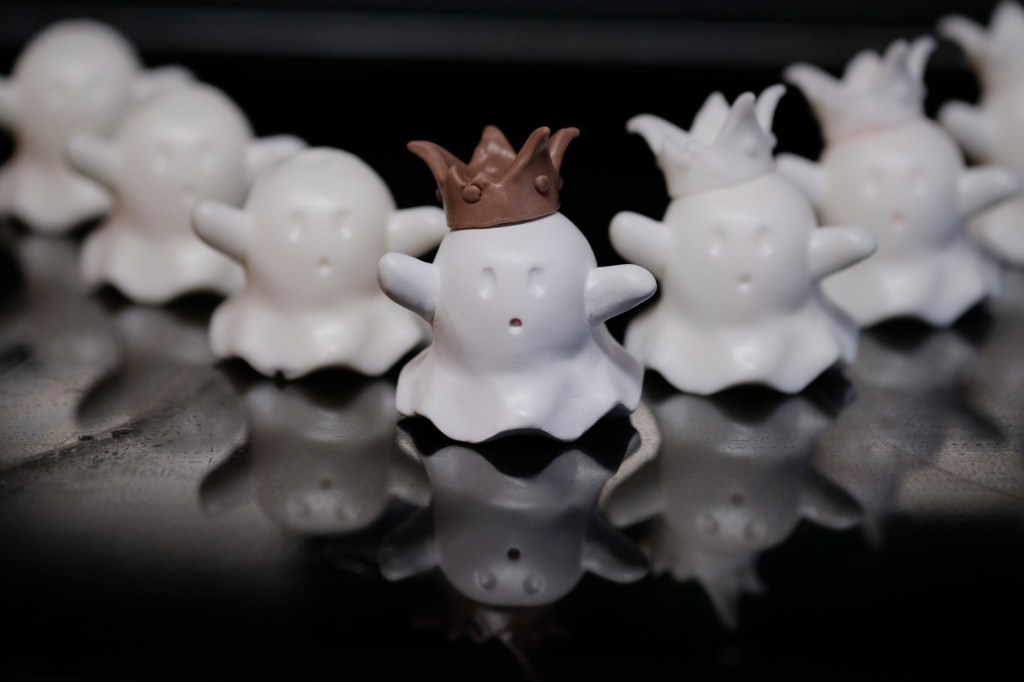
I’m amassing quite the crew here. These little guys are fun to make, but in the end they were always guinea pigs. The important takeaway is that at last I feel confident enough to mold Yume-Chan without worrying (too much) about totally screwing her up. Now that I said that, I probably just jinxed myself. We’ll see!

Leave a comment