(in which i make the same mistake twice, somehow)
Alright, enough practice. It’s time for the real deal: making the mold of Yume-chan! I was pleased with the results of my latest test mold, and as everyone knows, getting good results once means you’ll get good results every time. That’s how it always works, right? Right?

I’ll start by attaching sprues. The goal with these is to create an easy path for resin to flow through the mold as smoothly as possible. You don’t want any bubbles to get trapped in the resin, and you don’t want to end up finding a bunch of little corners where the resin failed to reach. That said, it’s also best to avoid marring the surface of your sculpt with too many sprues that you’ll have to trim and sand off later. Ideally, you’ll end up with the minimum number of sprues/gates that can still release all the bubbles.
Well, that’s the intent, anyway. Whether or not I can execute on it is another question entirely…
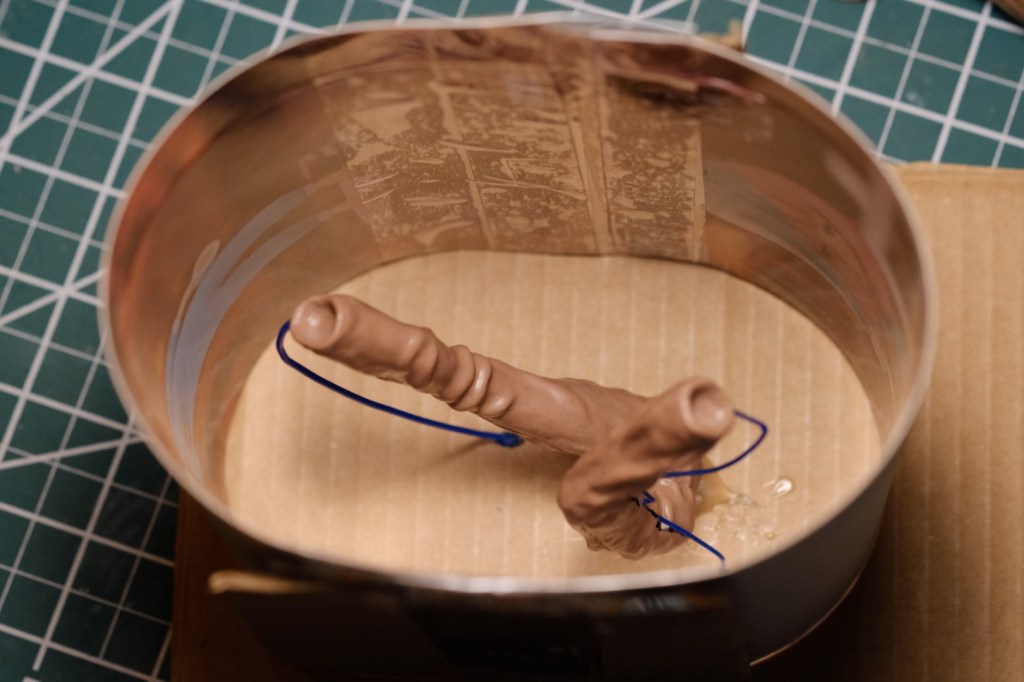
Let’s take a look at the pants:
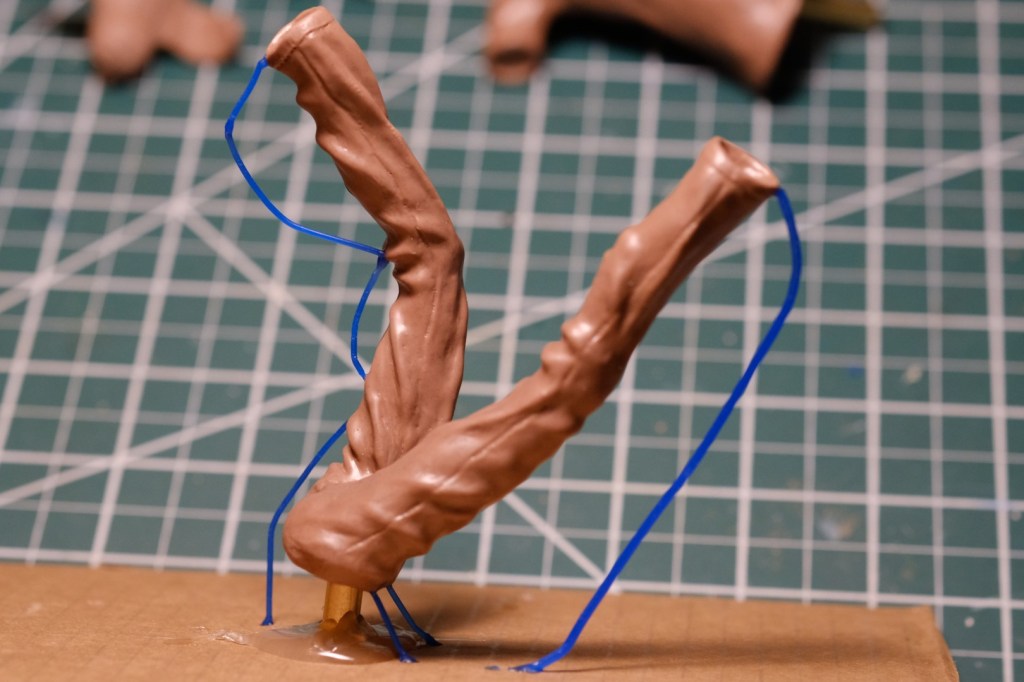
The sculpt is upside down so the sprues can support it, but when the mold is complete, the fill gate (the brass tube) will be at the top. This is where the resin will be poured into the mold. It’s also the largest sprue, so I made sure to position it where it would be hidden after final assembly. You don’t want to have to deal with a giant tube sticking out of the front of your sculpt!
I find it easier to understand the flow through pictures, so here’s a crappy MS Paint diagram of how the resin will actually flow through the mold. Enjoy my fabulous artistry:
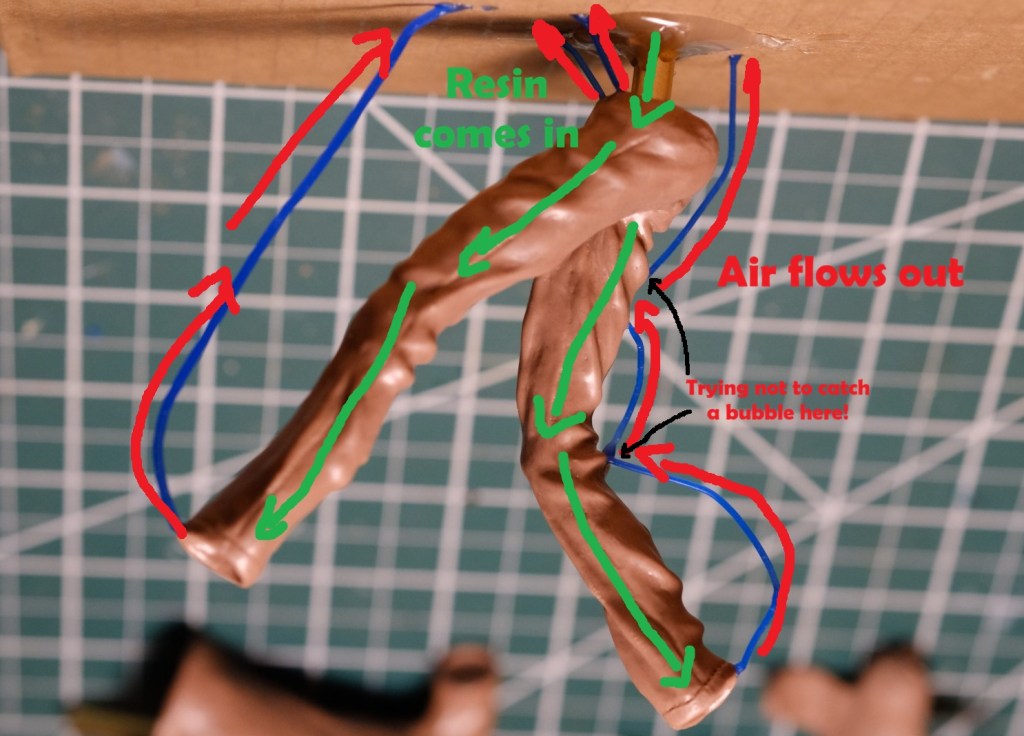
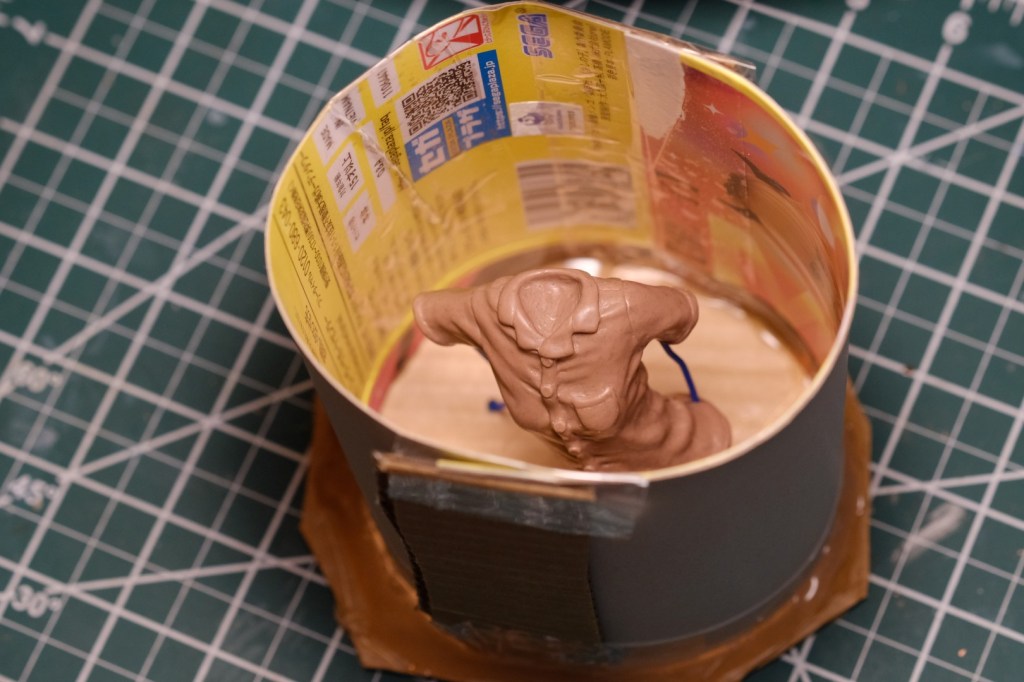
I followed the same process for the shirt. You may notice that I set it at an angle (I did the same for the pants, but it’s more obvious here). Why? Because I wanted to avoid having any level spots, like the flat bottom of the shirt. Flat surfaces aren’t actually perfectly flat (at least, they never are when I sculpt them 🫤), and they sometimes trap bubbles in those subtle undulations that you thought were just a level plain. Angling the sculpt should reduce the risk of that, changing the plain to a slope and letting the air bubbles escape more easily.
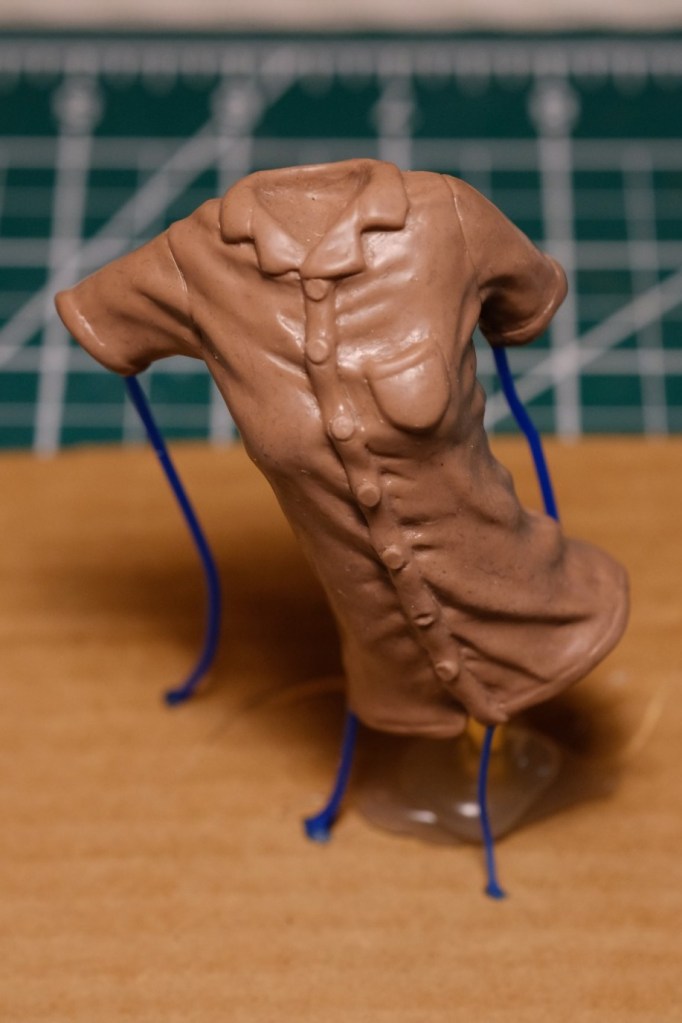
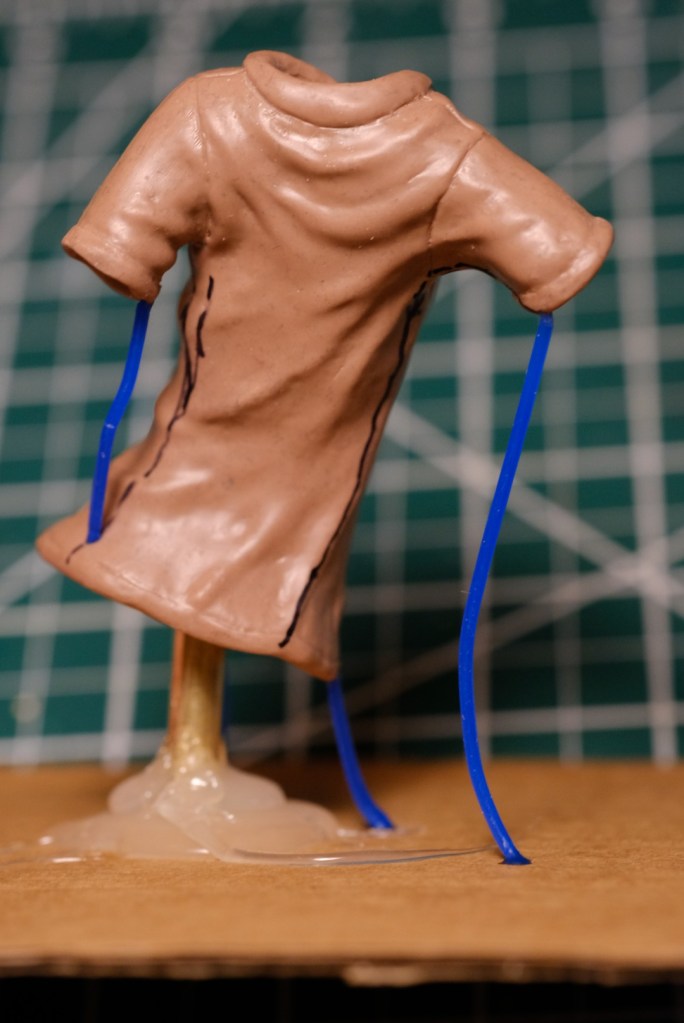
I marked the intended positions of the seamlines with a marker so that I’ll have a reference when I cut the mold open later. I should end up with one seam under each arm, aligned to the sprues. I tried to keep them towards the back to minimize visibility.
I also tried to fix the buttons that I messed up previously, re-flattening them and sharpening up the edges. Since I was messing with them anyway, I decided to add a little detail to one of the buttons to make it look like it was only halfway pushed through the hole. It’s as if Yume-chan was exhausted when she put her pajama top on, and in her dream state remains too sleepy to notice. I really love spotting little details like this in other people’s art. Remembering those little imperfections, I think, is what makes something feel human.
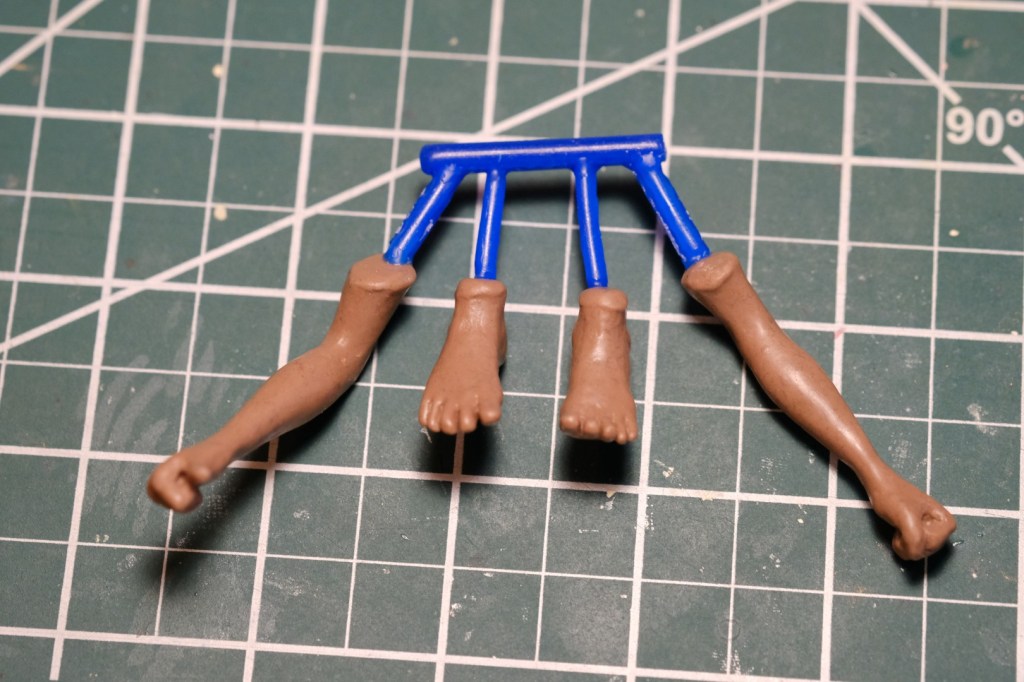
I started working on the arms and feet, too, although they’re not quite finished yet (they still need exit gates for the air). I decided to put them all on a single runner. No reason to create a separate mold for each piece! As a bonus, having everything on one runner REALLY gives it a model kit vibe. It tickles the Gundam lover in me.

I built mold forms from some spare boxes, packing tape, and hot glue. Like with the mold I made for the ghost, the ends are rounded to allow rubber bands to distribute pressure evenly over them. Unlike the ghost mold, I flattened the sides on these. No reason to make them into huge circles and waste all that silicone! These boxes have glossy printed sides, which I positioned on the inside. This will make them easier to peel off after the mold cures. It will also leave a glossy finish on the mold. Not that it matters for mold functionality, I just like it when the mold is all shiny and pretty.
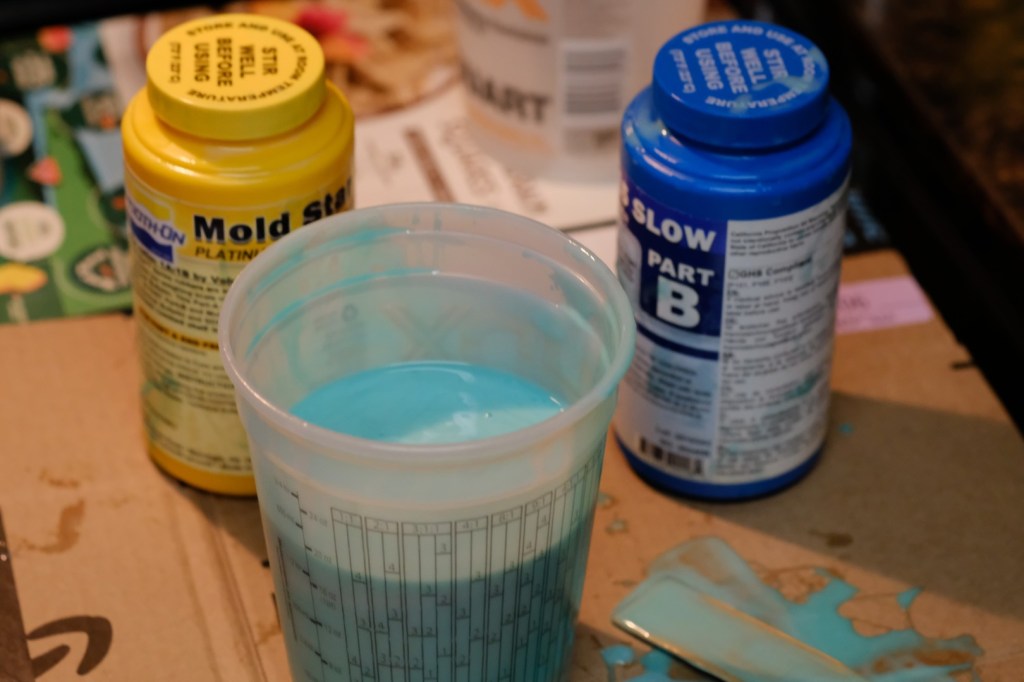
I used Smooth-On Mold Star 15 Slow for the silicone. There’s a fast-curing version of Mold Star too, but I picked the slow one to give me more working time and to allow a longer period for the bubbles to escape. There’s no reason to rush the mold-making process. Better to take things slow and make sure you get it right than to rush it and screw something up. After all, every future cast I make of Yume-chan will depend on these initial steps! I can’t let her down!
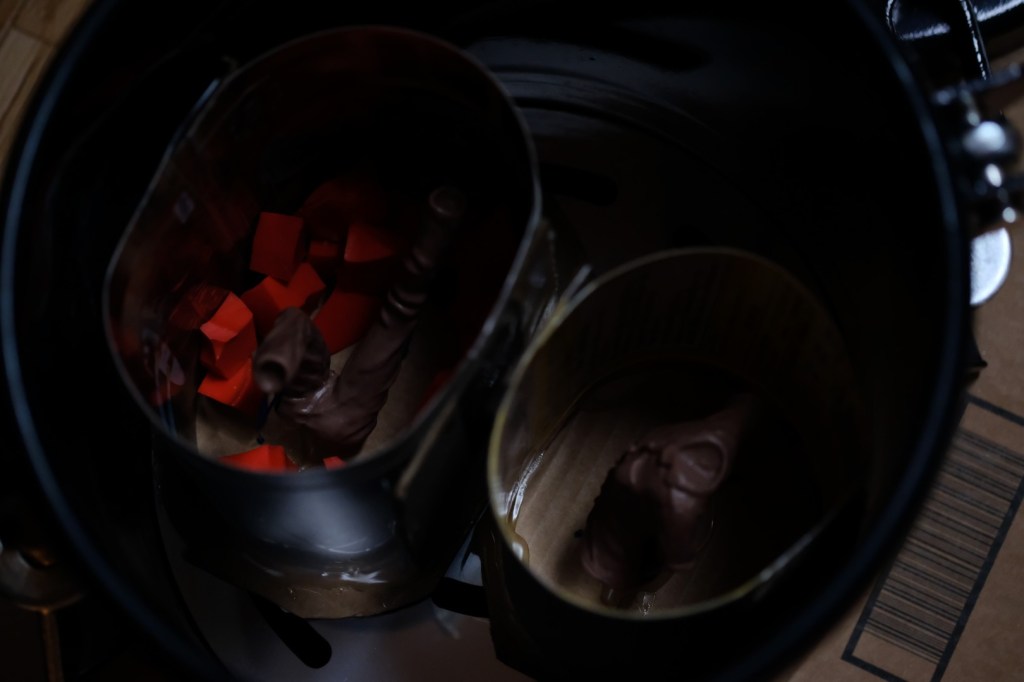
Sorry for the dark picture, it was late when I finally reached this point. The pants and the shirt molds just barely fit side-by-side into my pressure pot, and that was after trimming the bases as small as I could without compromising them. Turns out there was no reason to bother trying to squeeze both molds in, though, because I only ended up pouring one of them…
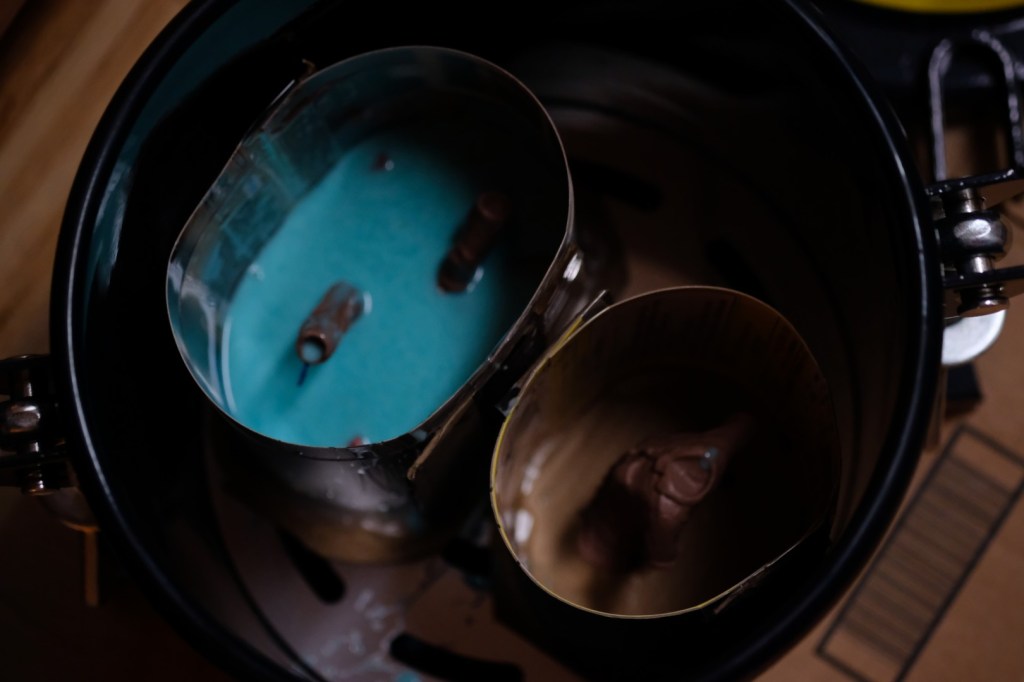
Yup, I ran out of silicone. Again! 🥲 I didn’t even have enough to cover the pants. You’d think I’d have learned to keep extra silicone on hand after running out in the middle of making the ghost mold, but no…
Guess I’ll finish this next time!

Leave a comment