(first cast, worst cast)
Let’s see how the molds for Yume-chan turned out!
Hint: Some of them better than others… but we’ll get to that. ☹️
I’ve reaped some unexpected rewards from taking all these pictures of the mold-making process. Even after the clay prototypes of Yume-chan were completely encased in silicone, I always had a reference on hand of how those prototypes were originally laid out. I could get a sense of orientation and of the positions of the sprues without actually being able to see the parts, which provided a fantastic guide for where to cut. Even if I wasn’t posting them anywhere, it would be good to take pictures!
I started most of my cuts at the main sprue and worked my way out towards the air vents, then all the way to the edge of the mold. If you remember from a previous post, I drew marker lines where I wanted to position the seamlines. Once I’d cut the mold far enough to see those lines, I tried to follow them as best I could (to varying degrees of success).
Here’s the mold for the pants:
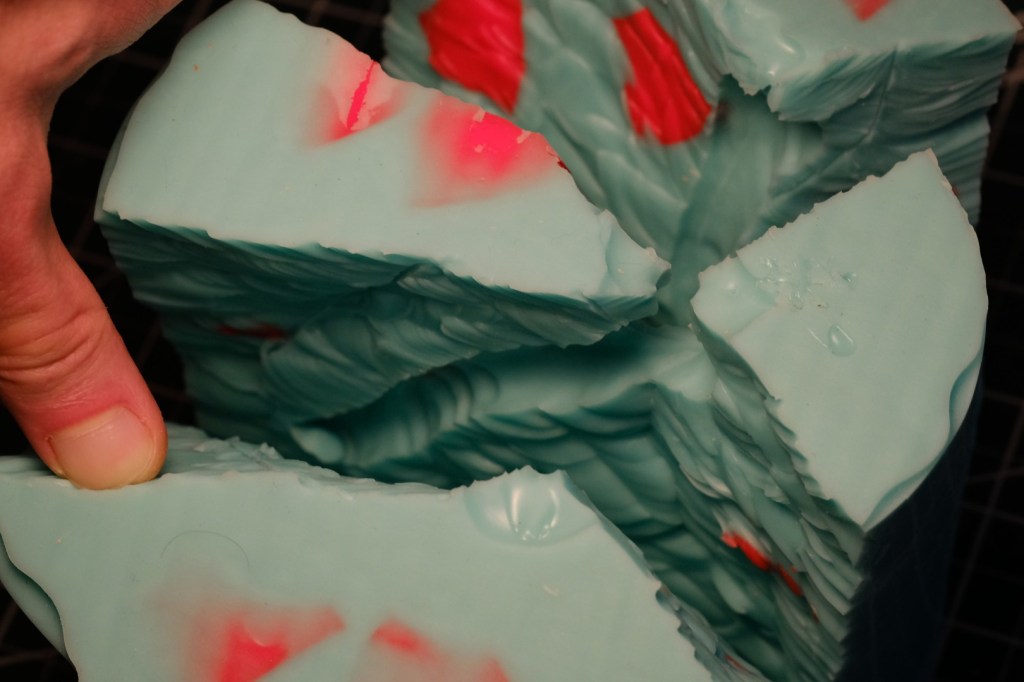
The cuts look like a mess, but I swear that’s (mostly) intentional! As I was cutting I wobbled the knife so it created those wave patterns. They’ll help keep the mold aligned along the two sides of the cut.
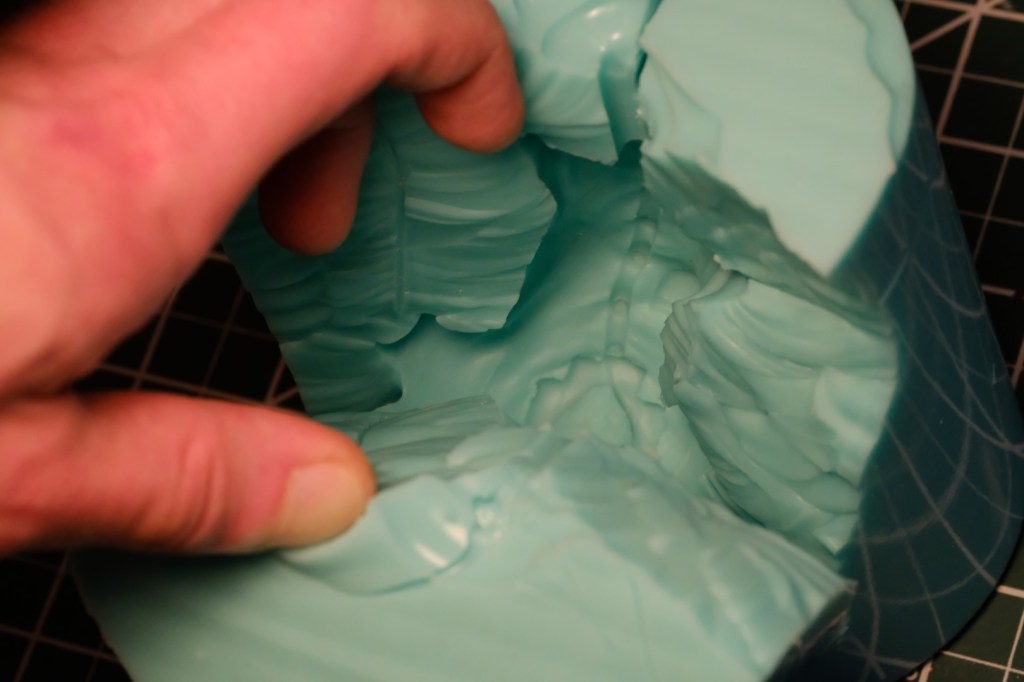
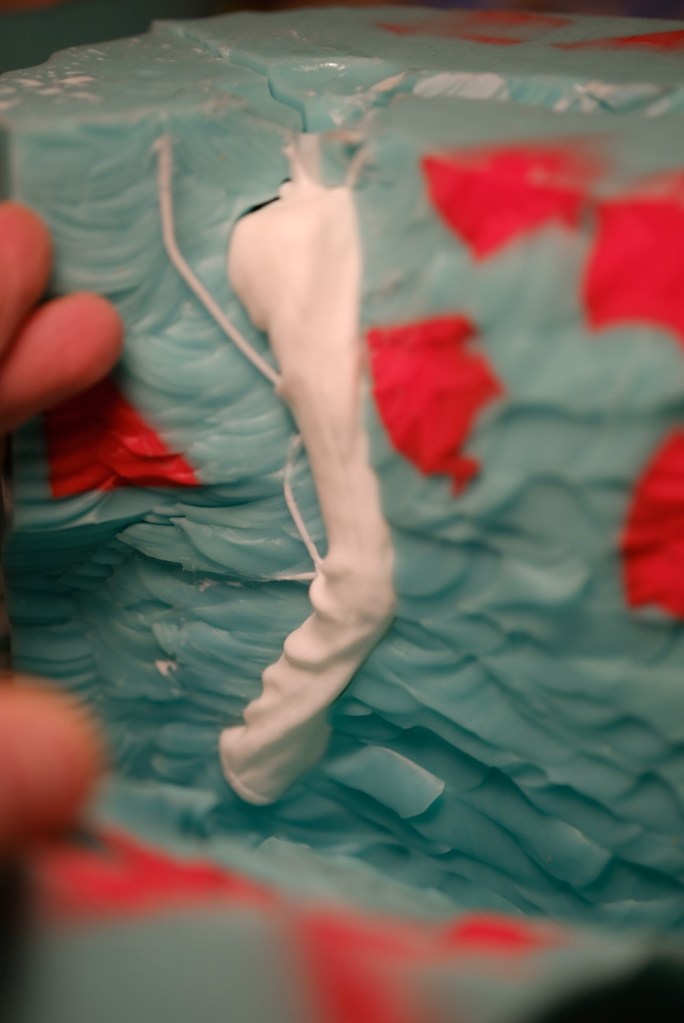
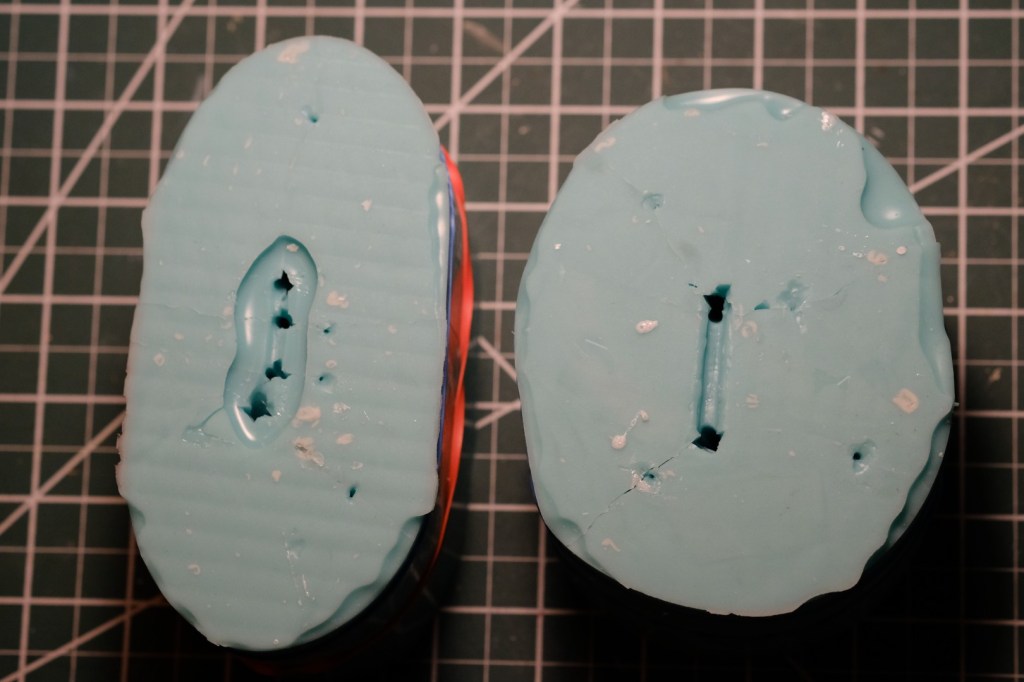
Here’s the shirt mold (more on that later… unfortunately):
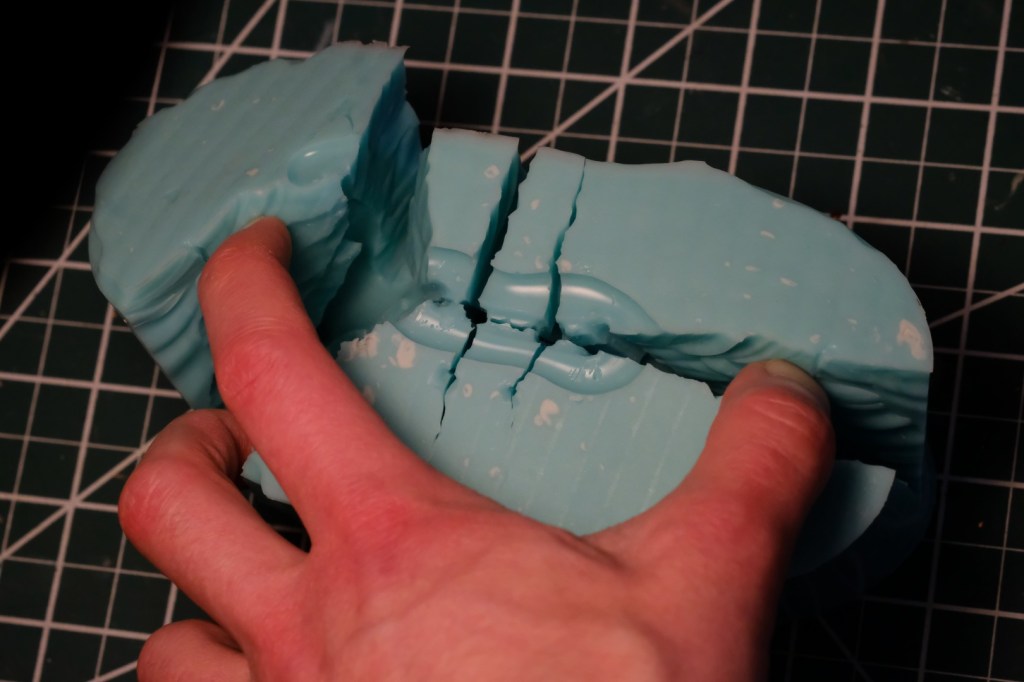
…and the mold for the stuffed birds:

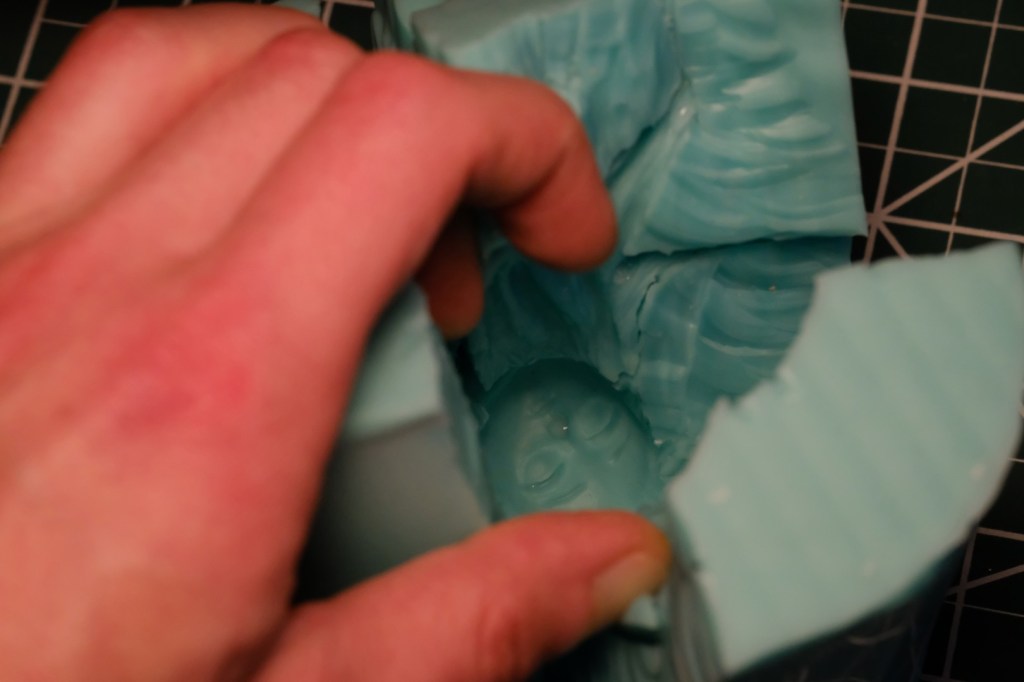
The hands and feet (hard to see anything in this one, but trust me, they’re there):
And, at last, the head!
In hindsight, I definitely made some of these molds thicker than they needed to be. The pants, in particular, ended up with very, shall we say, robust mold walls. I hate to think how much of expensive silicone I wasted here… so I won’t! Don’t think about it and it’s not a problem!
Kidding, of course… next time, I’ll fit my mold forms to the parts more tightly.
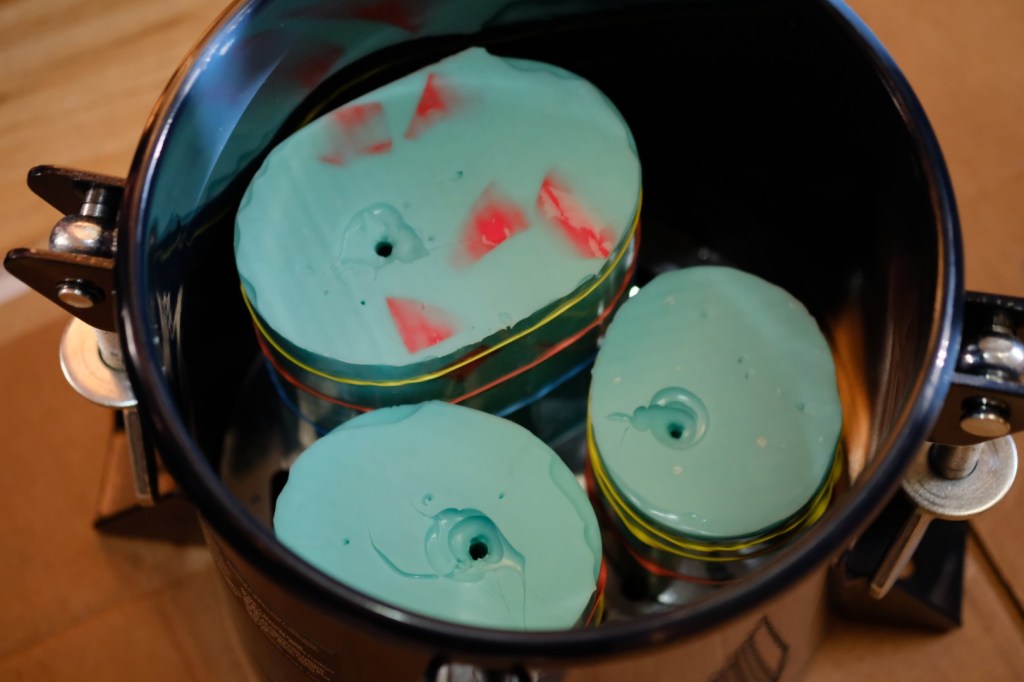
On to the first resin cast! While it isn’t necessary, I opted to give these molds a coat of mold release before I filled them. This will help the cured resin escape the mold a bit easier, but more importantly, it should help extend the life of the molds. I’d like to get as many castings out of these as I can!
My pressure pot could only fit a few of the molds at a time, so each full kit will end up needing two rounds in the pot. I secured the molds with rubber bands, poured the resin, pressurized the pot to 60 psi, and held my breath!
Ok, I didn’t actually do that last part. The cure time on this resin is 30 minutes! If I held my breath that long, I wouldn’t still be here to post this. But the anticipation was certainly getting to me.
After all the molds had taken their turn in the pressure pot, these were the results!
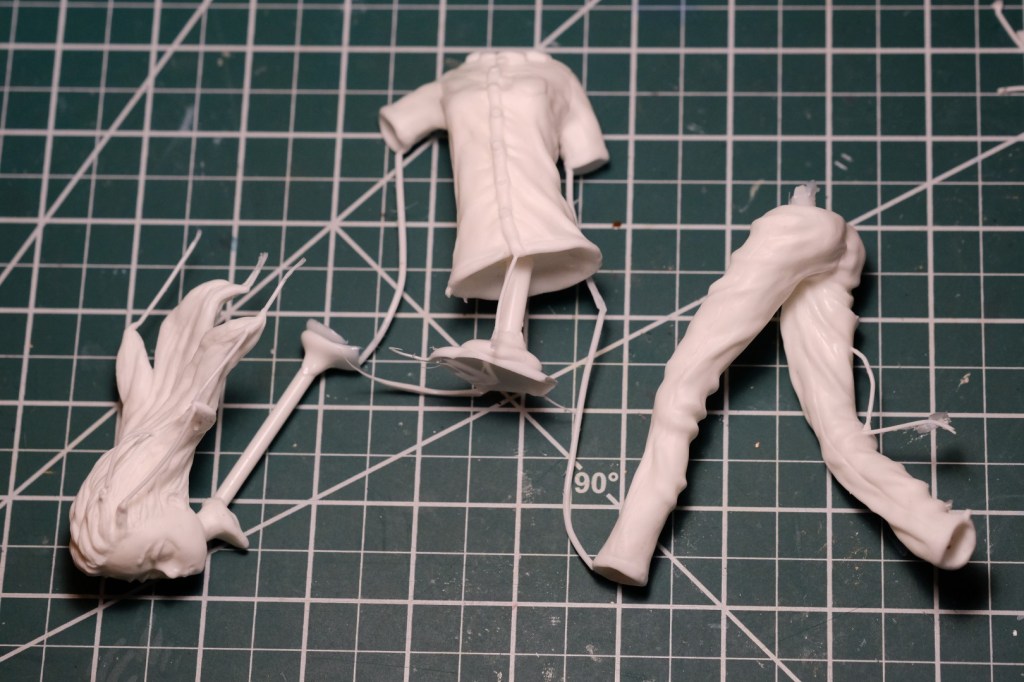
Here it is after round 2, plus a little sprue cleanup:
Ok, a couple things to talk about here. First off, Yume-chan’s left arm only filled about halfway with resin. Seems like there was an air bubble or something stopping up the flow through the inlet. The arm looks complete in the picture, but that’s only because I came in afterwards and did a second pour (which ended up full of bubbles, but that was my fault for not bothering to pressurize it). Not optimal.
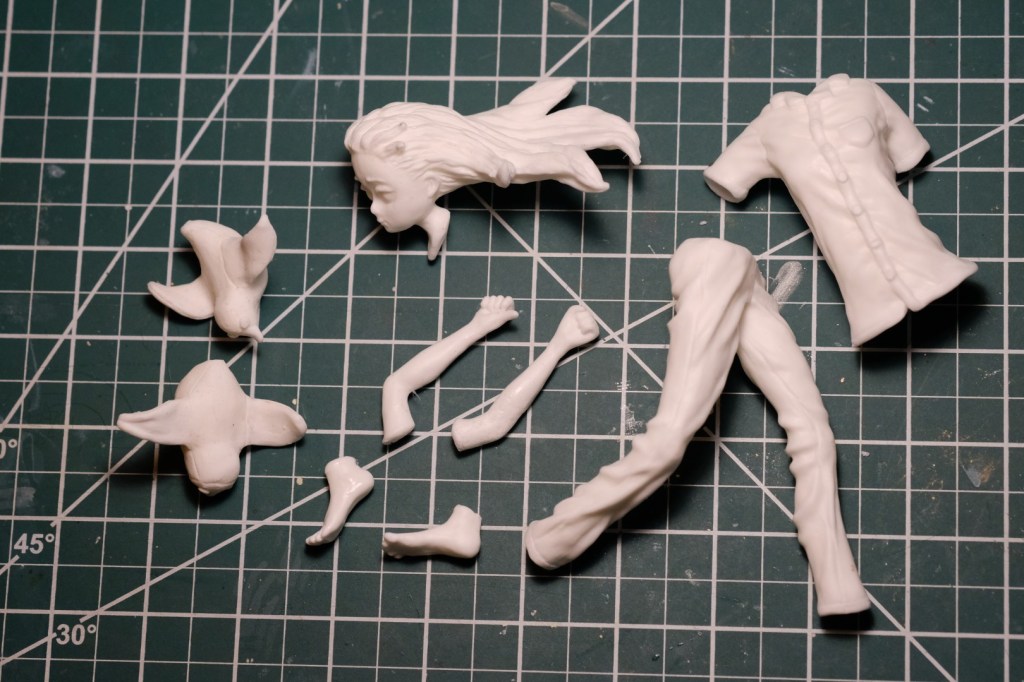
A couple of the other small pieces also failed to fill all the way, but none of them had it quite as bad as that arm. I decided to try to correct this simply by cutting the inlets to be wider:
Pretty? Definitely not. But cosmetically speaking, it only affects the sprues, and it should save me from having to redo the molds entirely.
The part that turned out worst, though, was the shirt. “Why,” you may say, “it looks fine in the pictures!” And that’s true, I was quite pleased with the quality of the casting. The problem originated in an earlier step of the process. It seems that when I was mounting the clay head prototype for molding, I accidentally deformed the neck enough that it no longer fits into the shirt collar! 😱
Where does this leave me? Well, I’ll have to redo either the head mold or the shirt mold, and given the complexity of the head, I’d much rather do the shirt. Perhaps this is a good lesson for the future: finalize the prototype for the shirt (and similar parts) AFTER I have the final casts of the parts that join to it! This would leave me room for adjustments and save me from all this frustrating rework. Someone kick me for not considering that sooner!

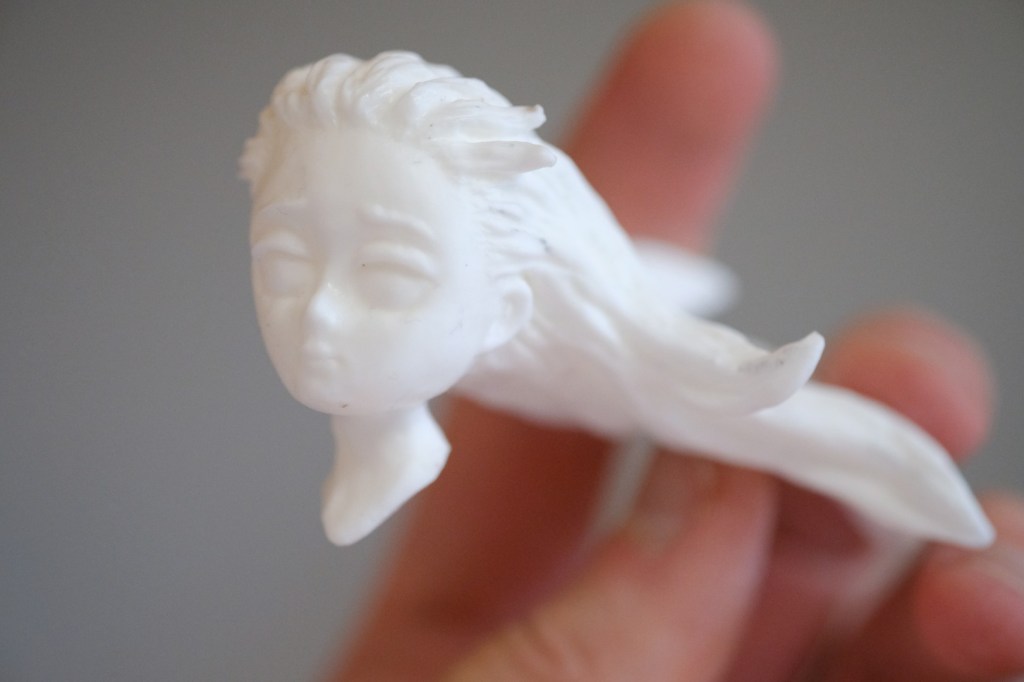
On the plus side, I’m quite pleased with the head cast. I was a little concerned due to its complexity, but the end result turned out quite nice and (mostly) bubble-free! For that, at least, I can breathe a sigh of relief.
Anyways, that’s all until I redo the shirt mold. Despite my disappointment, this was still an important milestone. I’ve almost got a finished garage kit here!

Leave a comment