(it’s anything but base-ic)
Now that I’ve cast the main body of Yume-chan into resin, I can finally finish the base. I didn’t want to finalize the mounting position until the main sculpt was done, just in case I needed to make any adjustments to the angle of Yume-chan’s pose. In hindsight, I should have taken similar precautions with some of the other parts too, but that’s a different story…
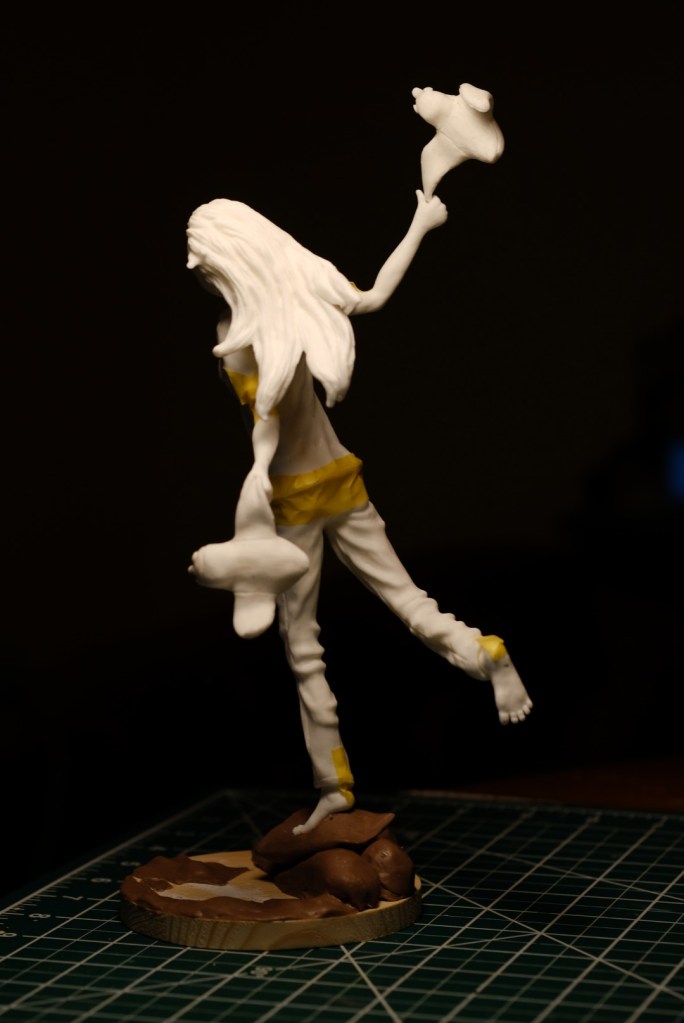
Anyways, let’s look at what I’ve done!
A quick recap of what’s going on with the base design: In Yume-chan’s dream, she’s sailing on the clouds, looking down at the land and water below (modelled after the real-life Elliott Bay next to Seattle). In the “real” world outside the dream, what Yume-chan perceives as a cloud is actually a pillow, which, I might add, is not likely to go sailing anywhere anytime soon. I’ve tried to capture all of this in the base design, although whether or not anyone else will pick up on those details remains to be seen.
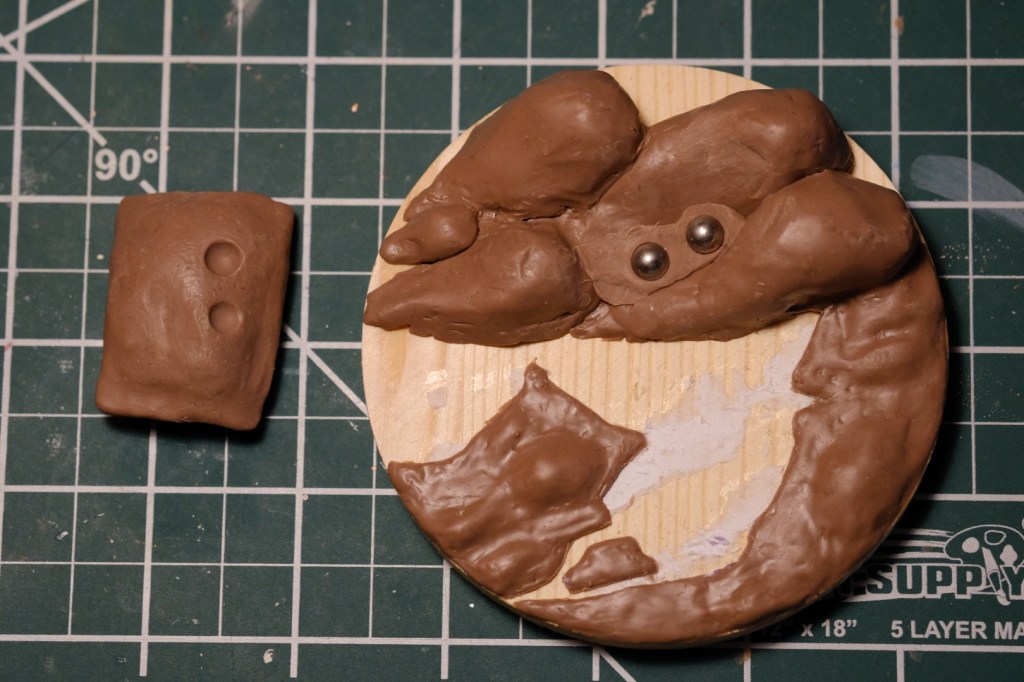
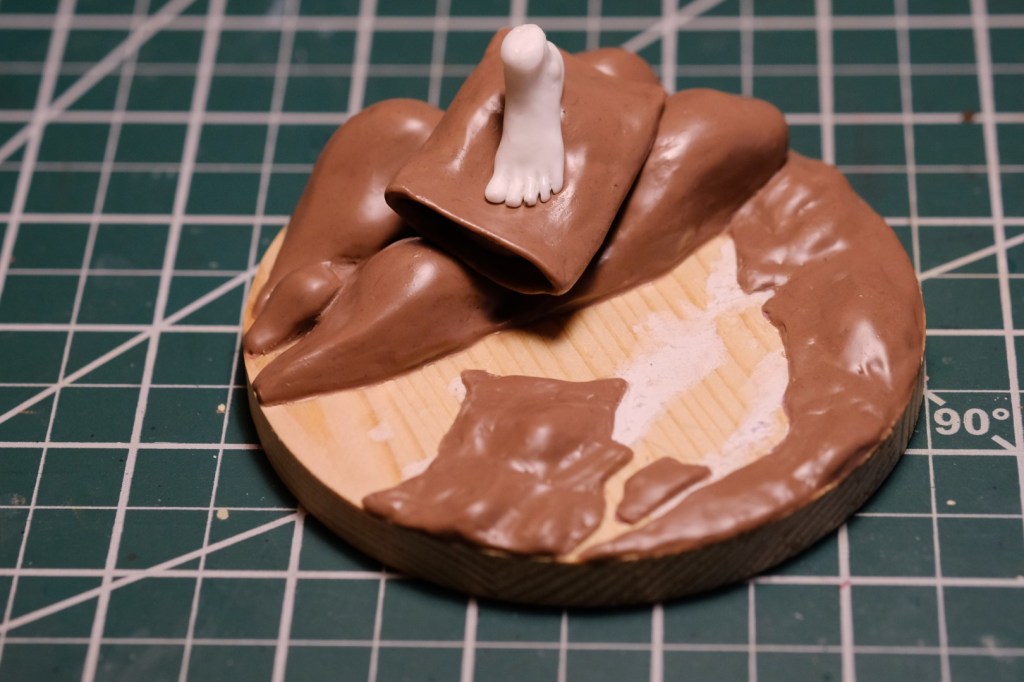
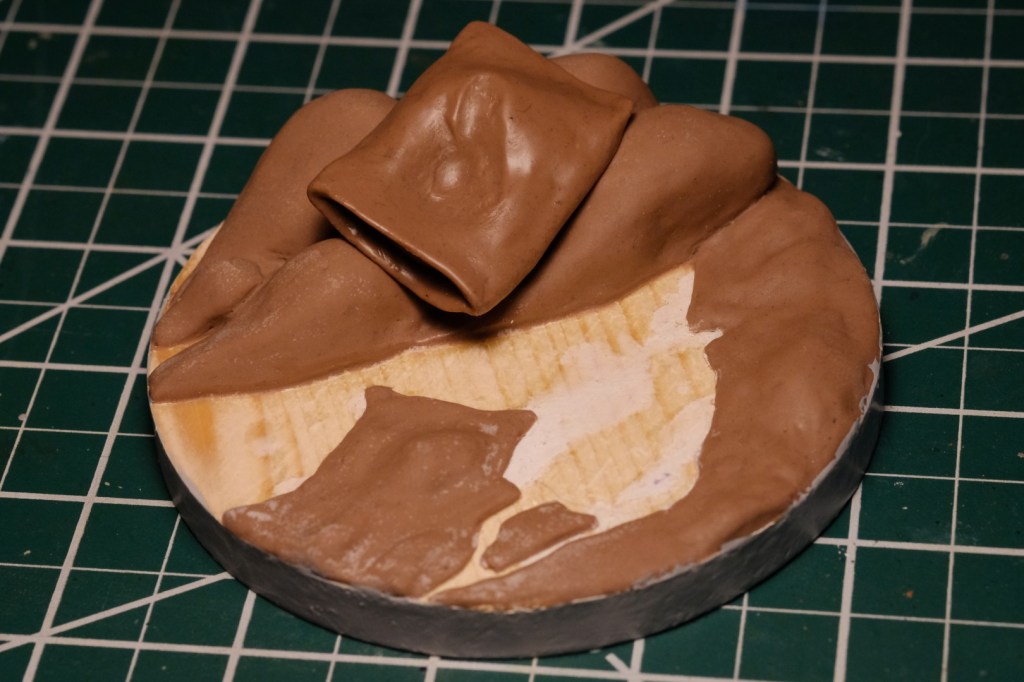
I inserted a couple of ball bearings into the clouds where the pillow joins up with them, then pressed the pillow down to create matching indents in its surface. These will serve to key the pillow into its position so that there’s no guesswork involved when assembling everything later on (don’t forget, the pillow and the clouds are separate parts). In hindsight, I should have added similar keys on the rest of the figure’s connection points, but that’s a different story…
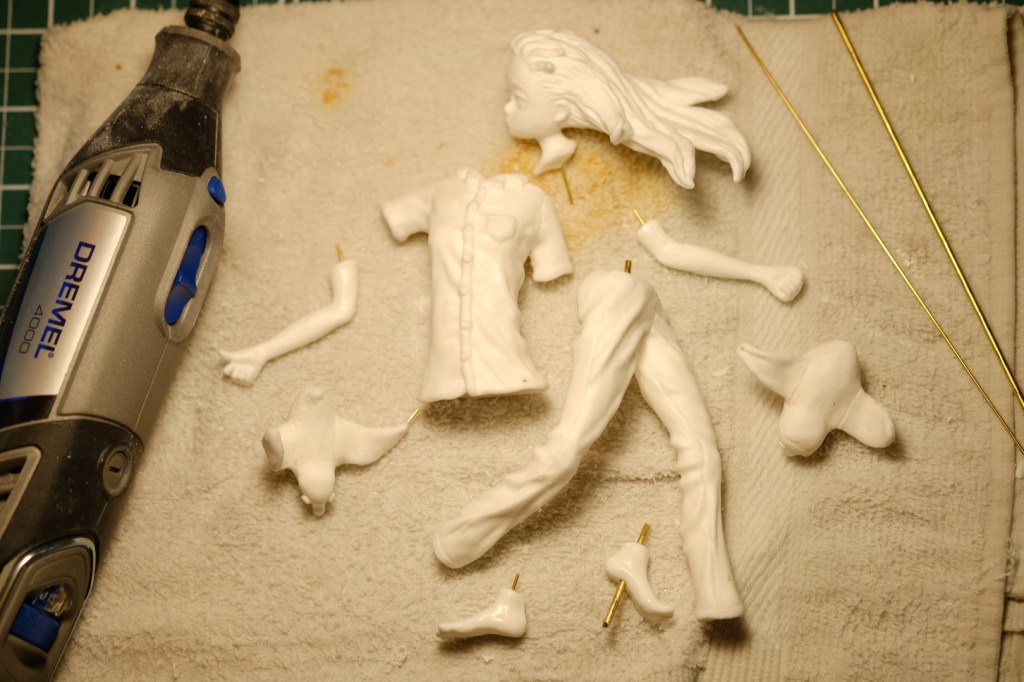
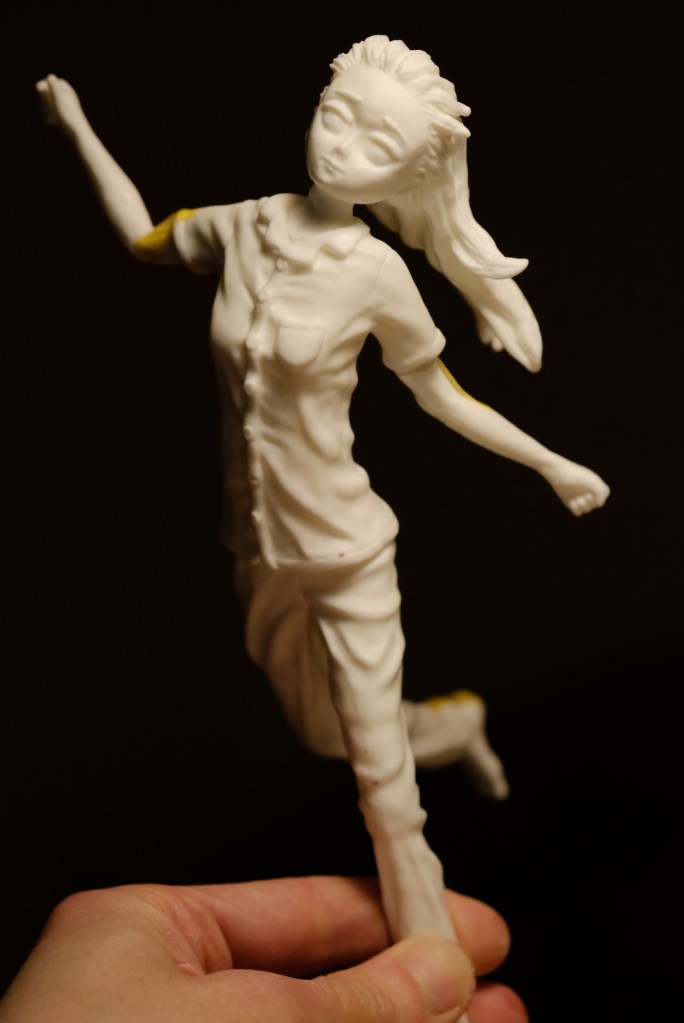
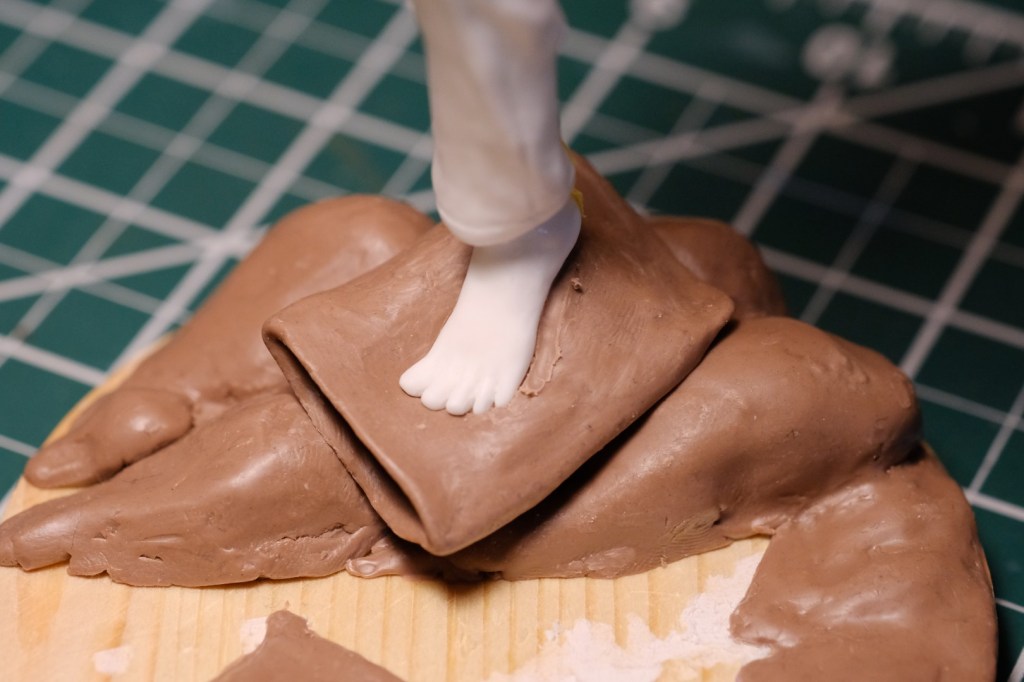
In order to finalize the mounting position of the figure on the base, I assembled it temporarily, pinning the parts together but not yet gluing them in place. This meant that, to my frustration, parts kept spinning around and falling off… but at least it was enough to see how Yume-chan would look when mated to the base! Once I was satisfied with the angle and the balance, I pressed the foot down into the pillow to leave an indent. When you assemble the figure, you can just match the foot to the foot shape. Easy!

If you read my original post about the base, in order to (somewhat) accurately capture the contours of Elliott Bay and Seattle, I printed off a height map of the area and glued it down as a reference. When I peeled off the excess afterwards, it left some annoying sticker-paper-like residue in the middle of the bay. I removed most of it, but decided to leave a couple of residue stripes because I thought they sort of resembled wave patterns as seen from a distance. We’ll see how convincing it is once it’s cast in resin. In hindsight, I should have cut off the excess paper before gluing it down, but that’s a different story…
Once all that was done, I sprayed the base with a top coat to seal it against the mold silicone. This isn’t a concern with clay pieces, but the base is built on a piece of wood, which can be absorbent. I wanted to prevent the silicone from intruding into the wood and creating problems with the mold. The end grain around the edges was particularly rough, so I added some putty to fill the gaps and coated it with surfacer to smooth it over. I debated sanding down the surfacer to create a perfectly even look, but after looking the piece over I decided that I actually liked the irregular texture that it has. It adds a little bit of visual interest, and it matches the slightly-unrefined texture of the rest of Yume-chan’s sculpt. In hindsight, I should have invested more time into smoothing down said sculpt before I cast it into resin, but that’s a different story…
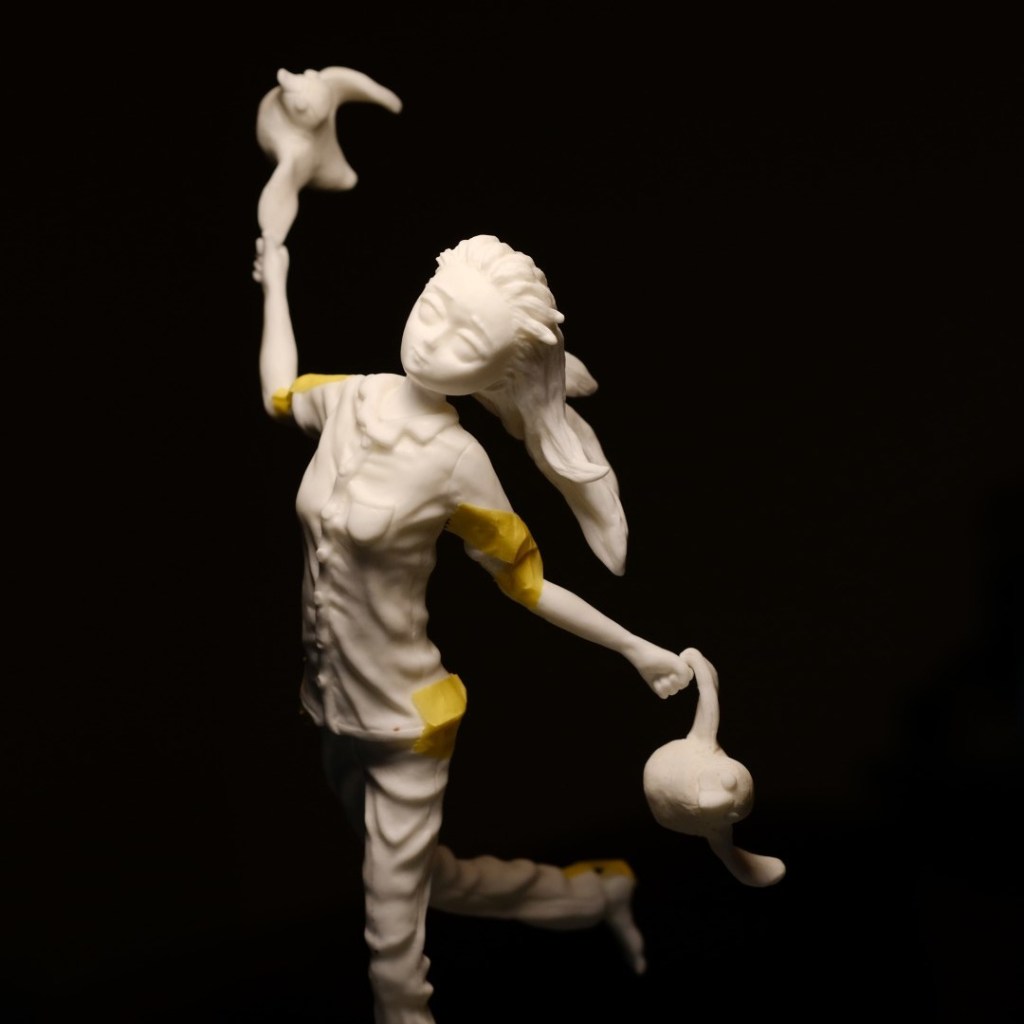
I haven’t quite gotten around to creating the mold yet, as I wanted to make sure that the top coat had ample time to cure first. Well, that, plus the fact that I was getting sidetracked (as I often do) with this:
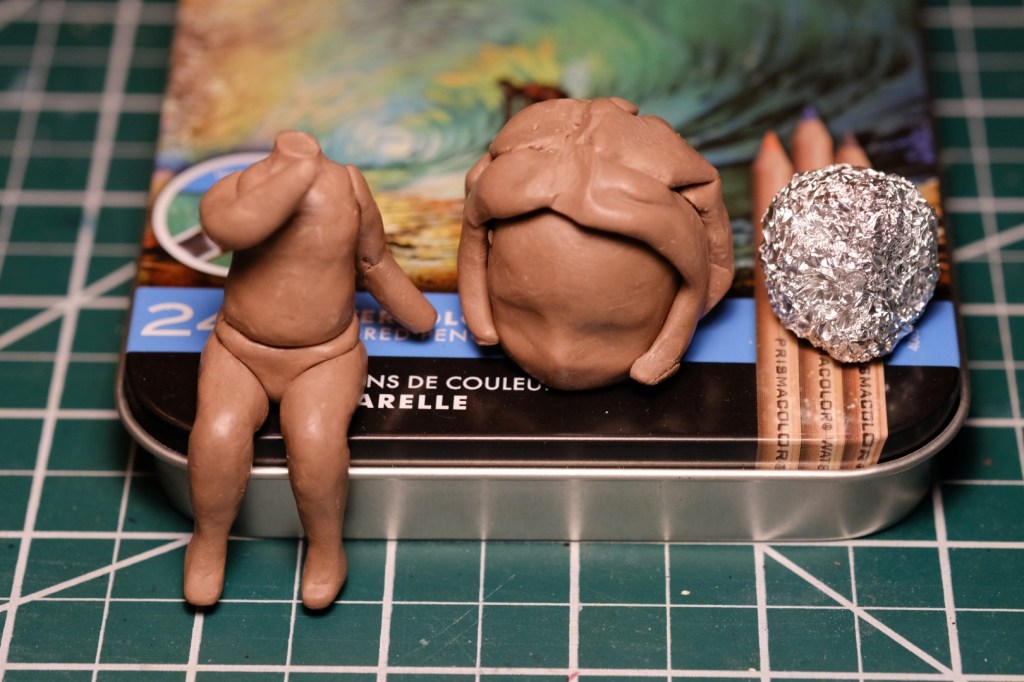
We’ll see if that lump of clay becomes anything good. But that’s a different story…

Leave a comment