(how to go insane)
I showed up to Wonder Festival US 2026 with three kit designs in tow. One of them, Yume-chan, I’ve documented on this blog extensively. Of the other two, one (Carmen) has only had an early prototype posted and one (Carmen’s friend José) had never been shown here at all. Just on a whim, I threw together some very rough sculpts of a couple new figures a few weeks before the event, with no real intention of bringing them to the show. About a week and a half before WonFes, though, I somehow got the absurd idea in my head that I’d be able to push them through to completion and showcase them at the convention. I was right, I guess, but damn that was a lot of work.
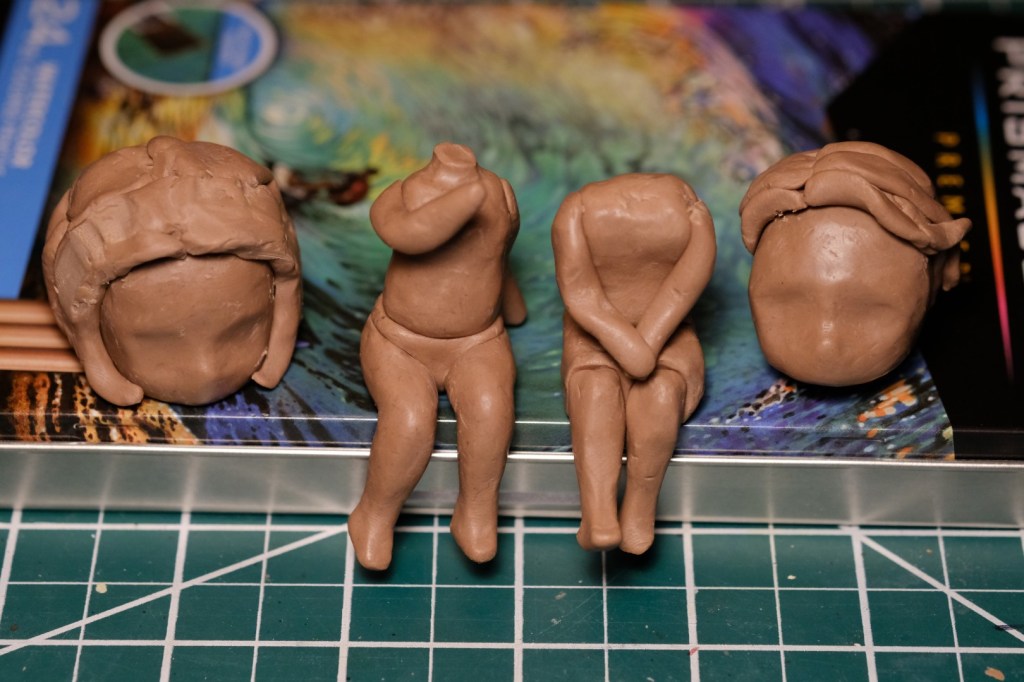
Above you can see the original rough-outs that I made of these two. I wanted to break from the typical single-person statue with these, instead capturing an interaction between two characters and leaving it to the viewer to imagine what’s being said. I always intended for them to be a pair, even if I ended up making them as separate kits.
I named these two after Carmen and José, the main characters from the opera Carmen. In the plot, Carmen, a woman pursued by many men, loves the one man who does not: Don José. She pursues him and he resists for a while, devoted instead to military duties, but eventually he can’t help but fall for her. There’s lots of drama and everything falls apart by the end of the opera, but that would all be quite difficult to capture in just two figures, so let’s just say it’s not relevant here! I wanted to do a cheeky interpretation of the characters over those first couple of lovey-dovey acts, giving Carmen a playful, teasing expressiveness and creating in José a sense of reluctance and embarassment.
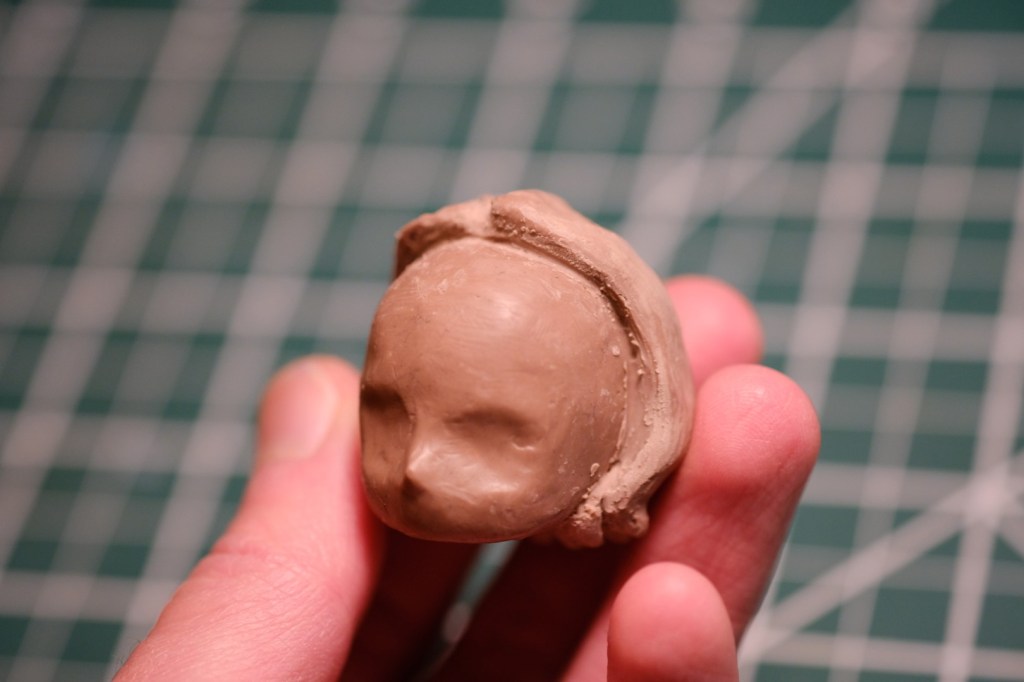
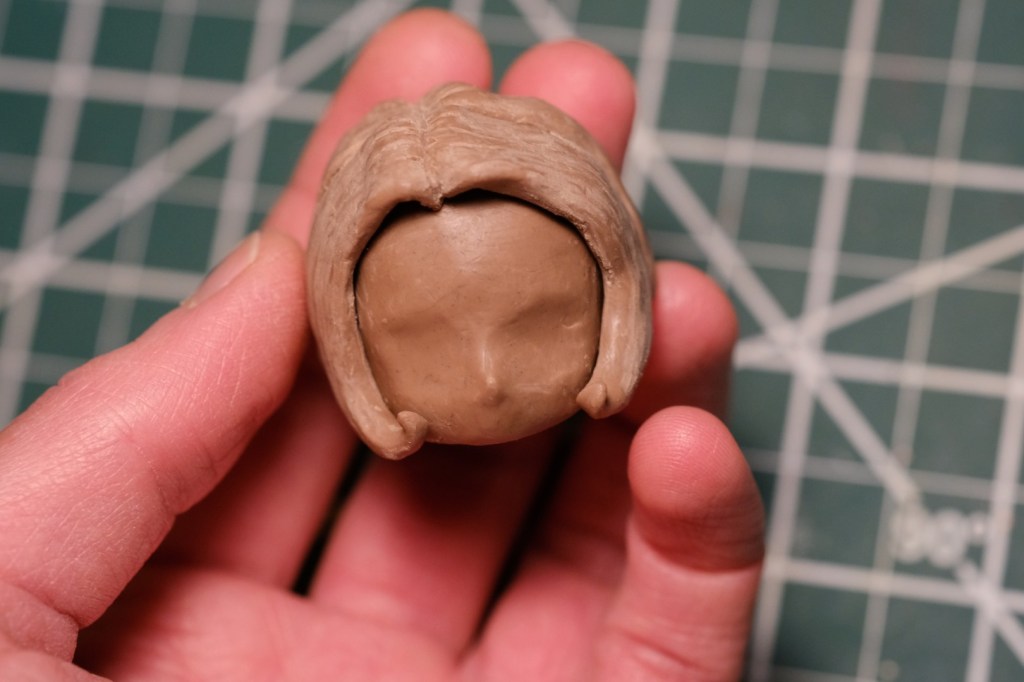
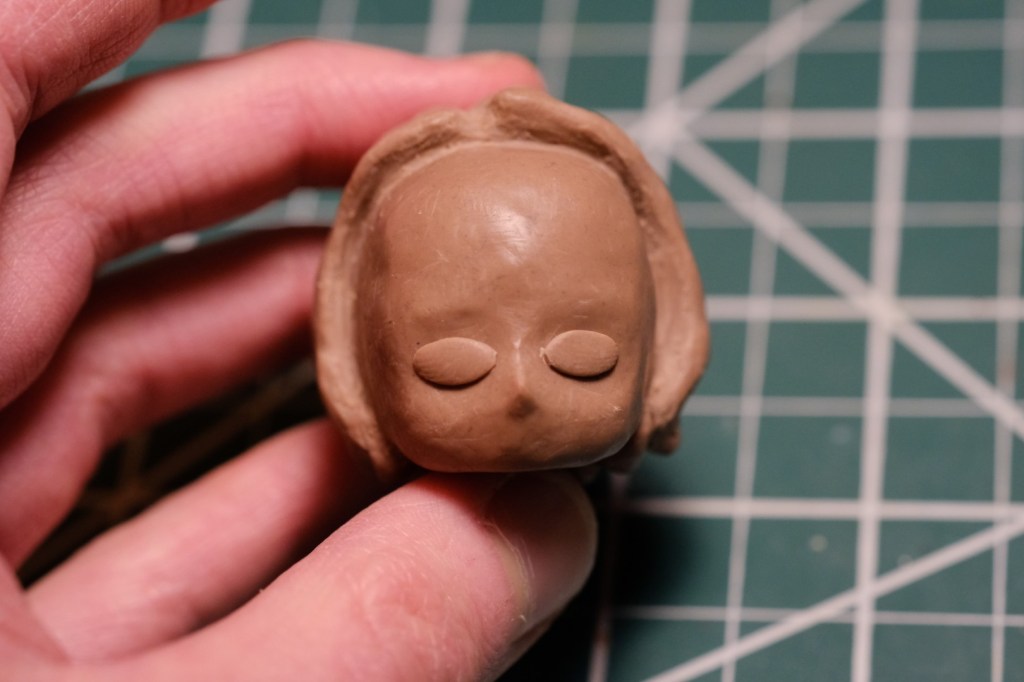
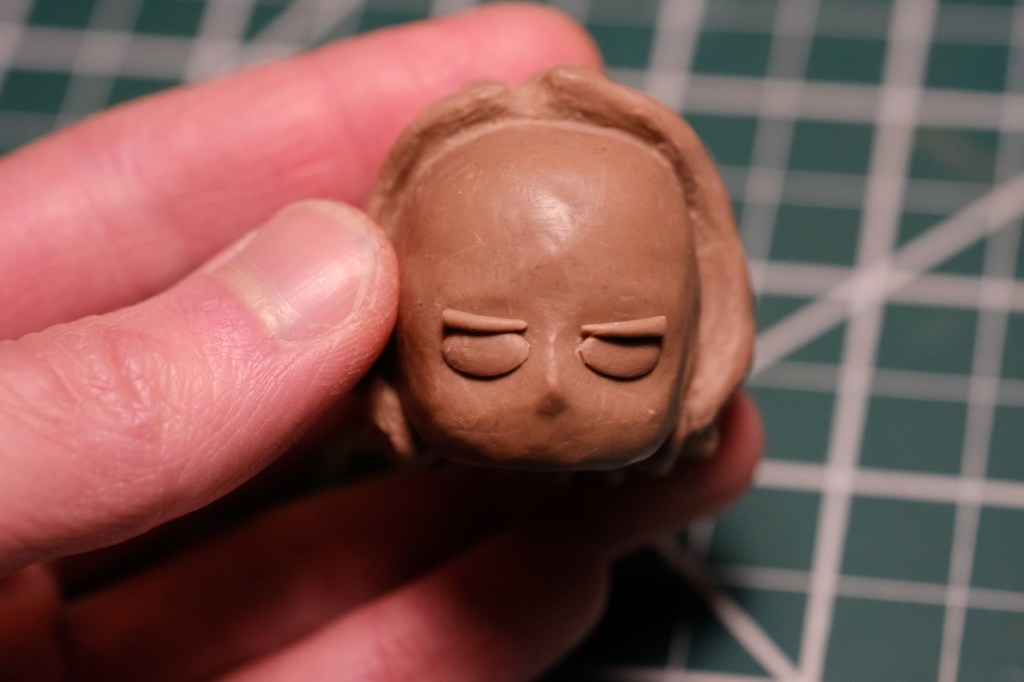
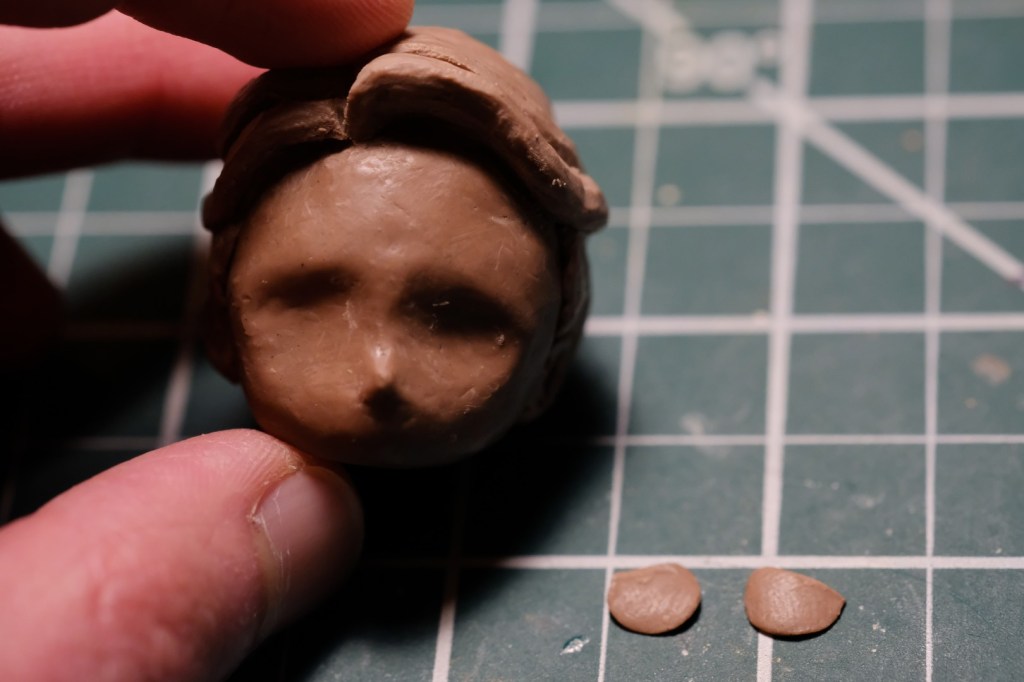
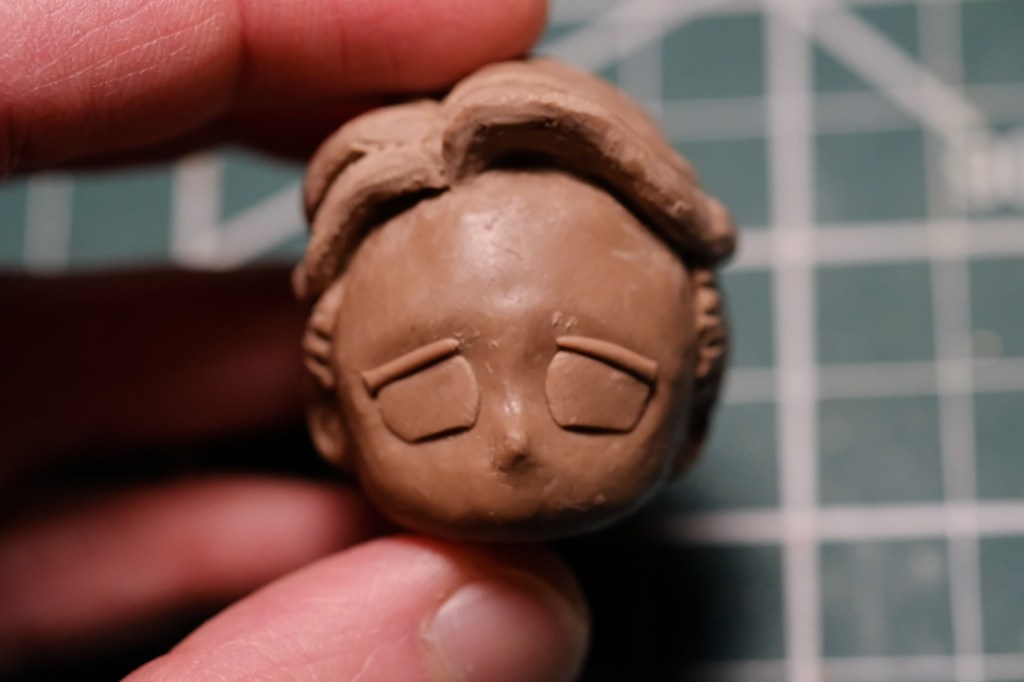
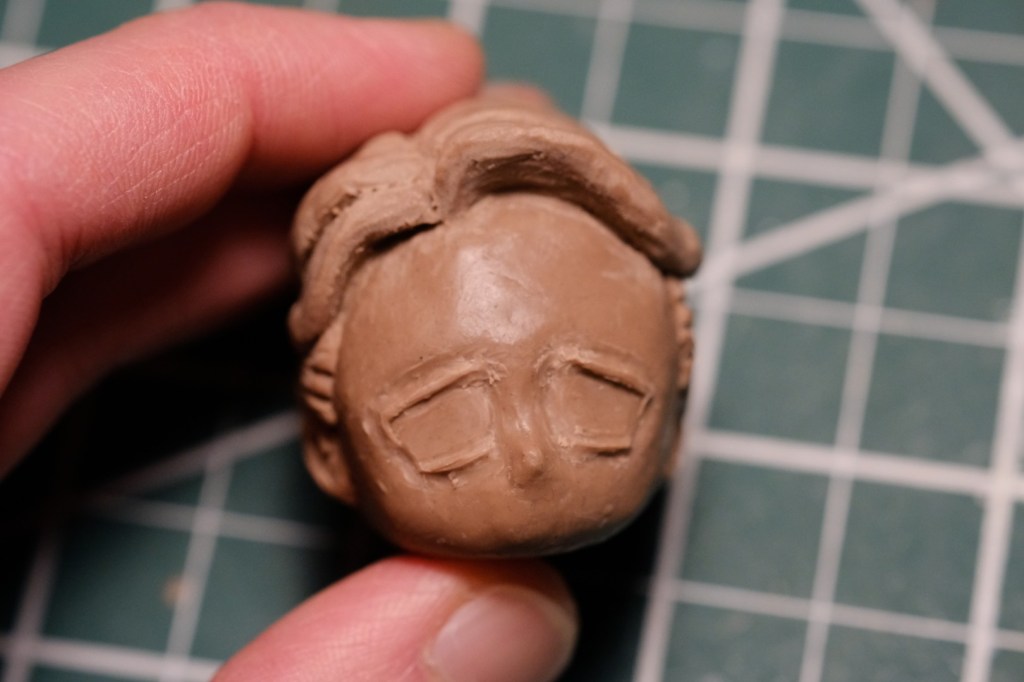
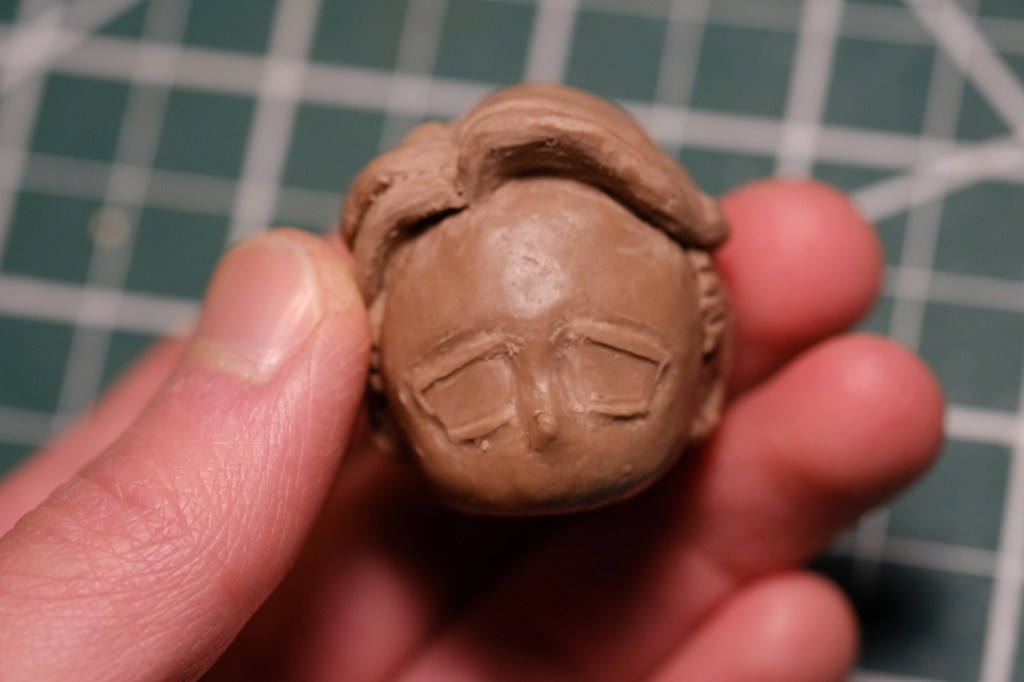
As far as sculpting is concerned, the heads took the longest. The tiny details drive me crazy sometimes! They love to shift and change and smudge out with the slightest accidental touch. I’m getting better about that, though, the more faces I do. Fewer fingerprints in the eye and all that. You can how I build up the face here: create the basic facial structure, layer on details using annoyingly tiny pieces of clay, blend the edges, smooth things out, hope you don’t screw things up along the way… and remember, no zooming in to make things easier to work with, and no undo button! Aren’t I glad I chose clay instead of 3D modelling?!
I kid. I love working with my fingers and squishing clay into shapes. Sorry, ZBrush.
Perhaps the biggest improvement of these kits over Yume-chan is the inclusion of alignment pegs. I pressed ball bearings into most of the joints between parts, leaving one side with the ball sticking out and the other with an indent. This allows each part to register in its correct position with no guesswork. It’s one of those things that’s super easy to do, but has a giant payoff later on. I’ll be doing this with all of my kits going forward. I put extra-large ball bearings in the necks, leaving a little gap where they mate with the heads. This means that you can choose the angle at which the heads sit on the necks, which can alter the expression and mood quite a bit. Be careful, though: positioning them too far to one side can throw off the balance!
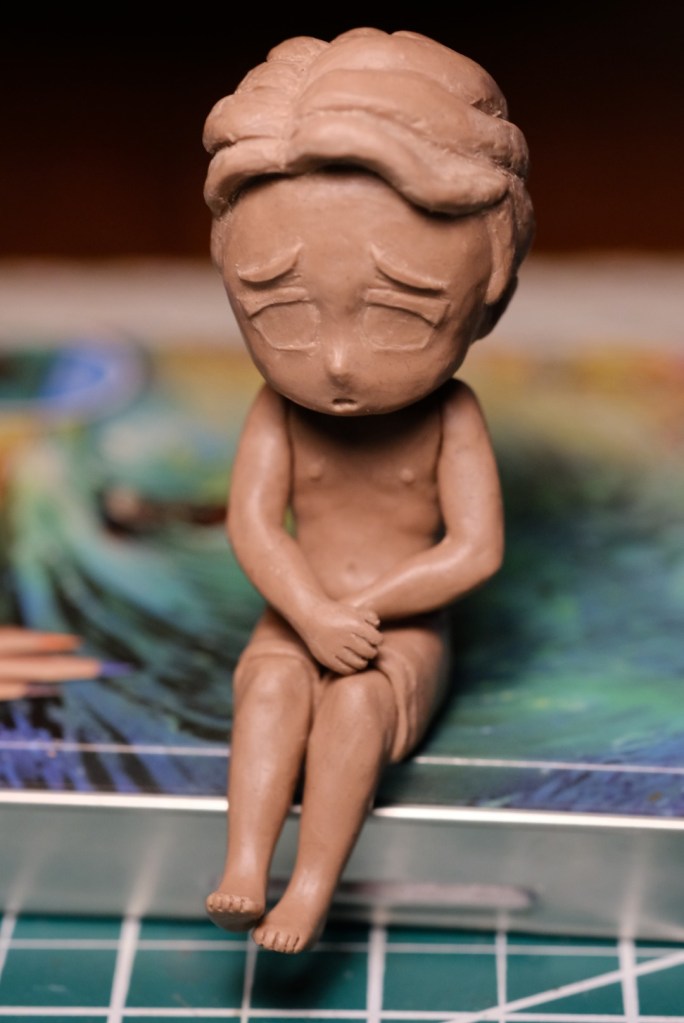
Pictured above is the completed prototype of José. I’m mostly happy with how he turned out, although I was never quite happy with the hands. I wanted to make them a little bit chubby and oversized to match the chibi style of the figure, but I can’t help but feel like they just ended up looking crude. If I’d had more time, I probably would have redone them. Oh well…
No pictures of Carmen’s completed prototype, sorry! By the time I thought to take any, I had already taken her apart and started attaching her to sprues. Hey, you forget these things when you’re in a rush!
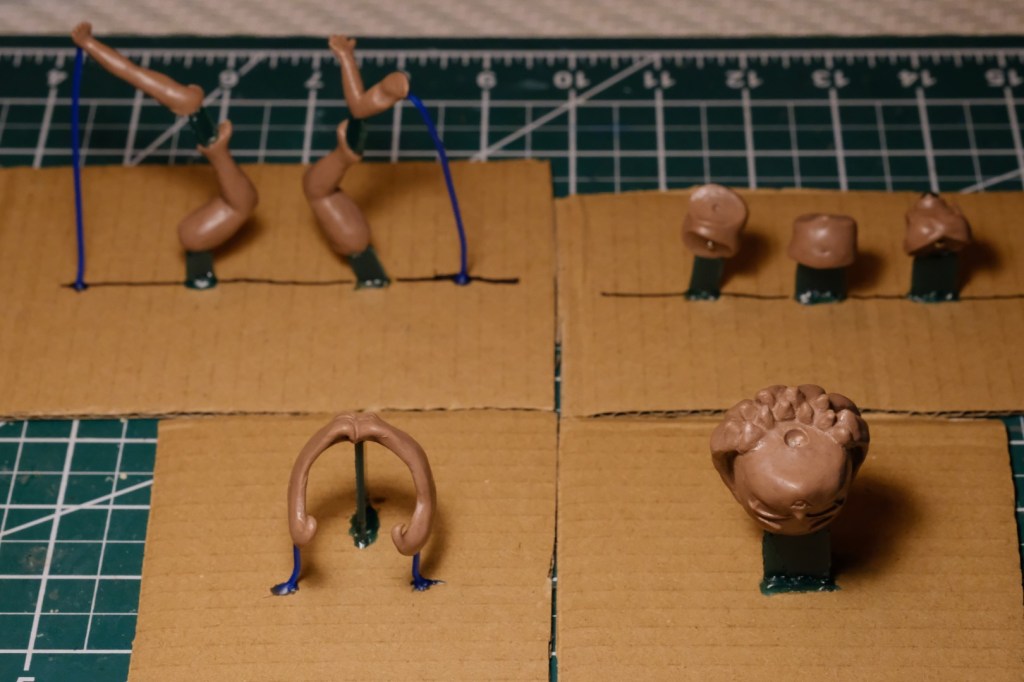
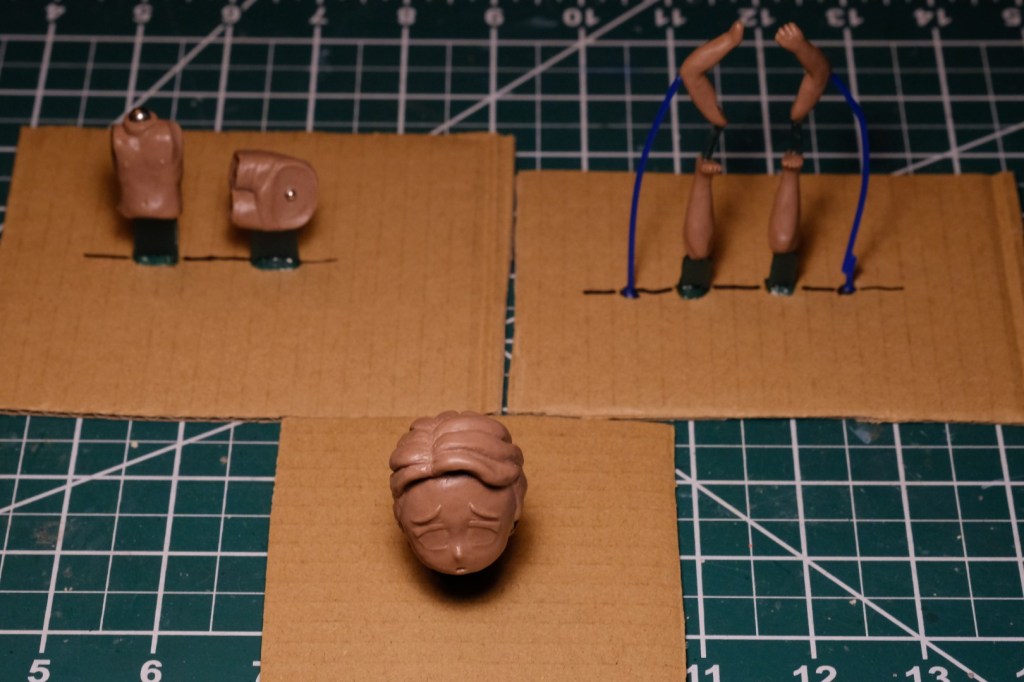
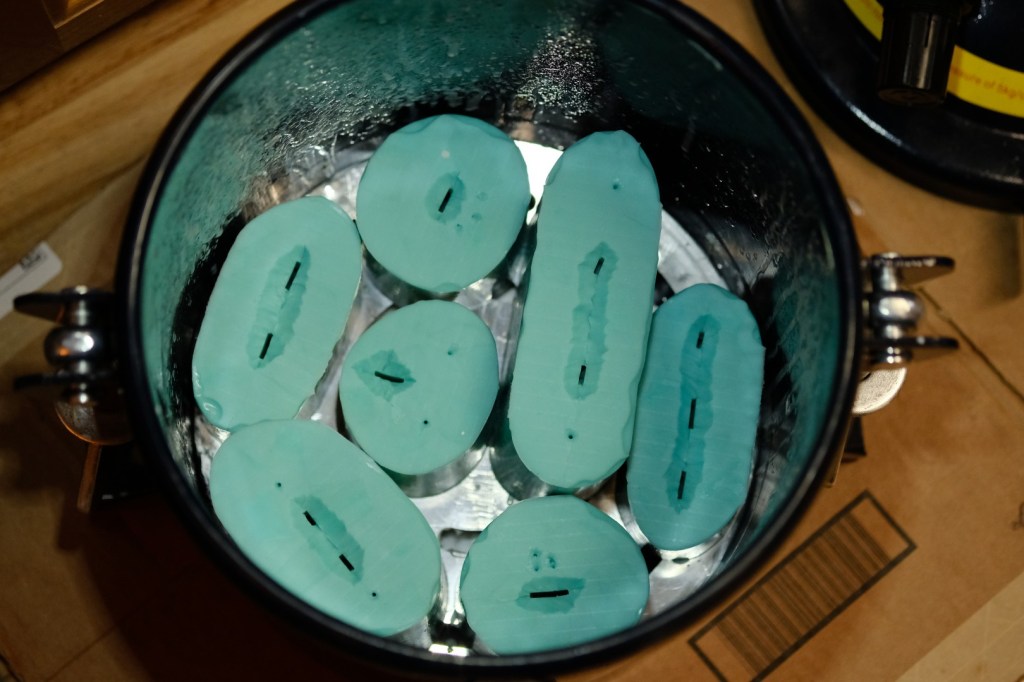
Here are the sprues all laid out and ready to be turned into molds. Learning from the challenges of Yume-chan’s molds, I wanted to lay out these parts on flat planes as much as possible. That way the molds could be split open like a book to release everything quickly and easily, rather than having to pull pieces out of weird funkily-shaped cavities. And it worked surprisingly well! Unfortunately, I can’t say the same about every aspect of the molds.
At WonFes I had a box full of failed resin casts that I was giving away for free. You wanna know why I had so many? Because these molds had SO. MANY. FLOW. ISSUES! I tried to keep all of the gates thin this time around in order to minimize the sanding required to get rid of them. Well, guess what? RESIN DOESN’T LIKE TO FLOW THROUGH THIN GATES! 🤦 Who would’ve thunk? So yeah, a bunch of incomplete, ruined casts later, I cut a bunch of slices out of the mold to extend the fill gates, several times, to improve resin flow and at last get consistently complete results. Wasteful and frustrating, especially when you’re feeling the pressure of a deadline, but a lesson very well learned!
The last thing to mention about the molds is that I can (barely) fill all of them at once into my pressure pot. I have to slide them in like Tetris, and they pretty much only fit in one specific arrangement… but they fit! Reducing mold size was one of the reasons I decided to do little chibi characters in the first place, as it was a pain to have to go through two rounds in the pressure pot for each copy of Yume-chan that I made.
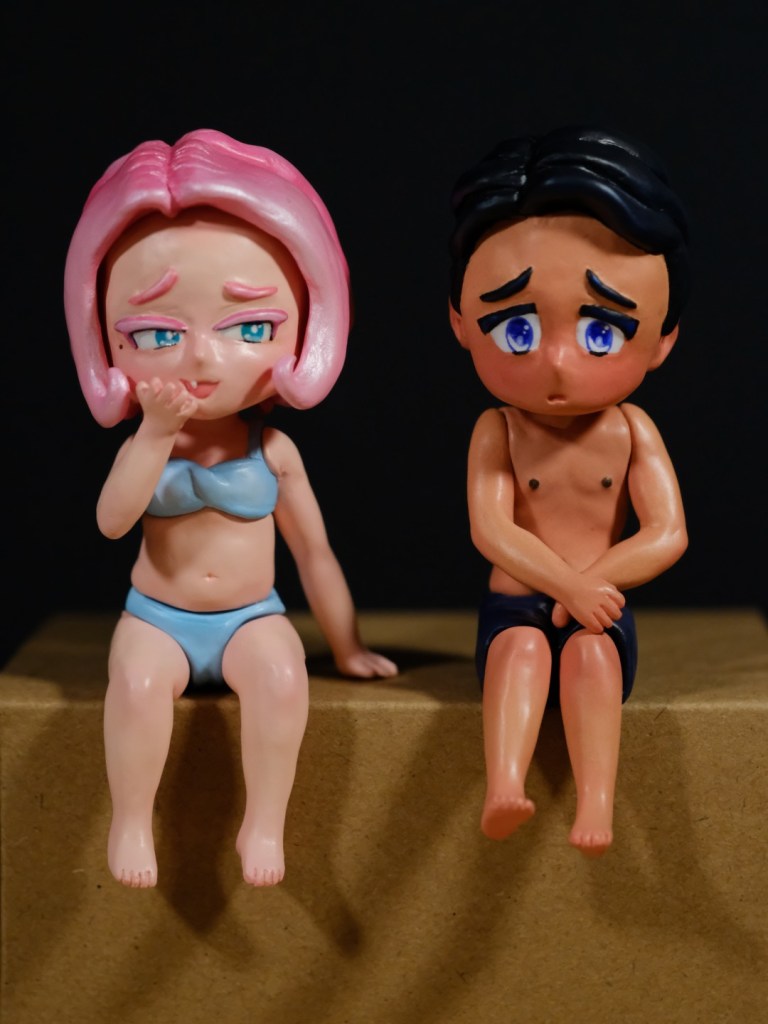
I crammed the paint jobs into the two days before my plane left for Atlanta. No pictures of that process, I was just trying to get them done! But here’s the final result, at least. They turned out okay. The hair colors were inspired by some Pocky sticks I was snacking on at the time, one pack of strawberry and one of chocolate. Somehow the look-at-me pink hair feels appropriate for the character of Carmen.

After I got back from WonFes, I revisited José to putty up the gap between his shoulders and his torso. I had intended to do this in the first place, but again, no time! Since I had to repaint his shoulders anyway, I decided to give him tanlines. Maybe Carmen’s teasing him about them and that’s why he’s so embarrassed. I thought the original paint job looked a little plain, anyway.
And that pretty much covers the process! It was a whirlwind trying to get everything done in time. 2/10, I don’t really recommend it to anyone… but I’m still glad I did it!
One final note: I’m planning to set up an online shop for my kits. I haven’t decided if I want to set up a store page on this website or go to a third party like Etsy, but I’m leaning towards the former. I’d also like to figure out how to sell on Booth.pm, since that’s where most of the Japanese GK sculptors sell their kits (if they sell online at all). Can someone living overseas even sell there? No idea, but I guess I’ll find out!


Leave a comment