(if my sculpt’s unhappy, it’s because i made her that way… does that make me a villain?)
I know I just started the Haru sculpt, but there’s no reason I can’t do two things at once! Although this second thing will actually be done first. And as much as I tell myself that I’m being efficient by multitasking, it’s really just me getting sidetracked again. Pro tip: if someone tells you they’re multitasking, what it really means is that they’re single-tasking on something else. Or maybe that’s just me?

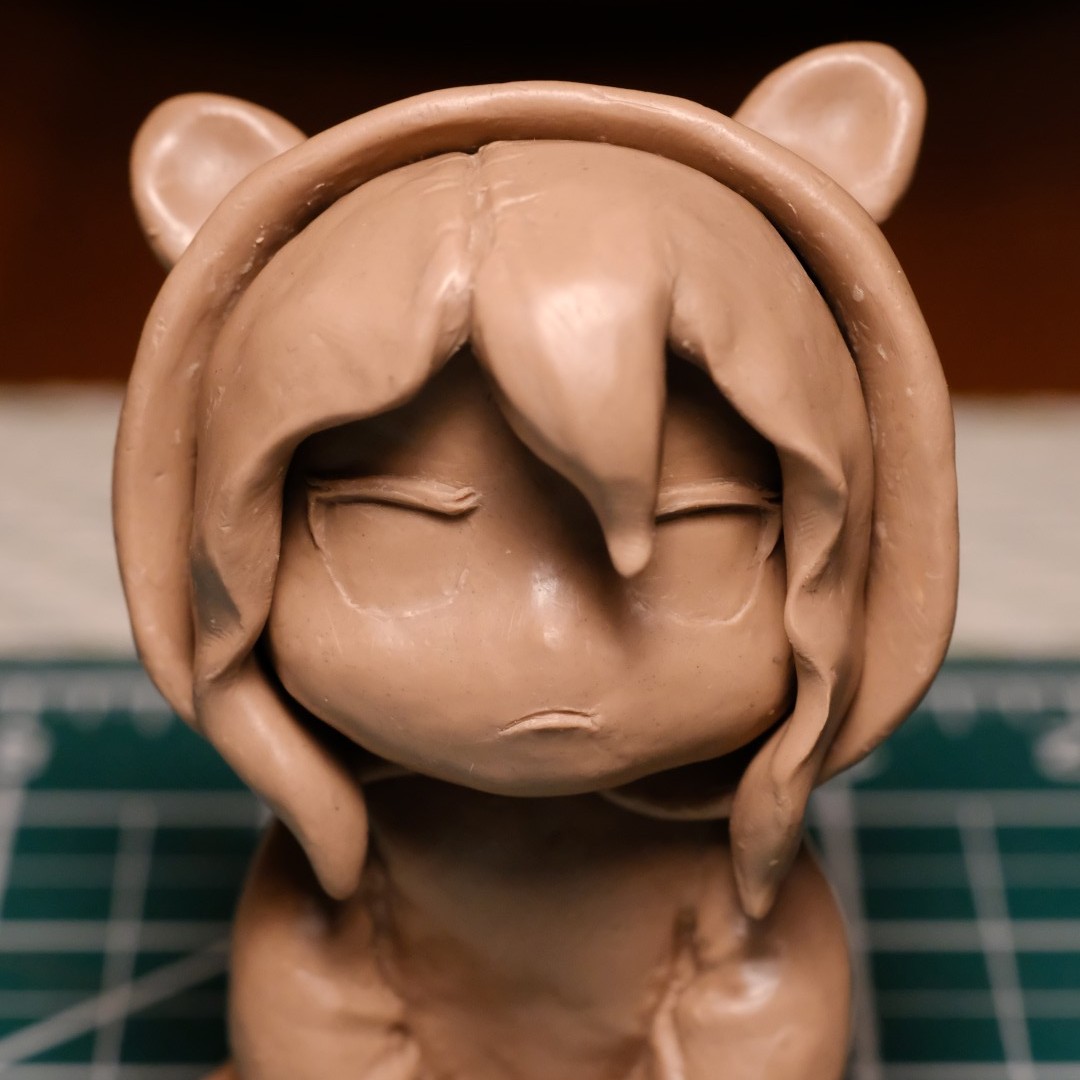
So yeah, I’ve started a new sculpt. And almost finished it, too! I haven’t named her yet, but as the design was inspired by crossing a tanuki with daifuku mochi, I’ve just been calling her Mochi Tanuki Daifuku. It’s a terrible name, but it’s also kinda fun to say… so should I even bother changing it?
I’ve been wanting to create something simple and quick to cast, a something with a minimum of cleanup and assembly required. I also wanted a design that would be reasonably quick to paint so I could start making pre-painted figures without having to spend a week on each one. This sculpt will (hopefully) satisfy both of those needs! Most of the figure is just a big kigurumi, which will be cast in just a couple pieces and will be paintable in mostly a single color (plus shading, of course). The only place that’ll require extra detailing effort is the face, which is arguably the most important part anyway. Even this simple sculpt will require hand-painted eyes, unless I figure out how to make decals… although I’m not sure if my pride as a GK painter would even allow me to use such a thing! Once you start hand-painting eyes, it’s hard to go back to decals without feeling like you’re somehow giving up.

Here’s where the build process started. The “armature” in this case is just several balls of aluminum foil; no need for much more than that with this design! I encased these in layers of clay and then smooshed them together into a pouty sitting position.


This is how it looked before I added the hood. Just the basic shapes, almost no added details yet. Not gonna lie, I was getting strong Squirtle vibes from it at this point.


And after roughing out the hood, hair, and some other details, the final figure is already starting to show through the mess! I have to say, adding wrinkles seems like a small thing but it makes such a huge difference. Before the kigurumi kinda just looked like a part of the figure’s body, but now it actually looks like clothes being worn! Goodbye, Squirtle! Hello, tanuki kigurumi! Well, I guess it doesn’t exactly scream “tanuki,” either… it’ll be more obvious once it has a paint job.


And with just a few more details, she’s practically done! Well, I say “just a few,” but the face took way longer than anything else. The smaller you make the details, the more time (and frustration!) it takes to sculpt them. I decided to give her a grumpy, pouty expression, just because I haven’t done one before and I think they’re cute. What is she pouting about? I don’t know… maybe she’s mad that I made her wear a kigurumi? Maybe she’s upset that you didn’t give her any of your mochi? Maybe she’s just having a bad day? Idk, come up with your own interpretation.
Just a little more refinement, then it’s on to molding and casting. I might even have a few of these ready in time for Anirevo! No promises, though.
Speaking of Anirevo, I’ll be at booth A3 in the artist alley on Friday 7/31! This will be my first time doing a proper artist alley, and I’m super excited about it. I’m working on redesigning my table setup, so it should look a lot better than the one I had for Wonder Festival. If you’re going to the con, come say hi!
Leave a Reply